Horizon Forbidden West – ‘Death’s Door’ Walkthrough
Death’s Door is the fifth overall mission in Horizon Forbidden West. It follows Aloy as she explores the Forbidden West and tracks down the signal from the Spire to discover what Sylens has been up to, and where he’s leading her.
| Mission Name | Recommended Level | New Tools | Machines | Rewards |
| Death’s Door | 10 | Igniter | Scrappers Frost Glinthawks Leaplashers | 5,000 XP 2 Skill Points |
Go To The Spire’s Coordinates
Now that you’re in the Forbidden West, it’s time to follow the coordinates obtained from the Spire. The coordinates will lead you west to a small encampment under a Horus machine. On your journey there, be careful; there are numerous dangerous machines prowling the Forbidden West, some new and some you’ll recognise from Horizon: Zero Dawn.
When you reach the encampment, make sure to loot all crates and scan the datapoints nearby. Once done, head to the console to activate a hologram of Sylens.
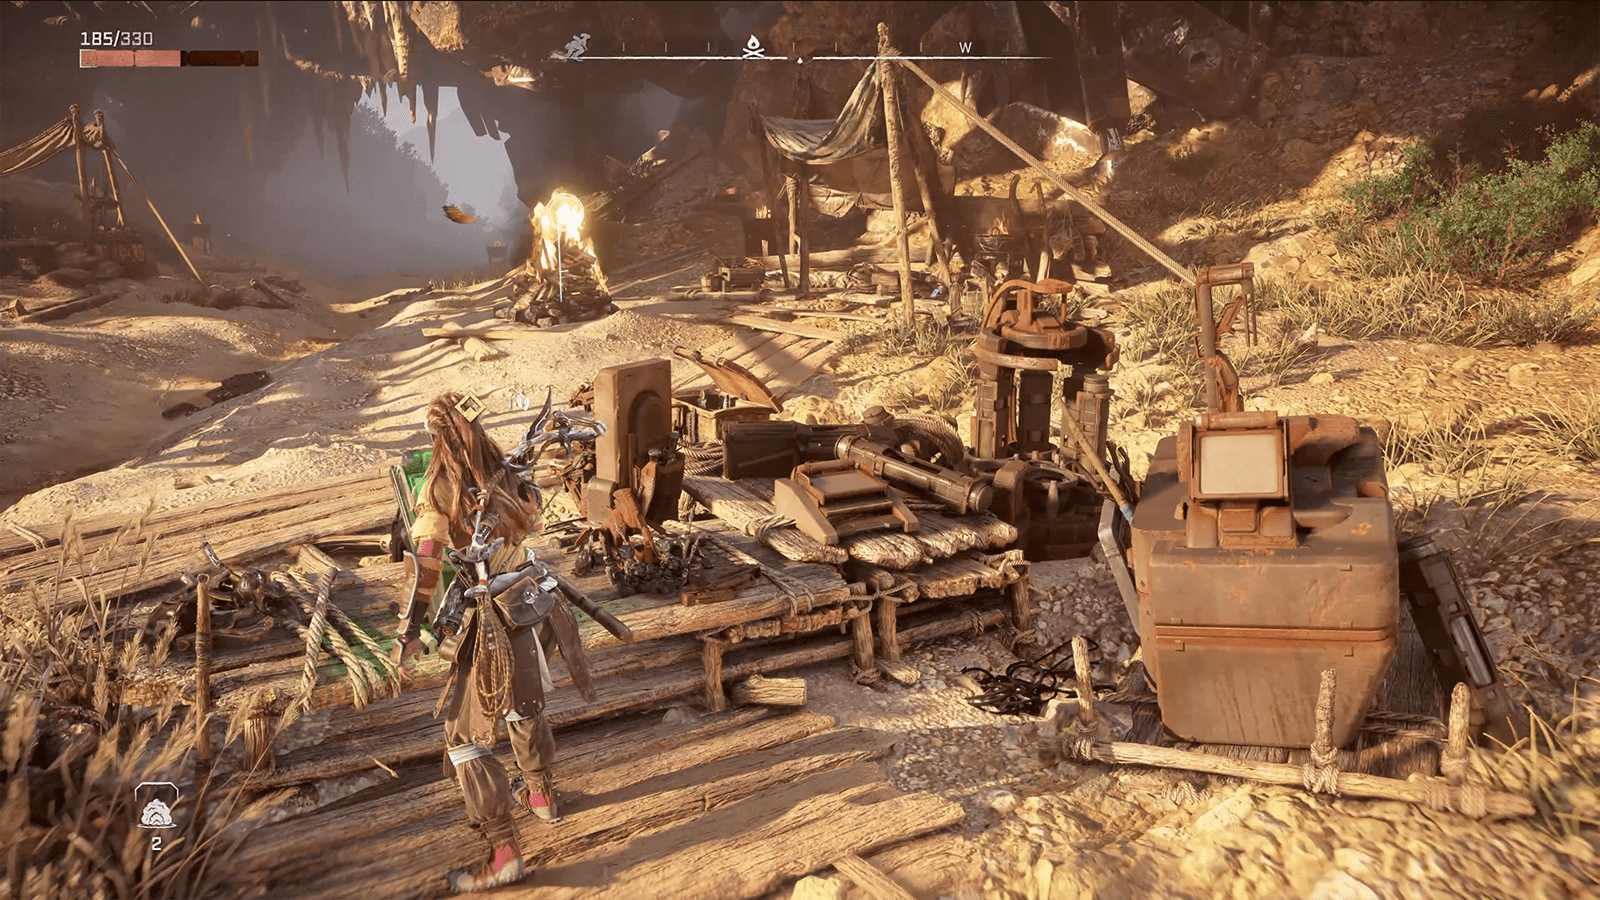
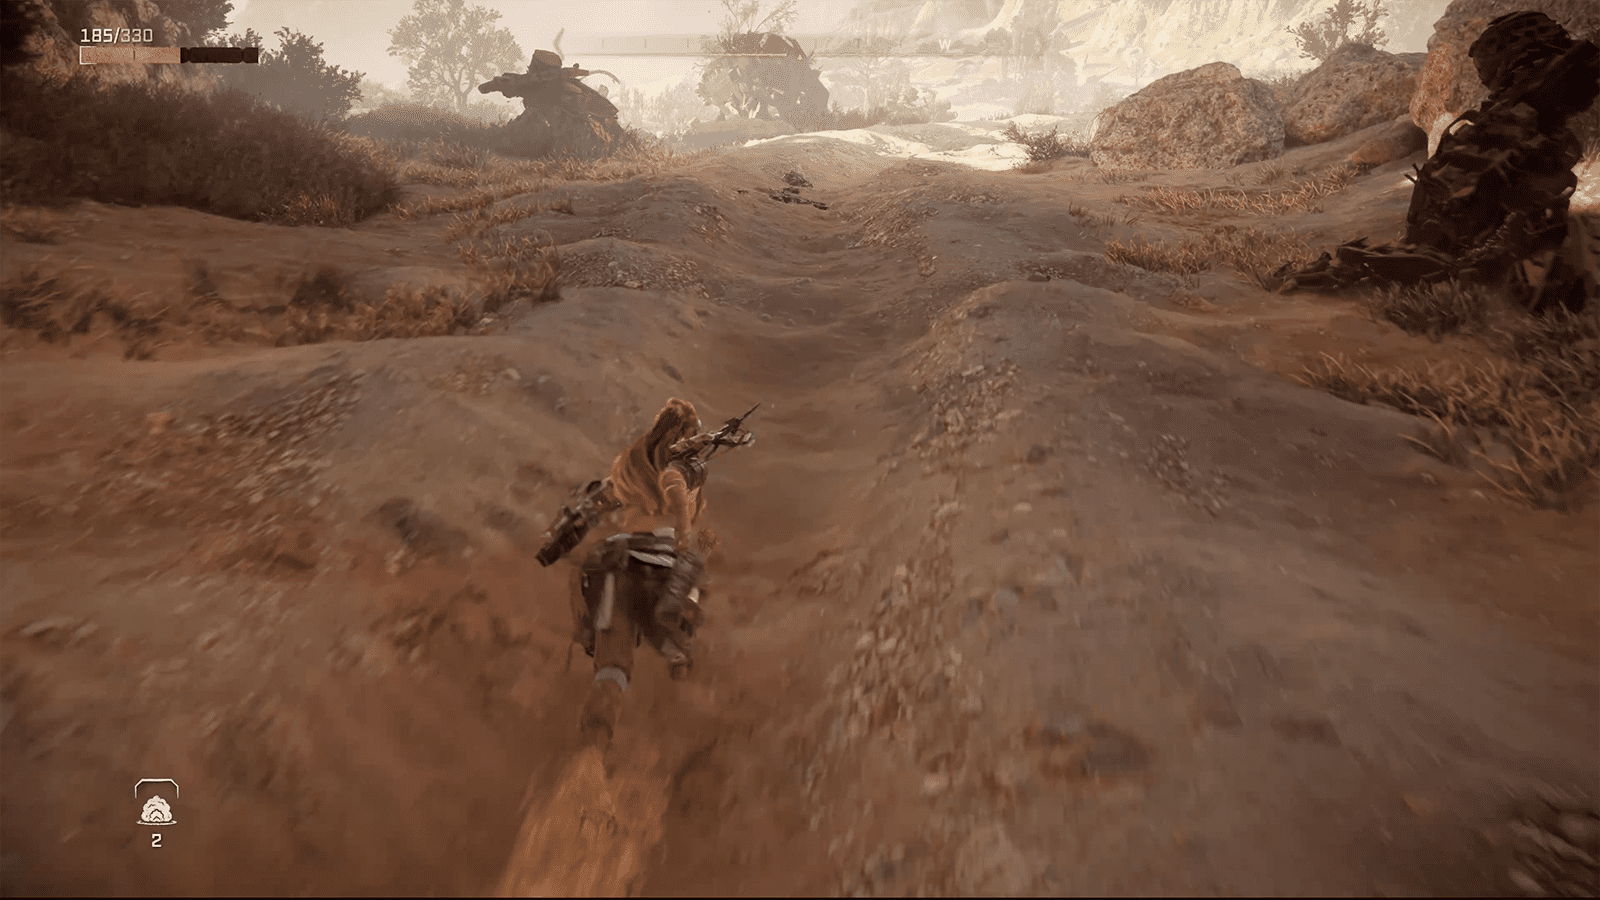
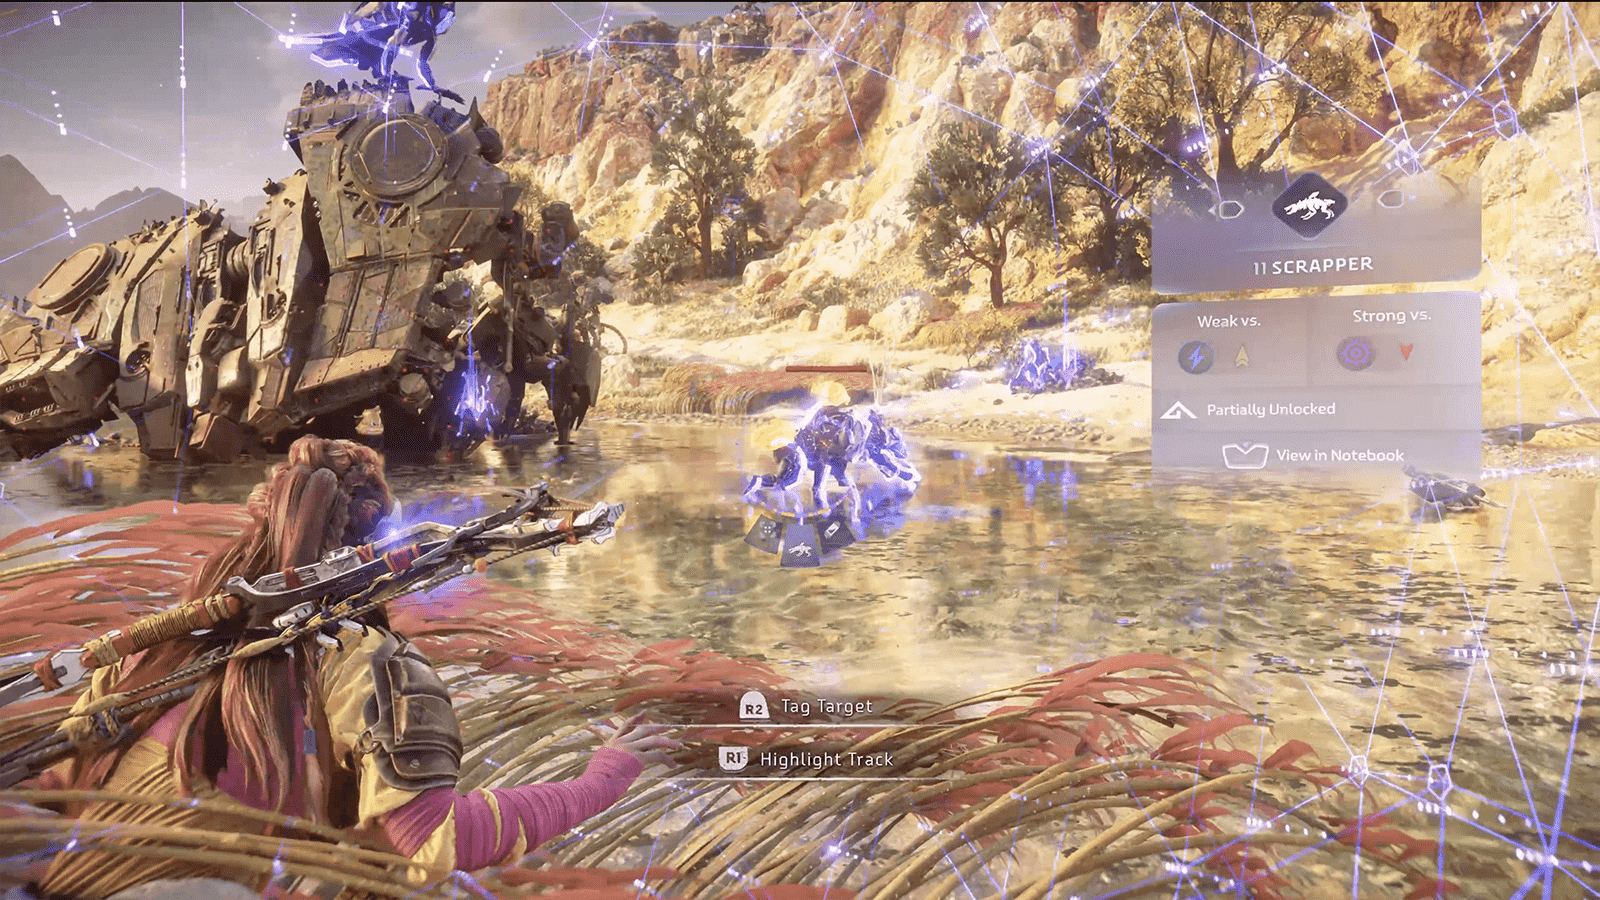
After the cutscene, you’ll be tasked with following the Orb’s trail. Along the dirt path, you’ll eventually reach a river crossing with three Scrappers and a Frost Glinthawk. Take the machines out and loot one of the nearby tanks for some Greenshine – a resource you’ll need to upgrade late-game gear.
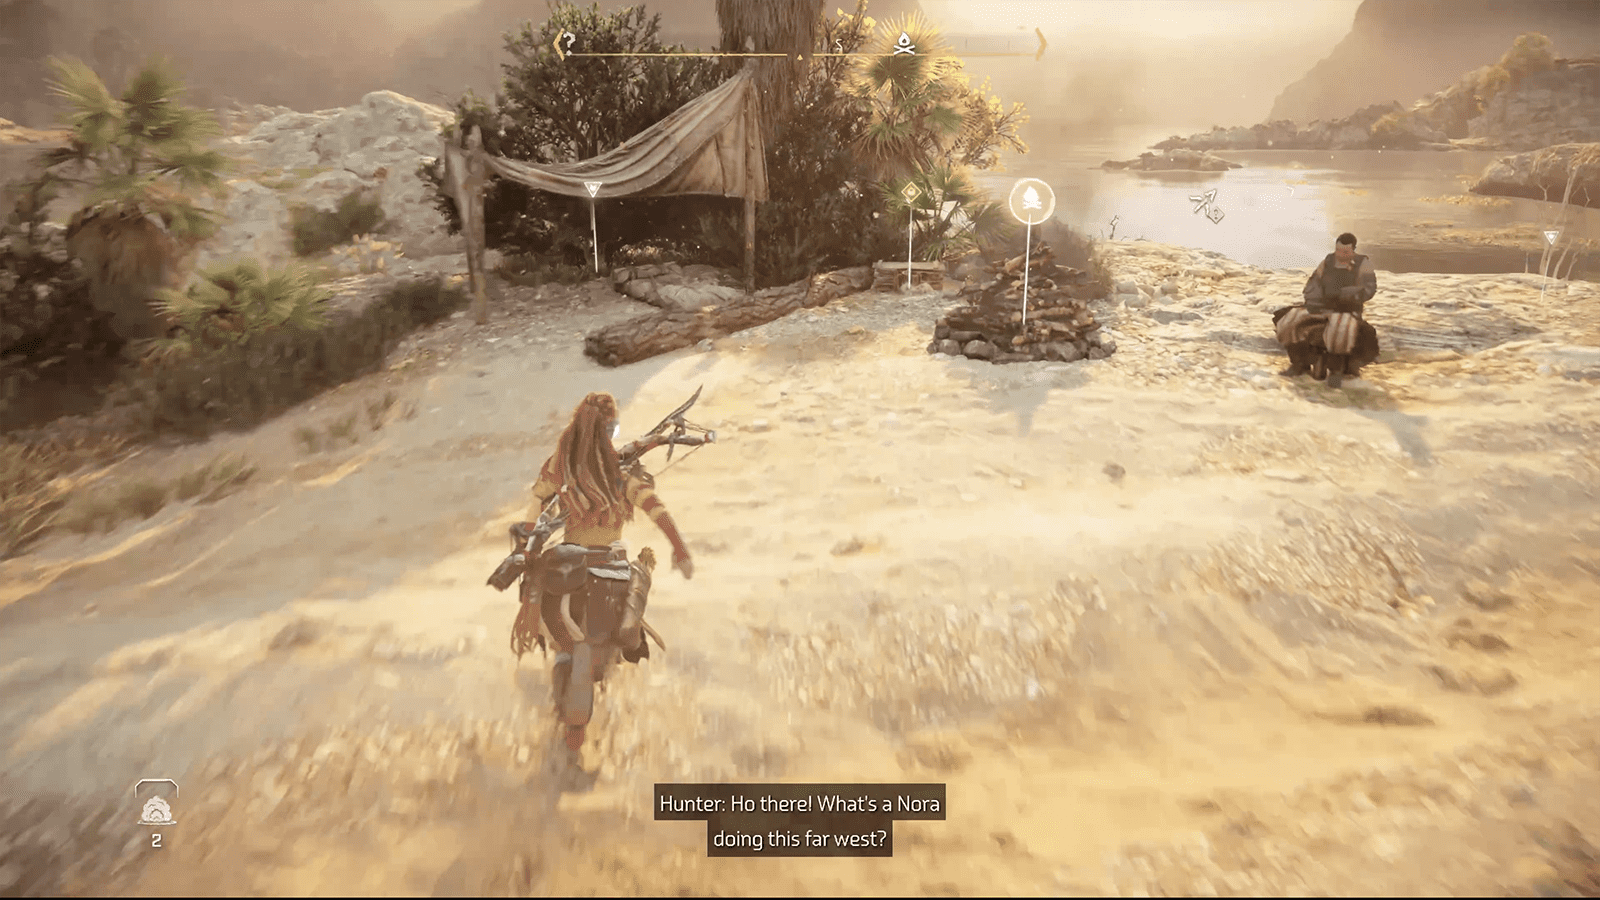
Continue following the Orb’s trail and you’ll eventually meet an Oseram merchant. Trade with him if you wish, and then continue the trail up a hill into the ruins of an old facility. You’ll eventually reach the Orb and can interact with it to trigger a cutscene.
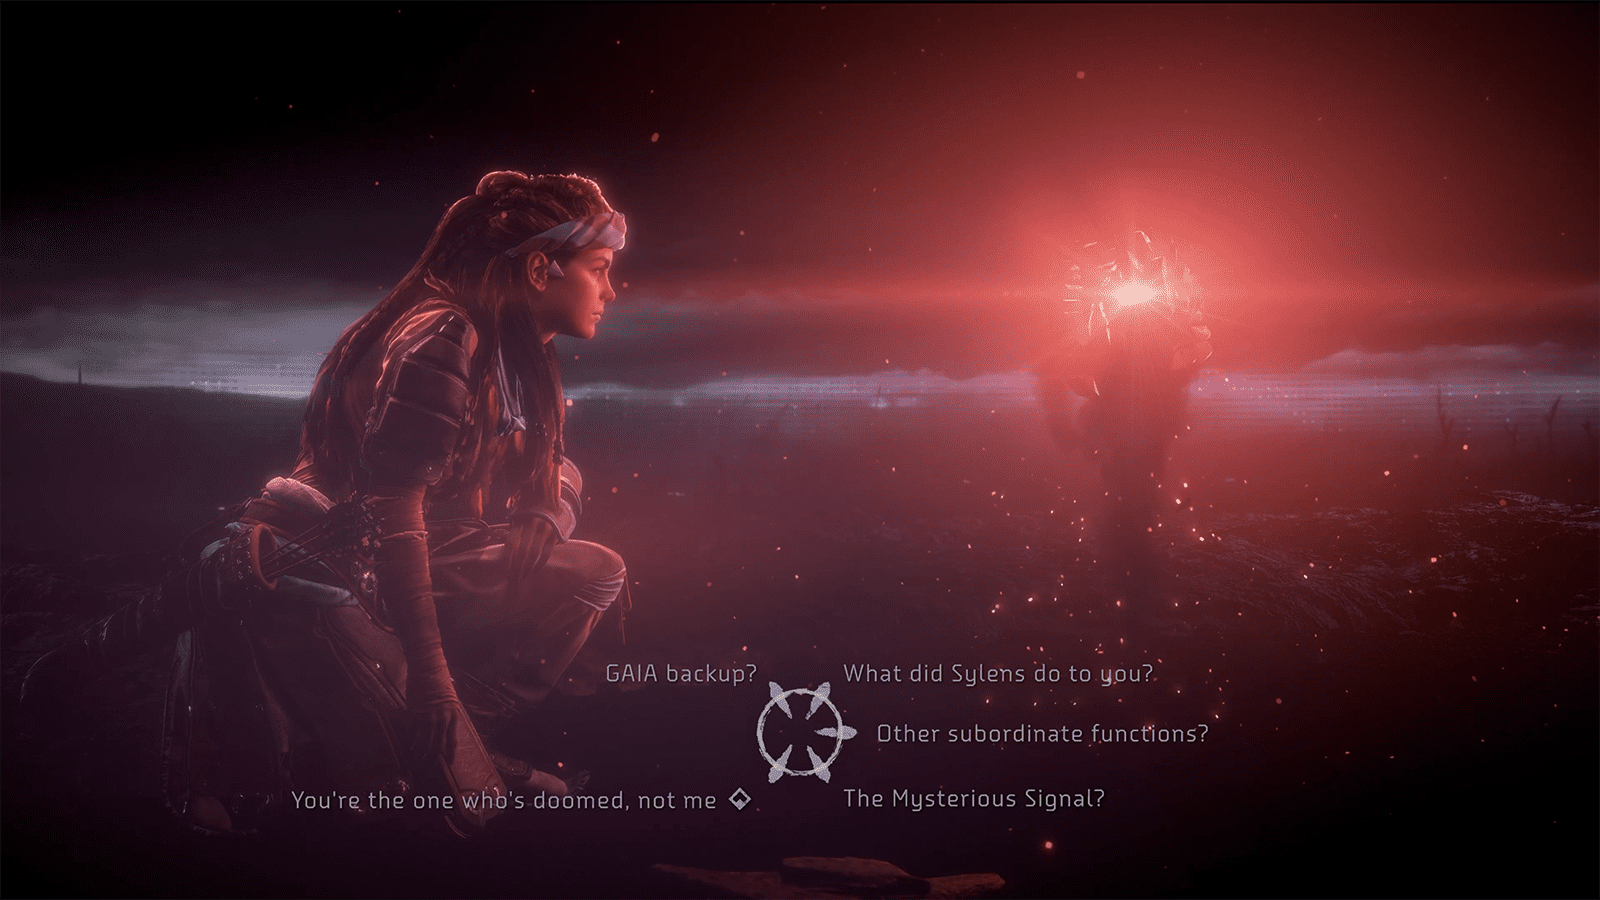
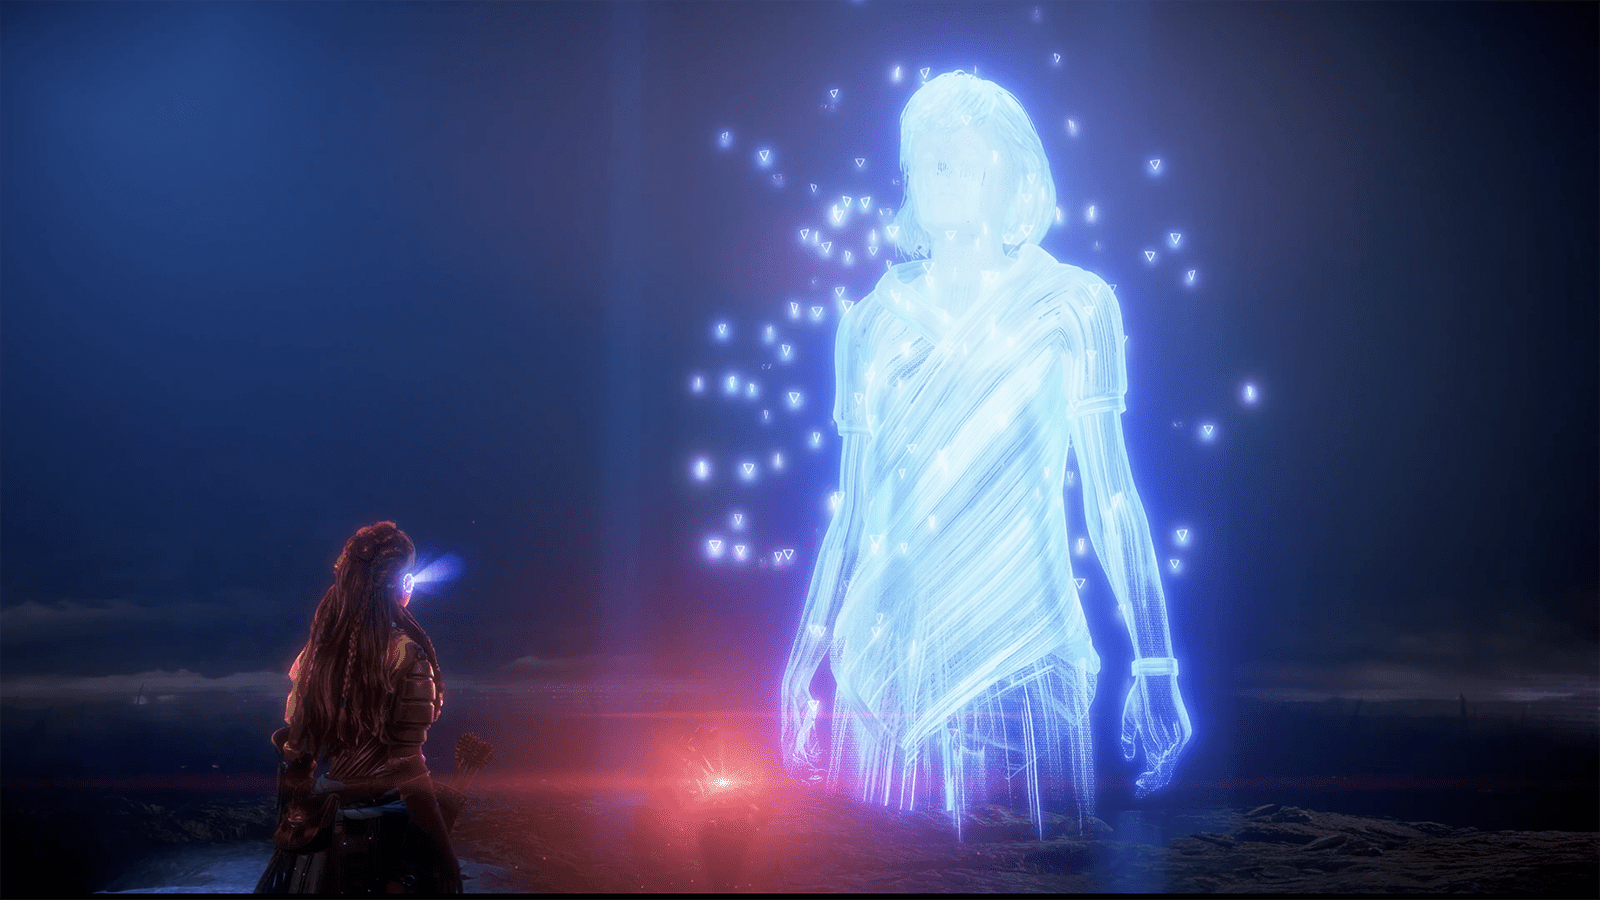
Once the cutscene has ended, you’ll be tasked with opening the door to the facility. Unfortunately, the door’s jammed by crystals known as Firegleam, and, with Sylens’ help, you’ll need to craft a special Igniter to clear the Firegleam.
Gather Igniter Resources
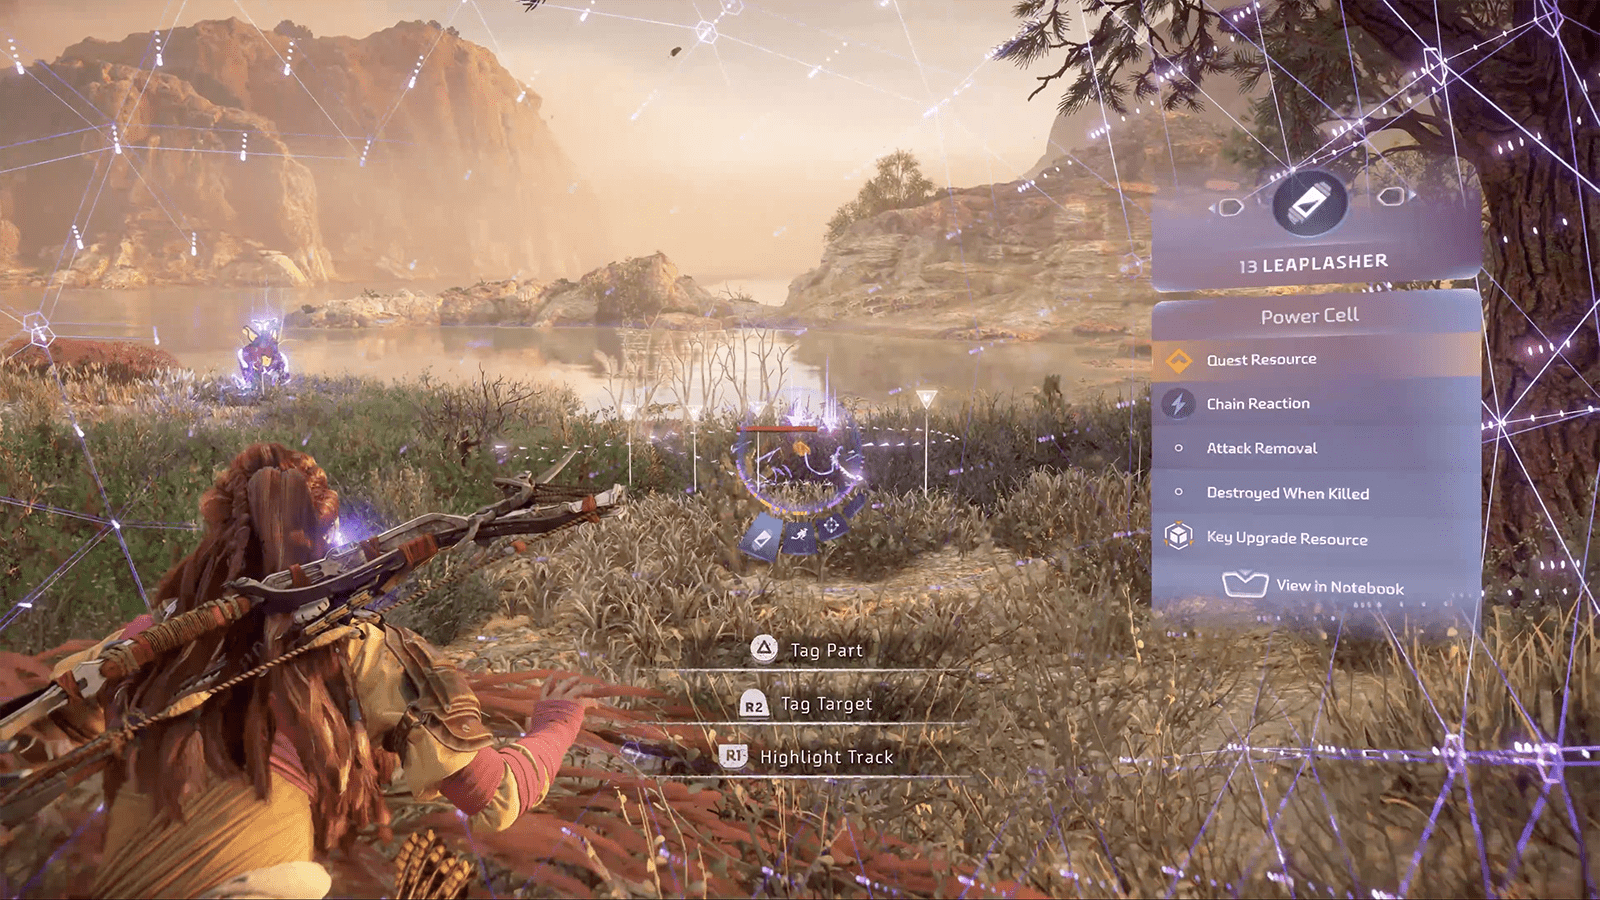
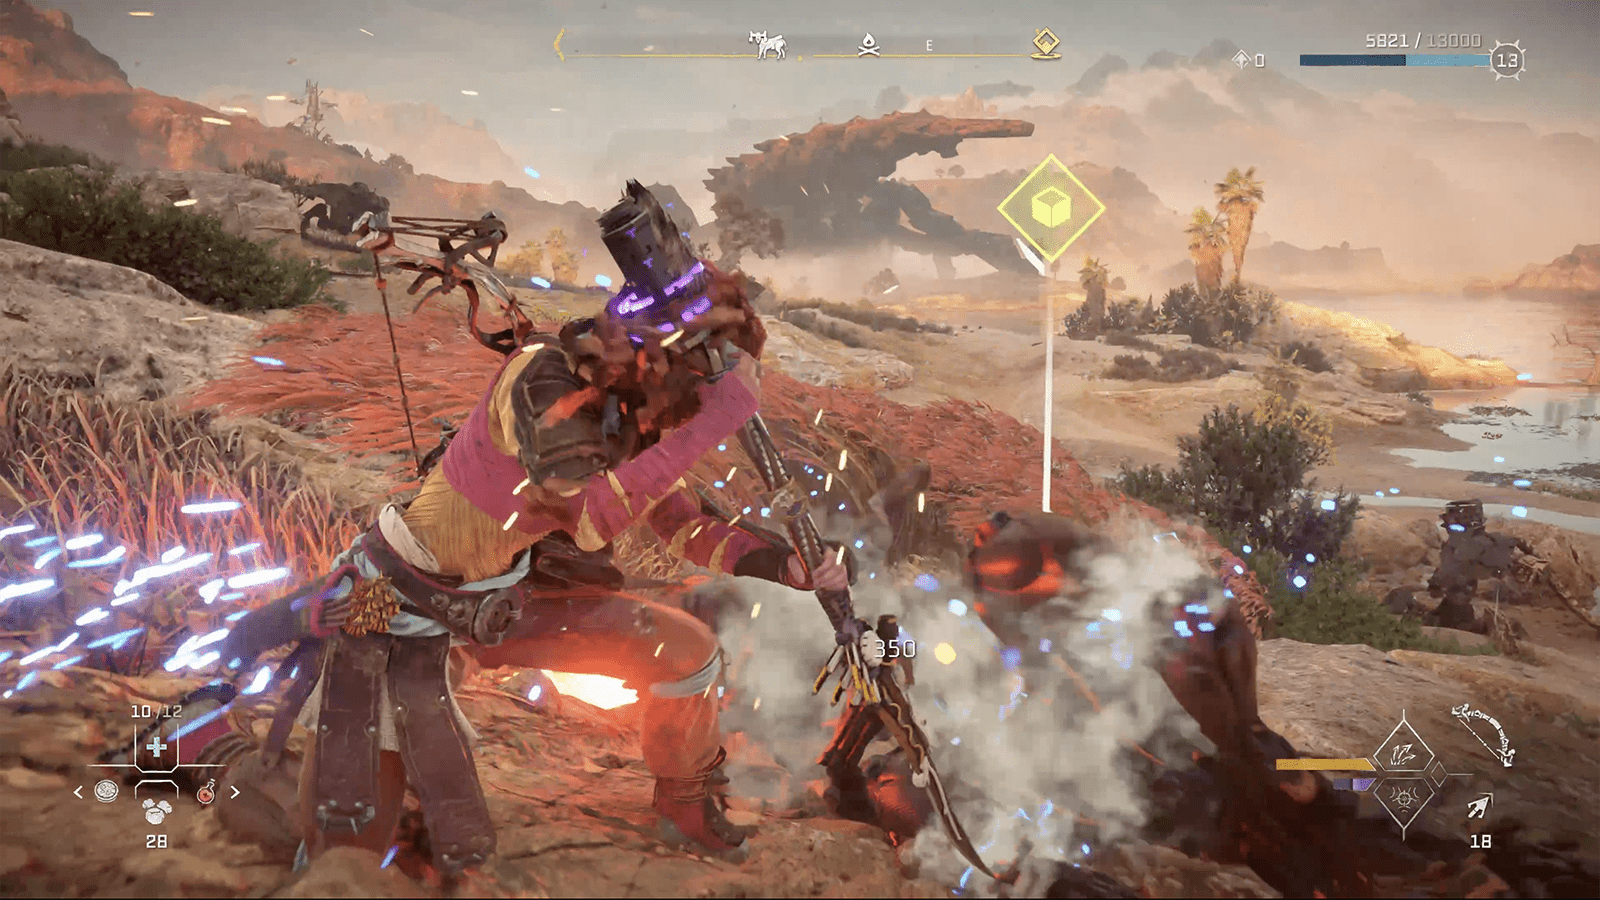
To craft the Igniter, you’ll need to gather a Leaplasher Spark Coil and some Deepwater Kindle Weed. A Leaplasher site can be found just outside the facility near the lake bank. Scan them with your Focus and tag the Spark Coil, which can be found on their back. Knock the parts off the machines and defeat all of the Leaplashers. Once you’ve done that, swim out to the lake and gather some Deepwater Kindle Weed.
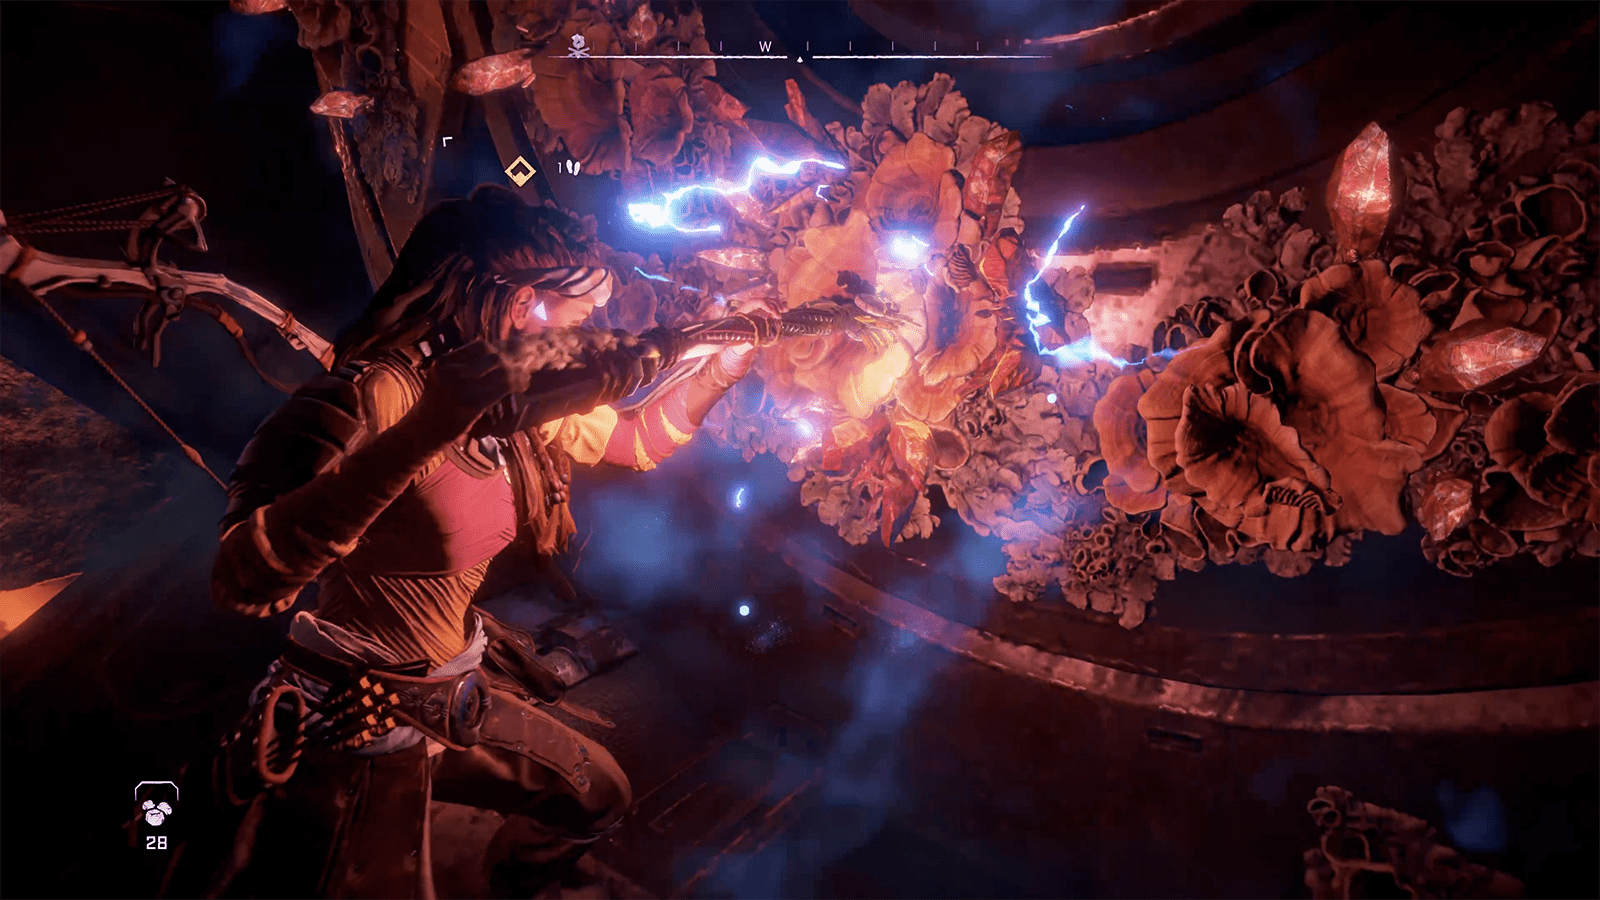
Now you’ve gathered all of the required resources, head to the workbench located near the entrance to the facility and craft the Igniter. Head back into the facility and use the Igniter by holding the R2 button. With the door open, you can now head into the facility.
Exploring The Facility
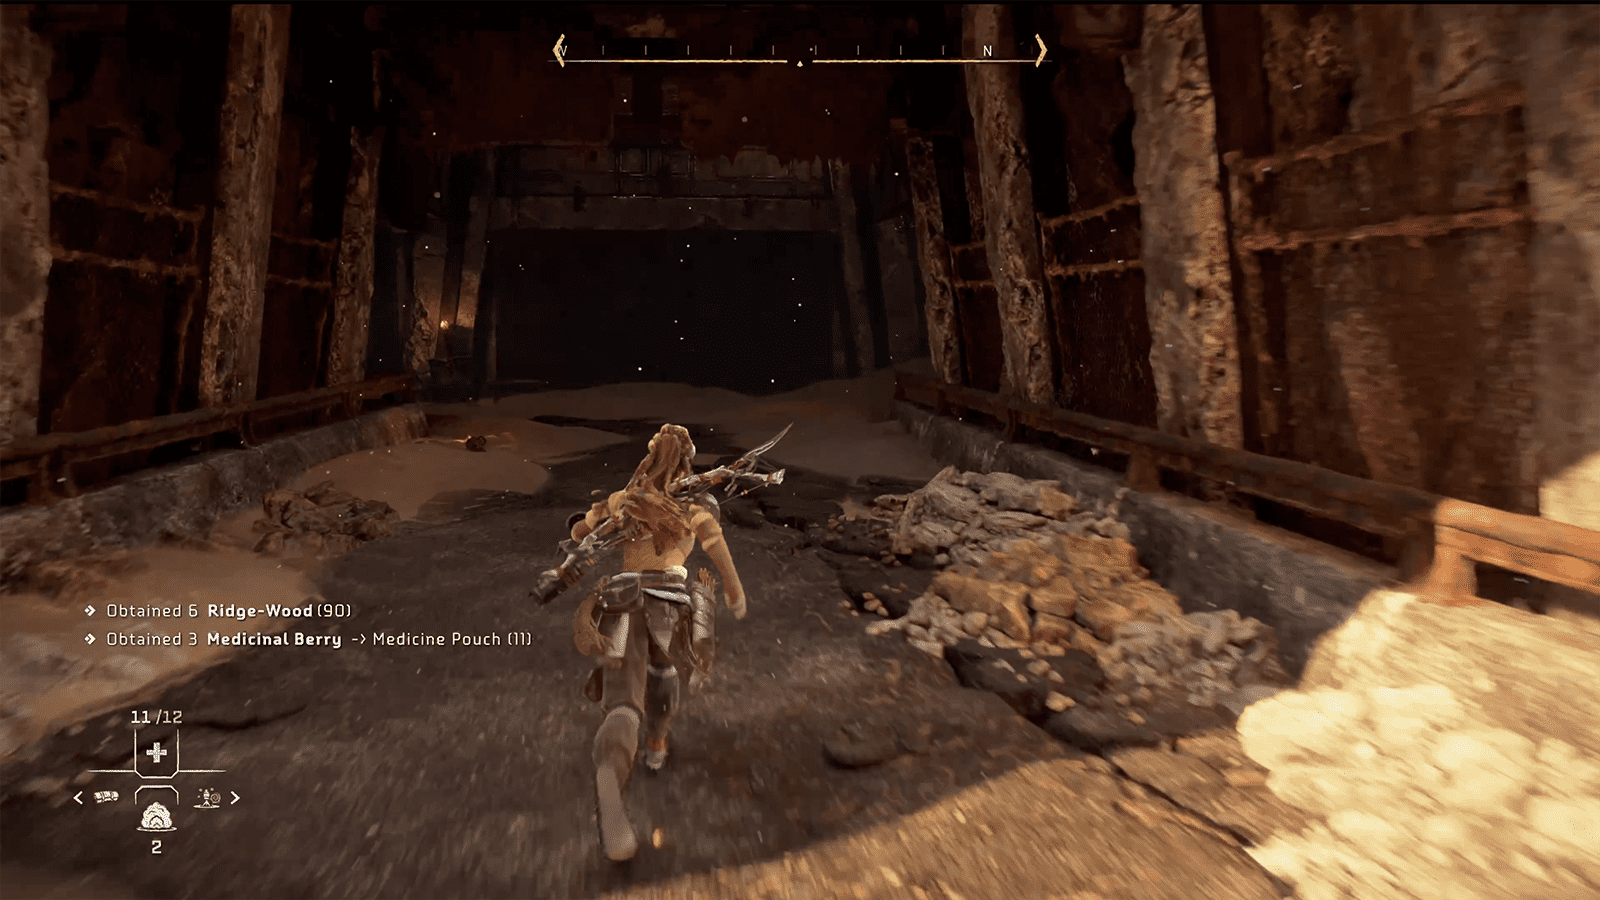
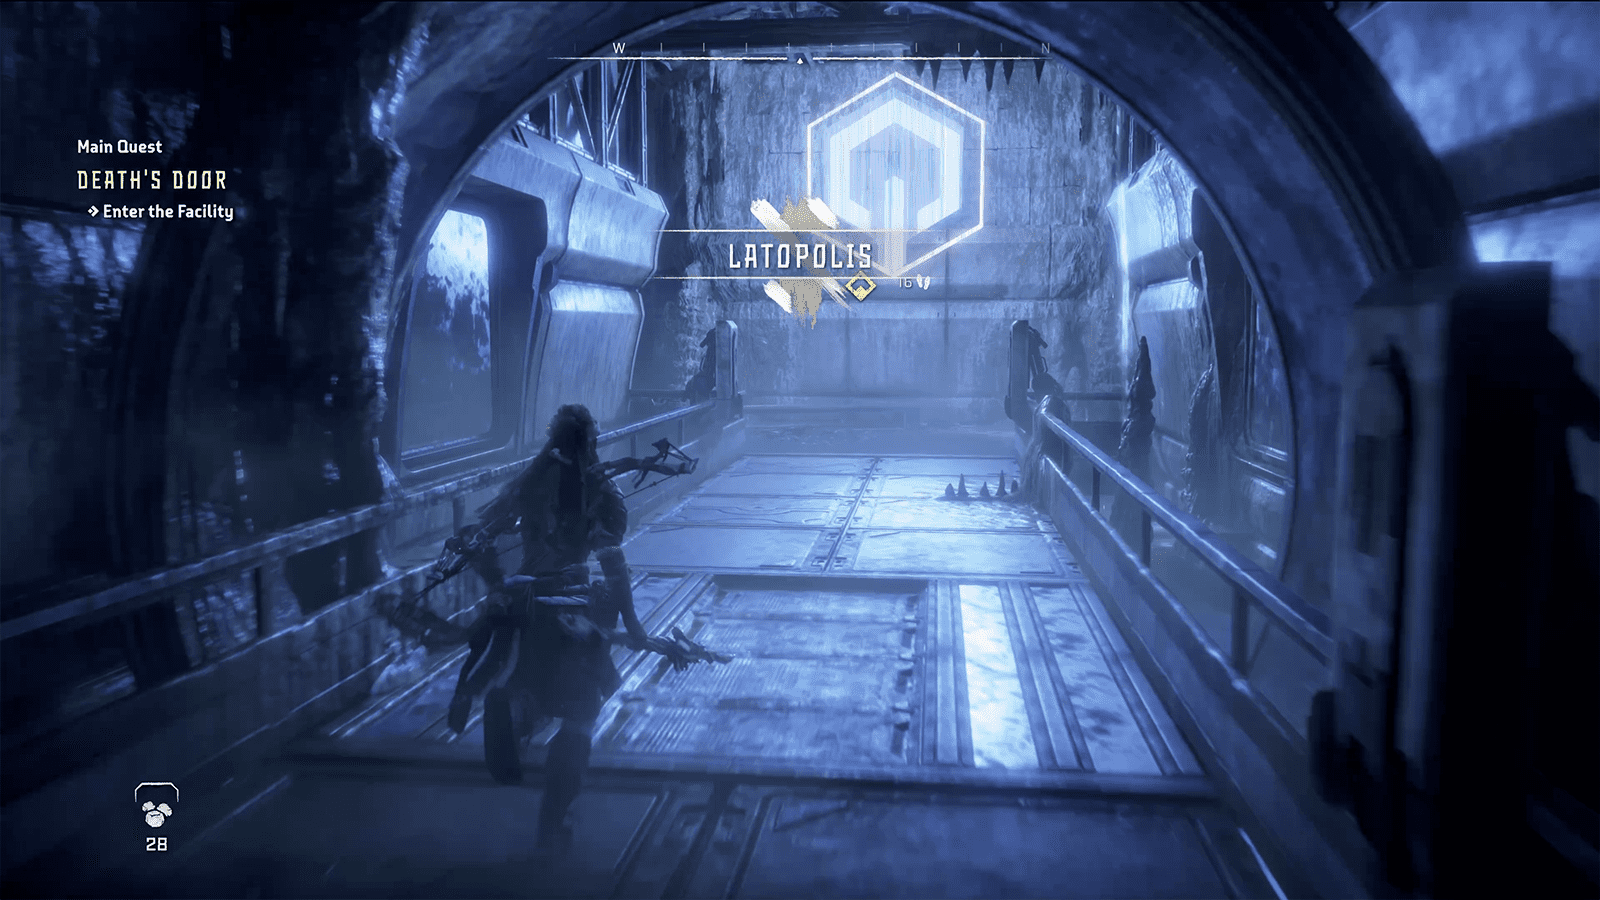
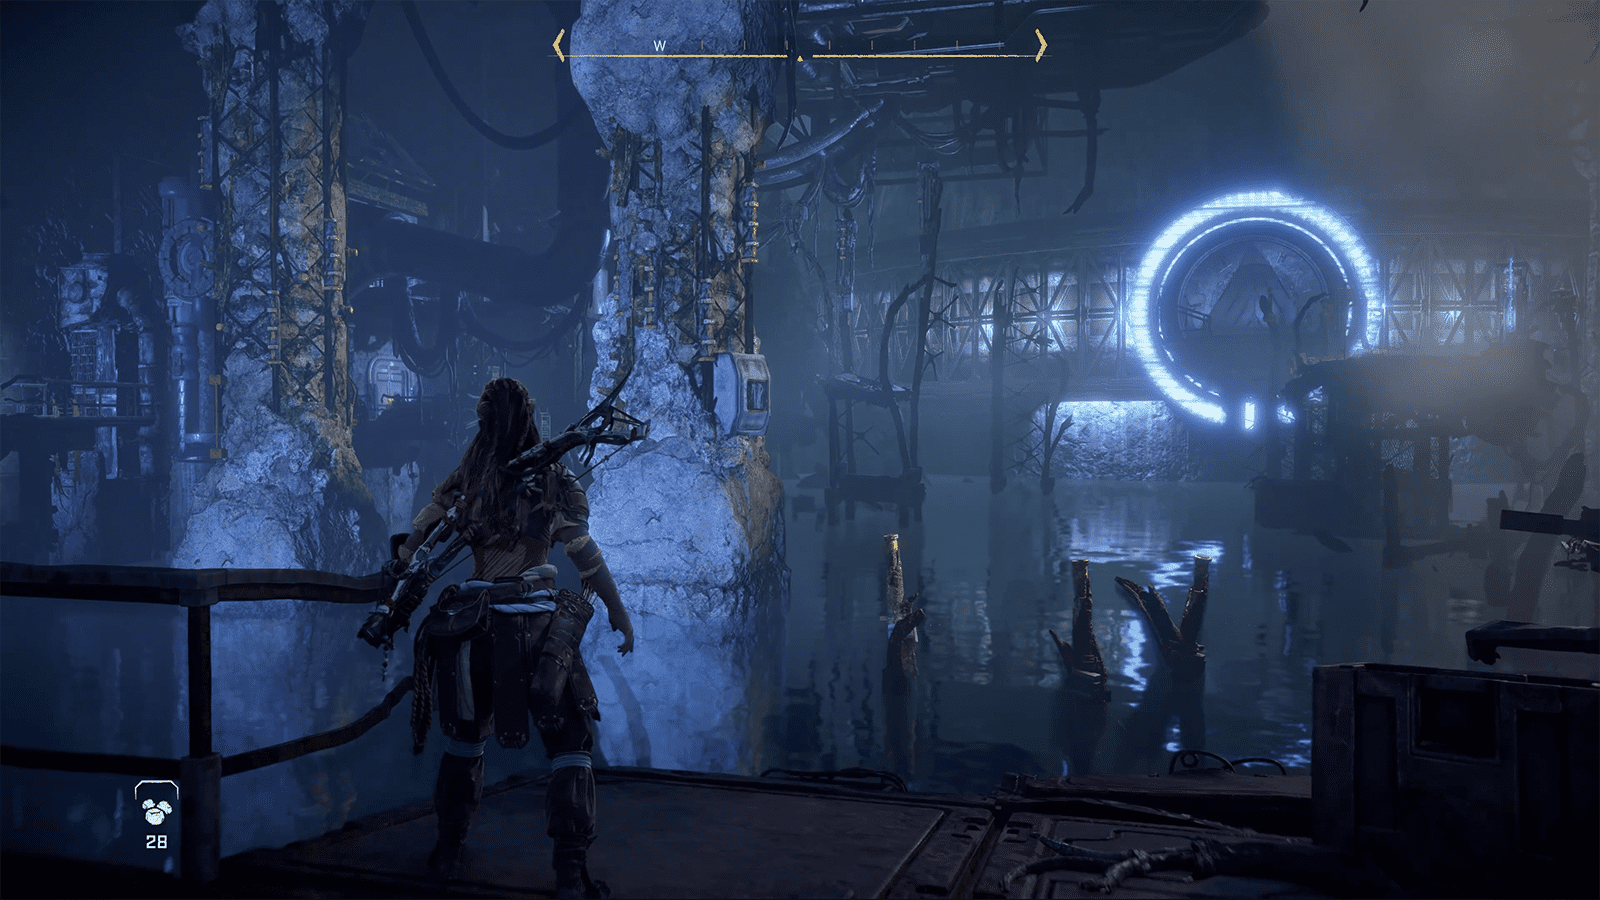
Once you step into the facility, the game will reveal its name; Latopolis. Make your way through the facility and loot all of the nearby crates. You’ll eventually need to pry open a set of double doors that lead to a flooded hall with a gene-locked door at the far side. You’ll need to traverse across, so follow the nearby walkway and jump onto a pipe, and then jump again to another pump attached to a ruined walkway.
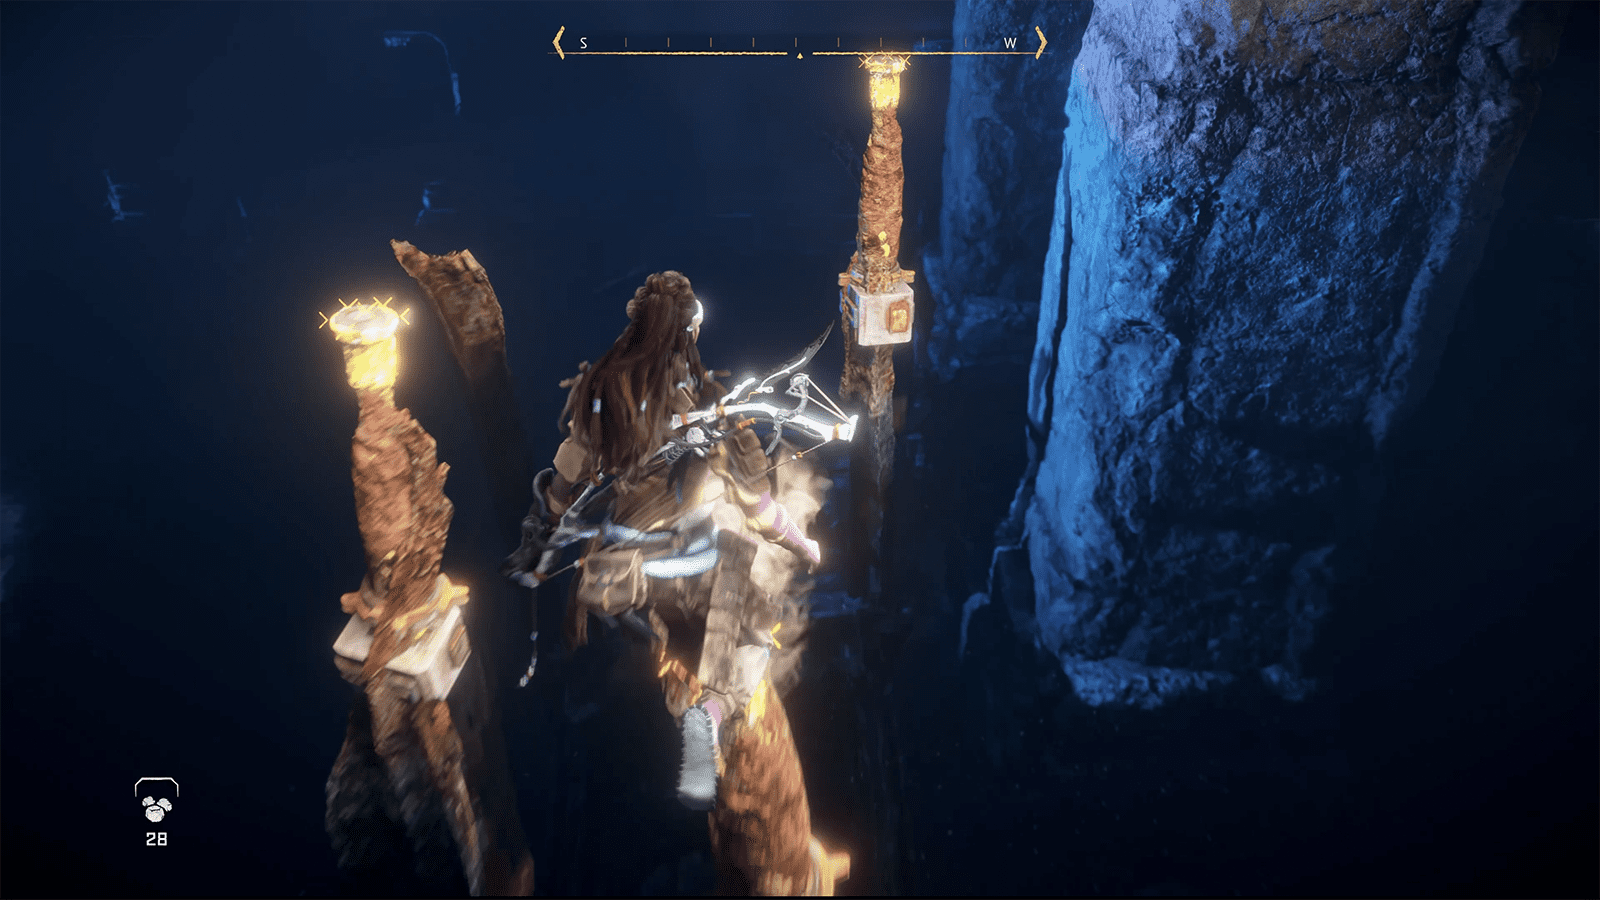
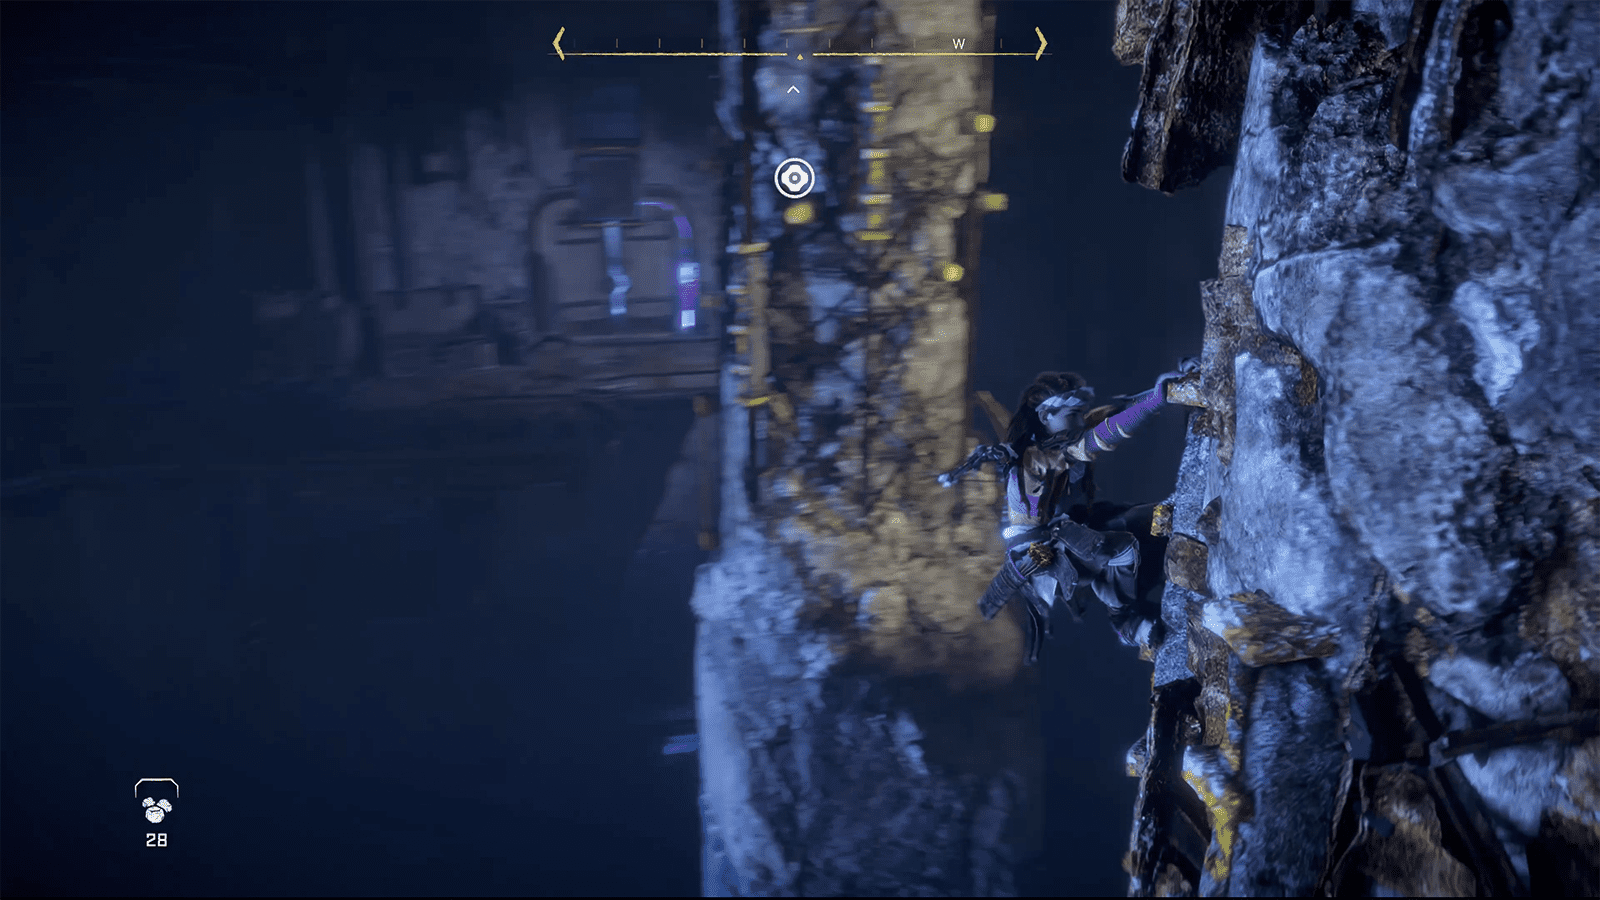
To your left will be several more pipes you can jump across. When you reach the final pipe, you’ll need to use your Pullcaster to pull a grate and reveal a grapple point. Jump and use your Pullcaster to launch yourself to the grapple point, and then climb and shimmy along the column towards your left. Behind you will be another grapple point, so use your Pullcaster once more. Climb down the column towards your left and then jump onto the nearby platform with a door.
Head towards the door and drop the ladder, and then jump to climb over a grate above the door and drop into the next room. The door ahead will need an energy cell, which you can conveniently find behind some machinery to the left of the door you entered the room with. Pop the energy cell into the generator and the door will have power. Proceed through it and you’ll enter a room with another generator requiring a power cell.
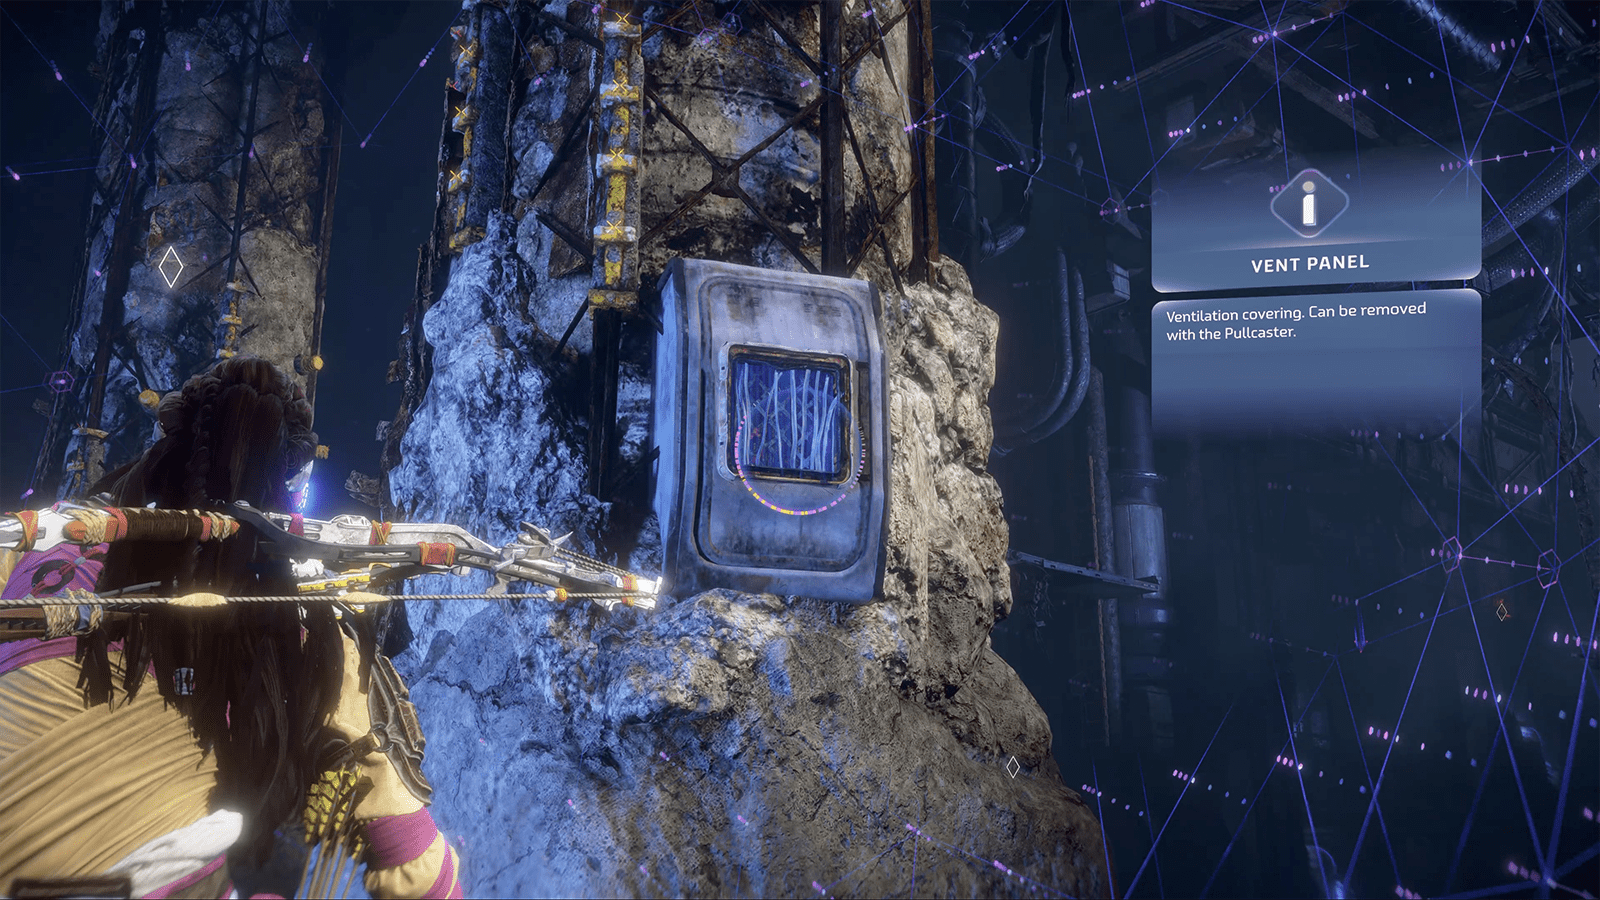
Above the generator is a grapple point, so use your Pullcaster to climb to the above walkway. Turn right, and push the crate out of the doorway and into the adjacent room. Drop into the room and you’ll see two consoles that need power. If you tap the R3 button, your focus will reveal a ledge you can climb onto a walkway with some Firegleam. Move the crate to below the ledge and climb it, ignite the Firegleam and proceed through the hole in the wall into the room you had just explored. Remove the energy cell and drop down the ledge in the previous room. Pop the energy cell into the nearby console and examine it to unlock a loot box with goodies.
Remove the energy cell and take it to the other console, triggering a cutscene between Elisabet and Travis Tate. When the cutscene ends, climb back up the ledge and rather than turning right for the Firegleam, turn left and head towards the now-unlocked door to emerge back into the flooded hall.
You’re closer to the gene-locked door, but there’s still some way to go. Climb up the ladder on your left and then look out across the hall, there will be a grate you can use your Pullcaster on to reveal a pipe. Use your Pullcaster again to latch onto the pipe and then climb the other two pipes. Once you reach the top of the highest pipe, you’ll need to jump and glide with your Shieldwing across the hall to a broken walkway.
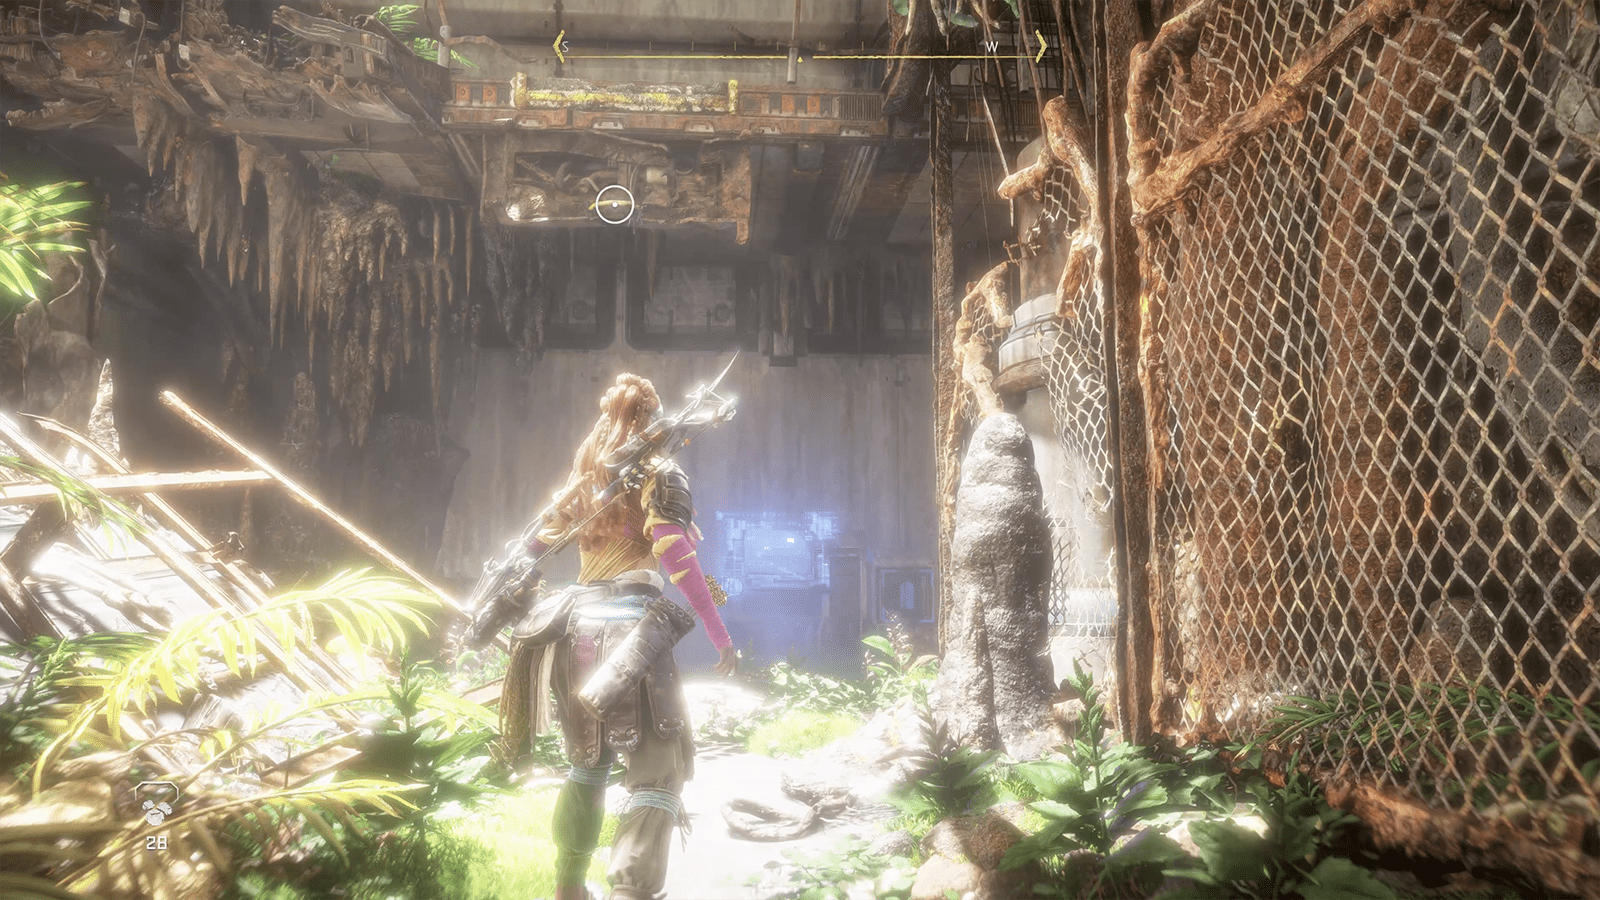
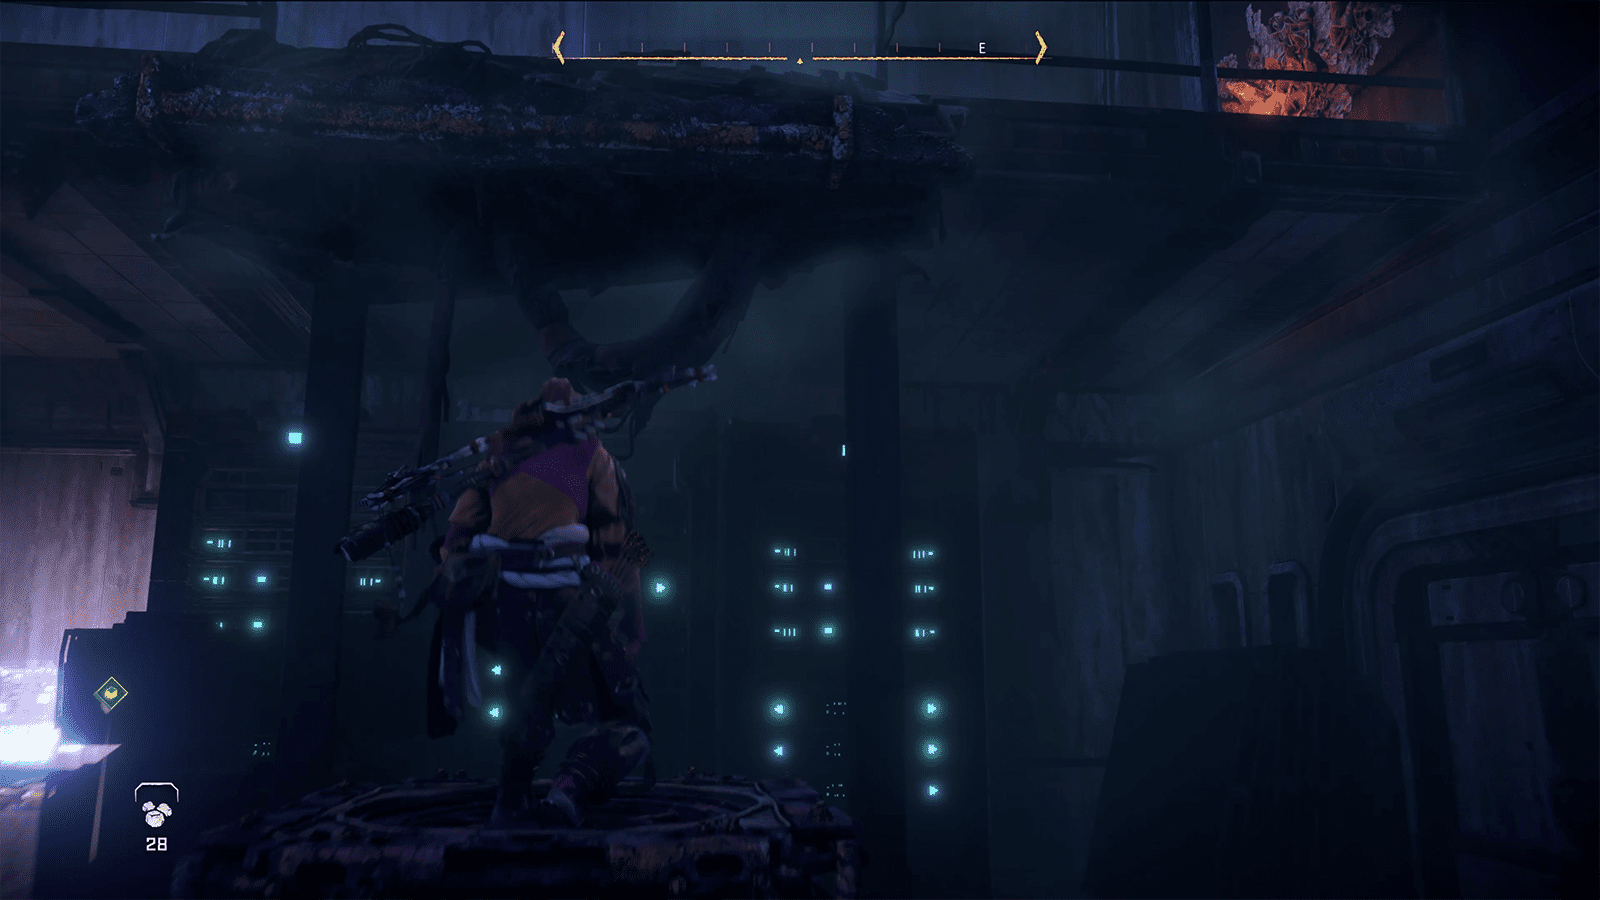
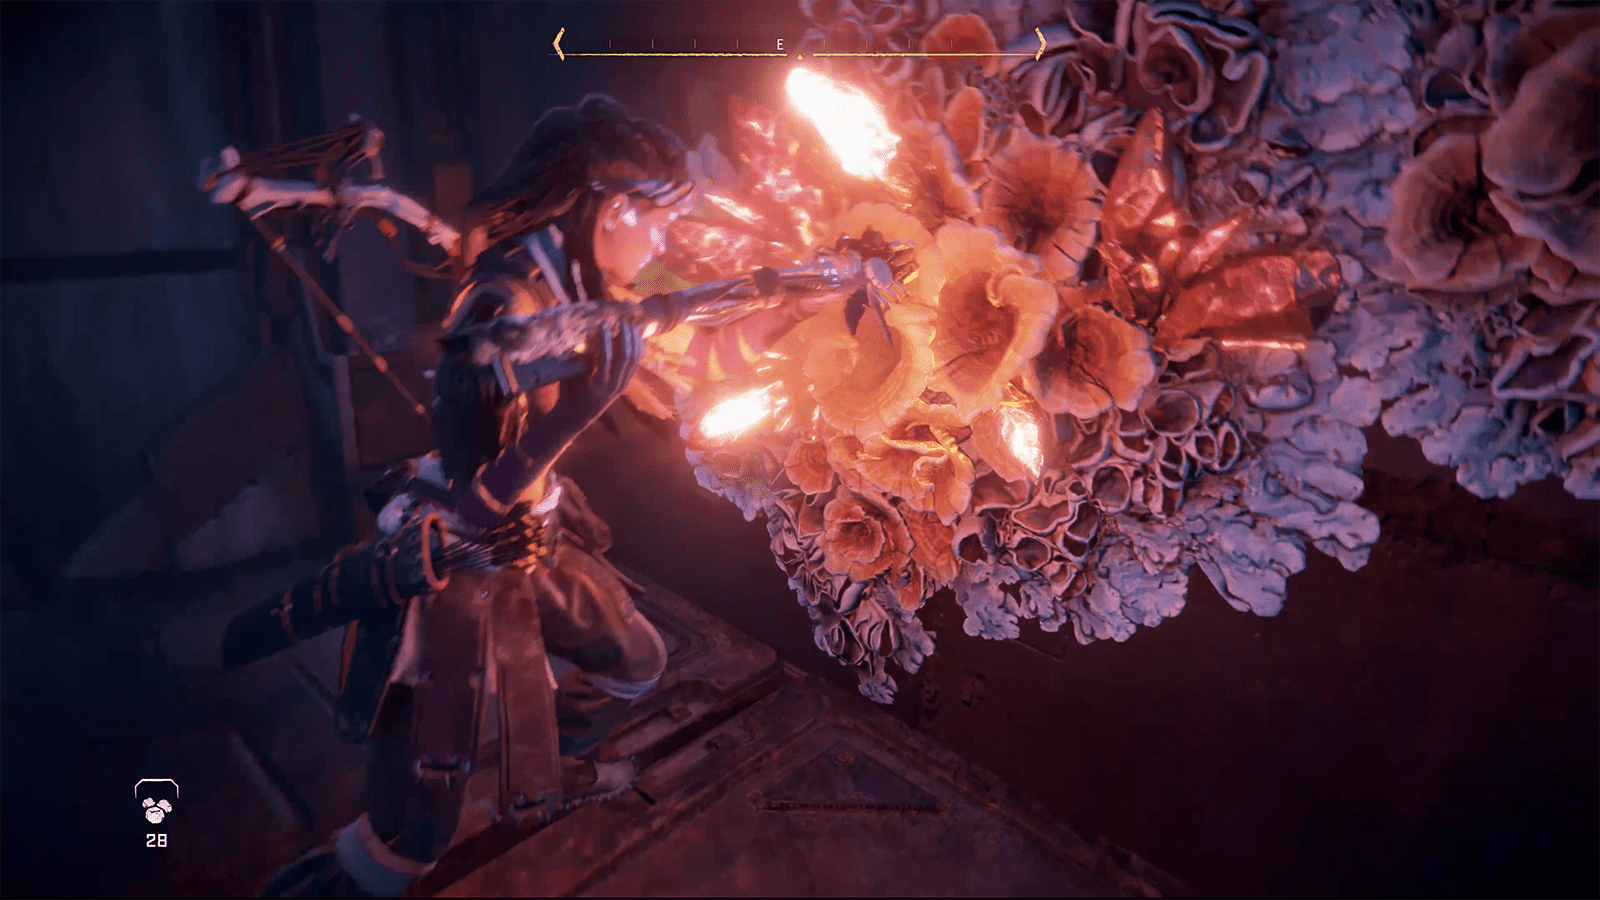
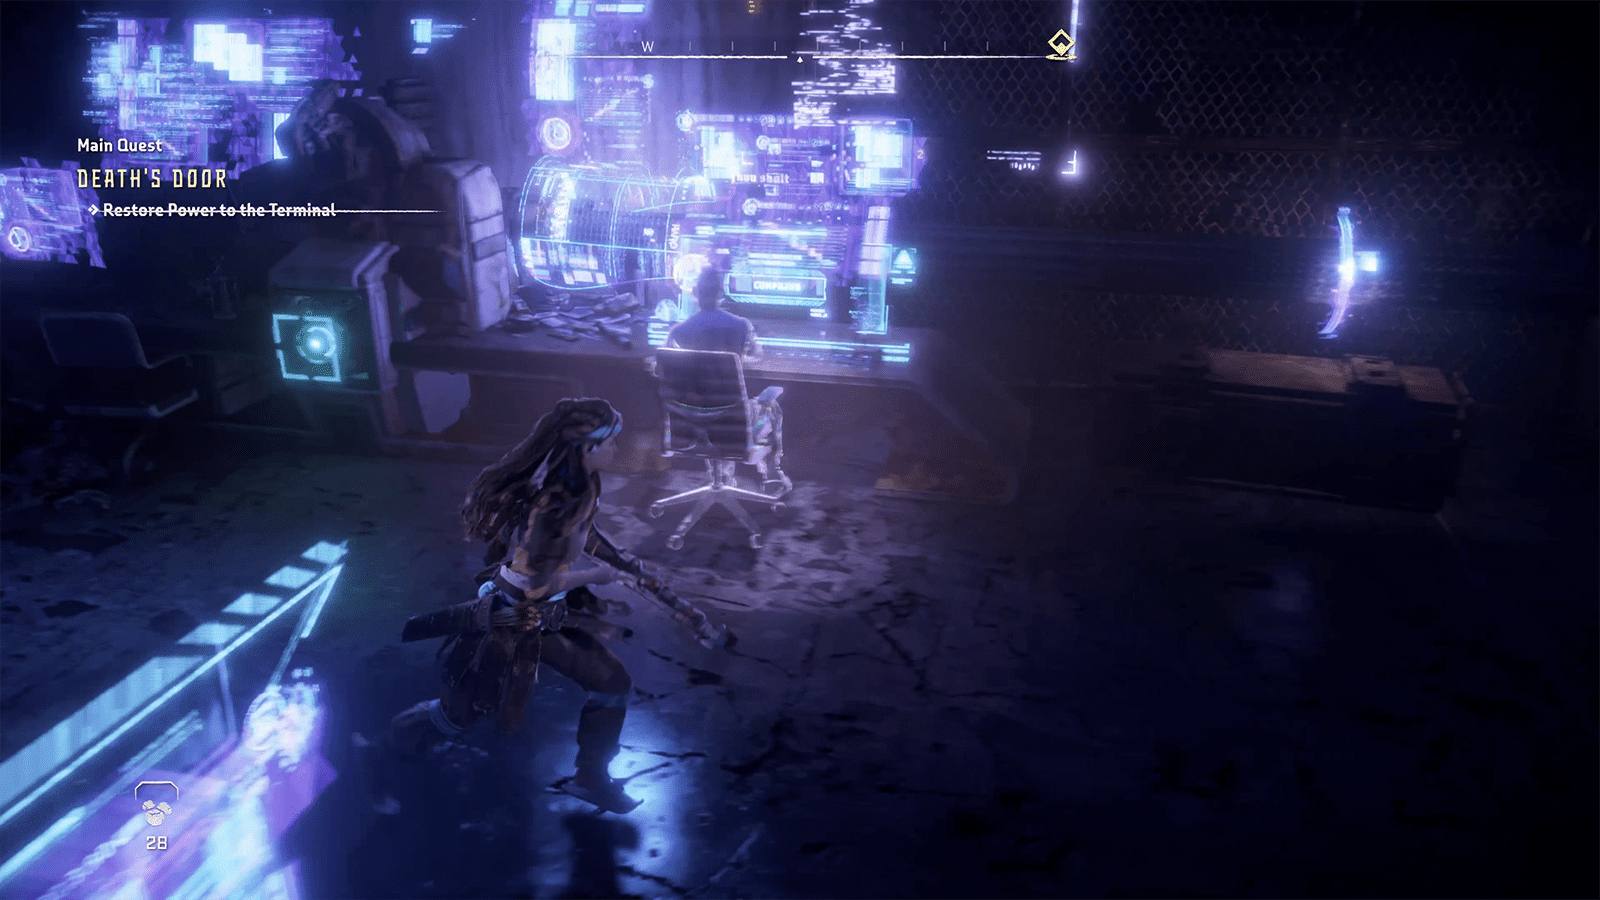
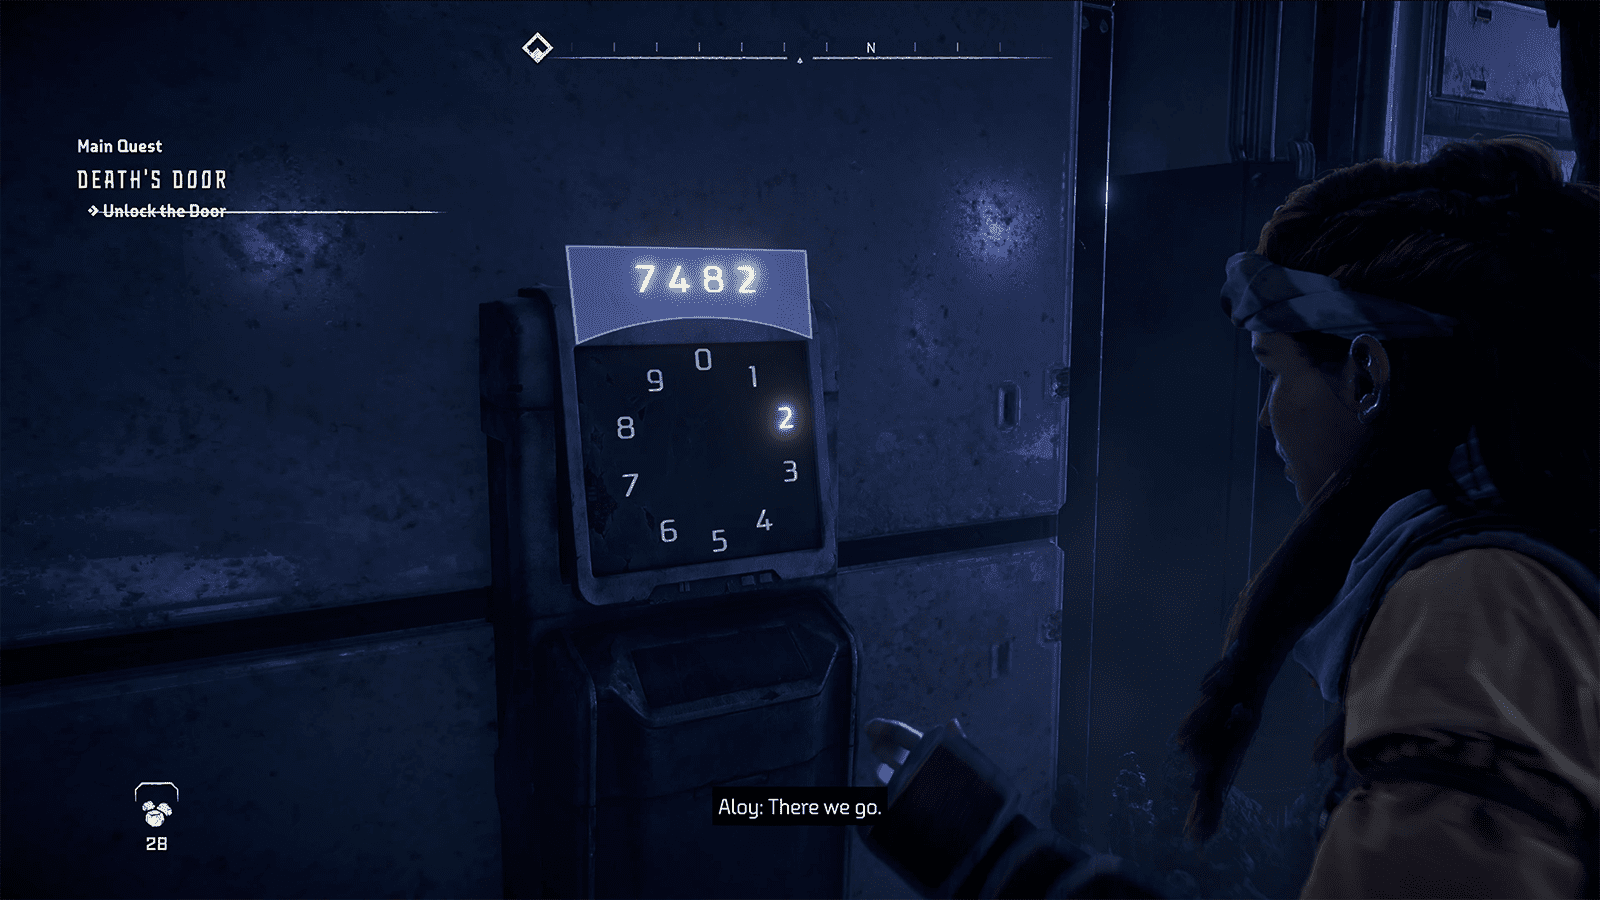
When you land on the walkway, lower the nearby ladder and you should spot a nearby pipe you can latch onto with your Pullcaster. Climb up and then glide down to the nearby platform with Firegleam. Ignite it, and then proceed into the room with a locked door. Beside it is an access console for which you’ll need a code. The code – 7482 – can be found in a small room opposite the locked door via Bad Urges datapoint. Enter the code into the console and proceed through the locked door.
You’ll hit another door you’ll need to pry open. Do it, and then climb the elevator shaft emerging into a room, pass it, and make sure to catch the An Apology audio datapoint. Open the nearby door and proceed into the flooded hall again. You’re closer now, and ahead of you will be a ledge you can shimmy across and then a column you can climb up. When you reach the top of the column, you’ll need to use your Pullcaster to jump towards the next column. Descend the column onto a piece of scaffolding, and use your Pullcaster to pull the nearby piece of scaffolding down.
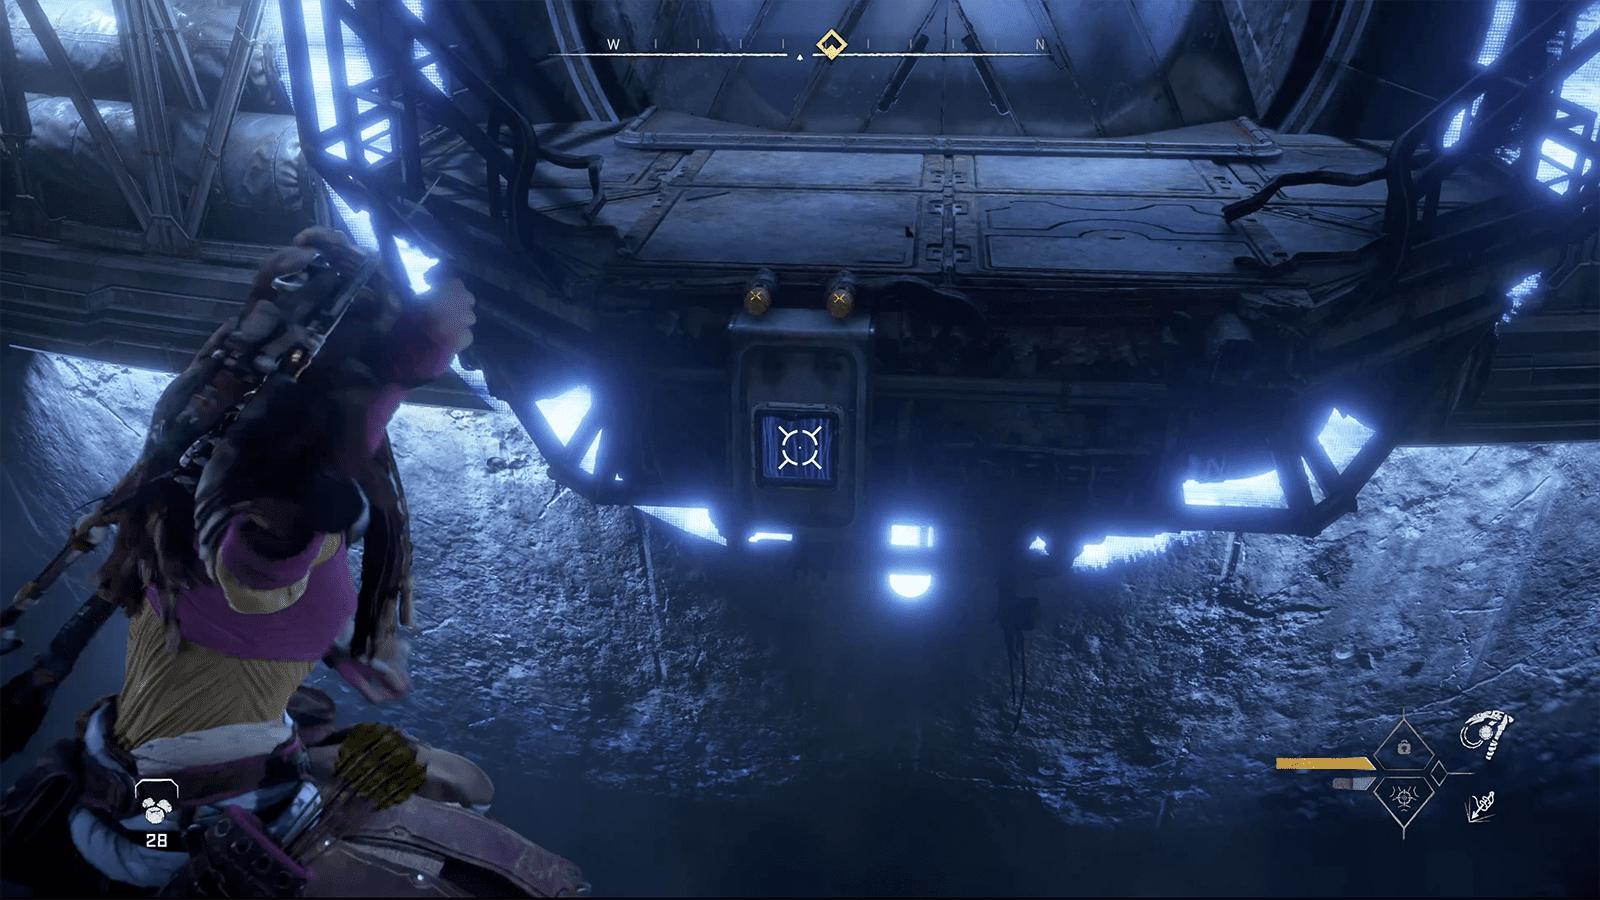
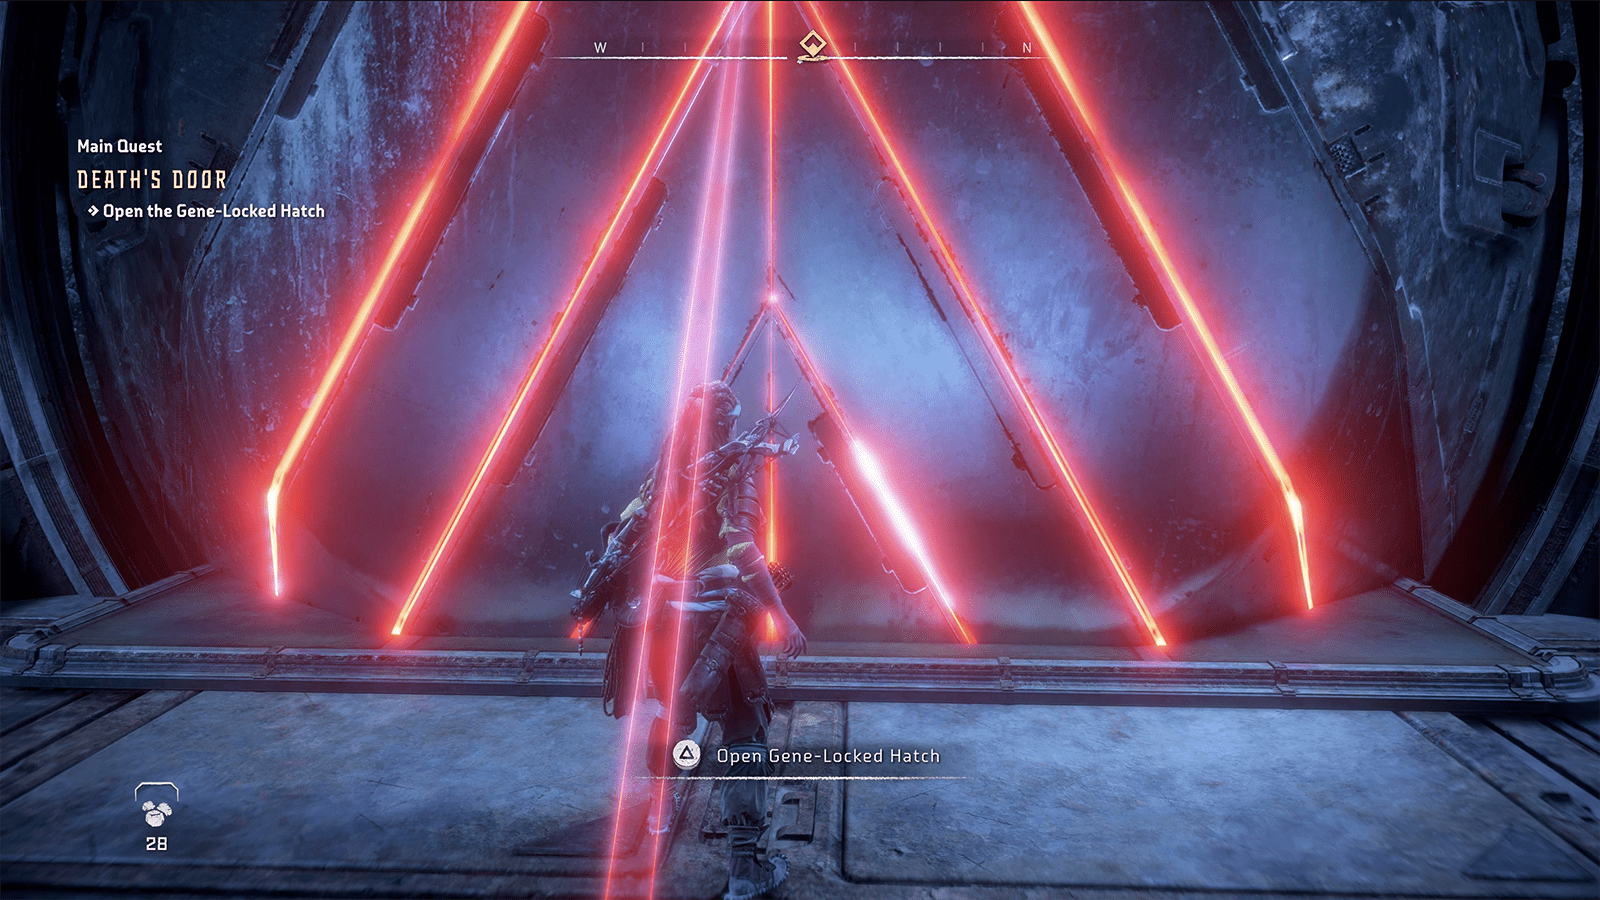
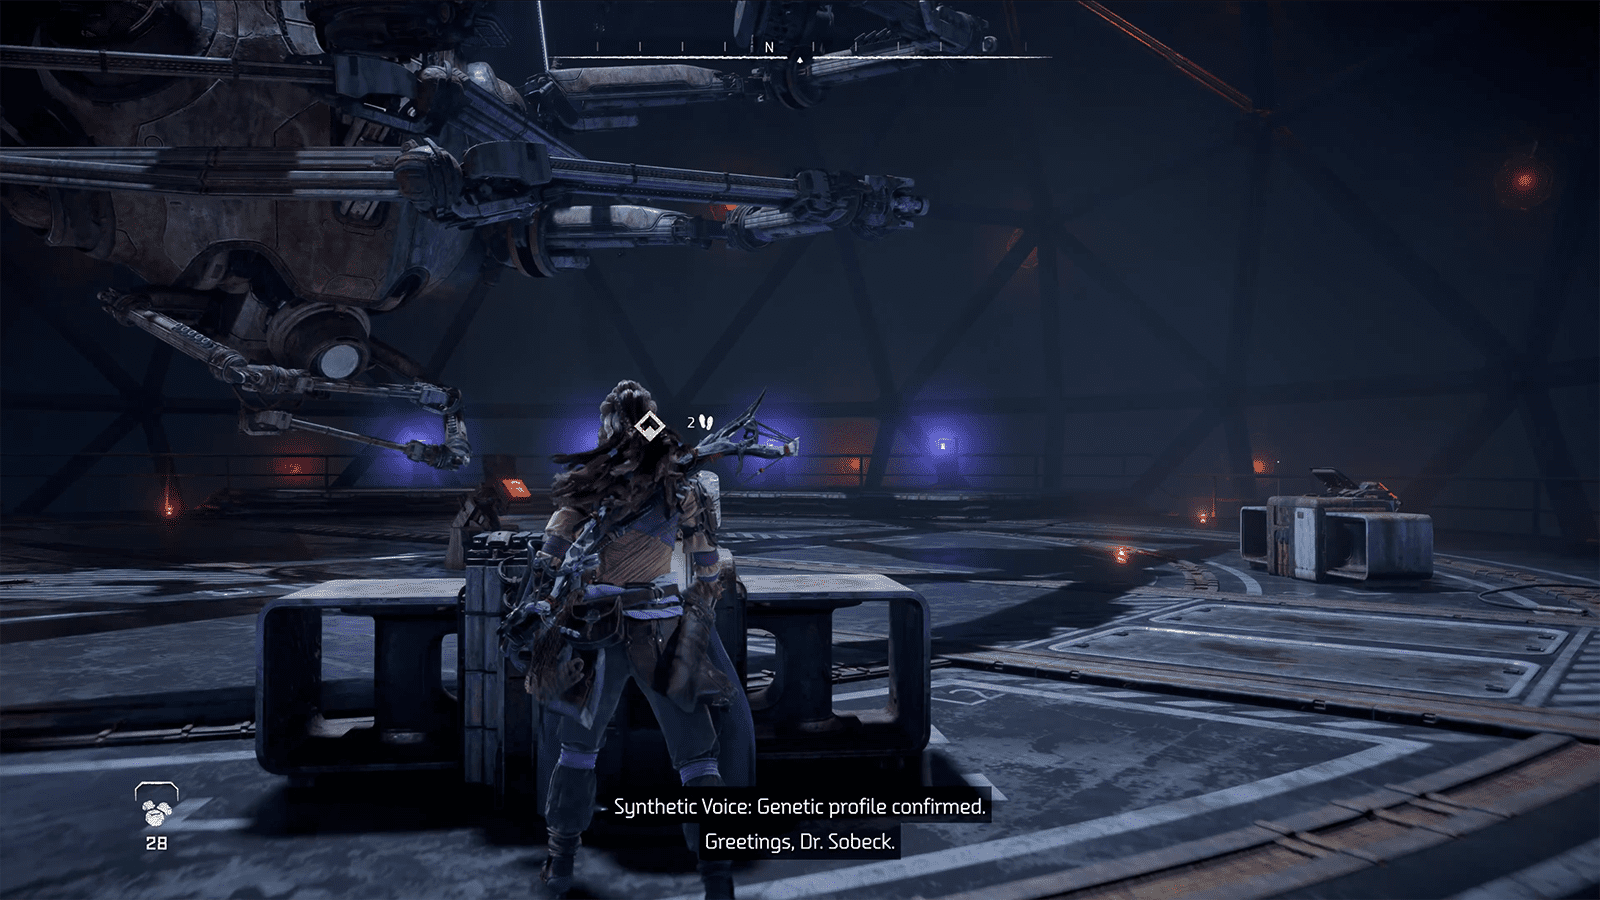
Jump onto it and then onto a pipe, and then use your Pullcaster once again to remove a grate on a pipe. Jump onto it via your Pullcaster, and then jump across the two remaining pipes. You should now be facing the gene-locked door but with no way to cross the gap. Underneath the ledge of the door is another grate you can pull open with your Pullcaster. Jump across with your Pullcaster and then climb onto the ledge and open the gene-locked door.
Proceed into the room behind the gene-locked door and head to the nearby console. Activate it, and you’ll activate the RECLUSE SPIDER. A new console at the base of RECLUSE SPIDER will appear, activate it and then examine the console. Shoot the suspension brace of the RECLUSE SPIDER’s arm and free the GAIA Repository. Examine the GAIA Repository and watch the cutscene.
Face The Mysterious Attacker
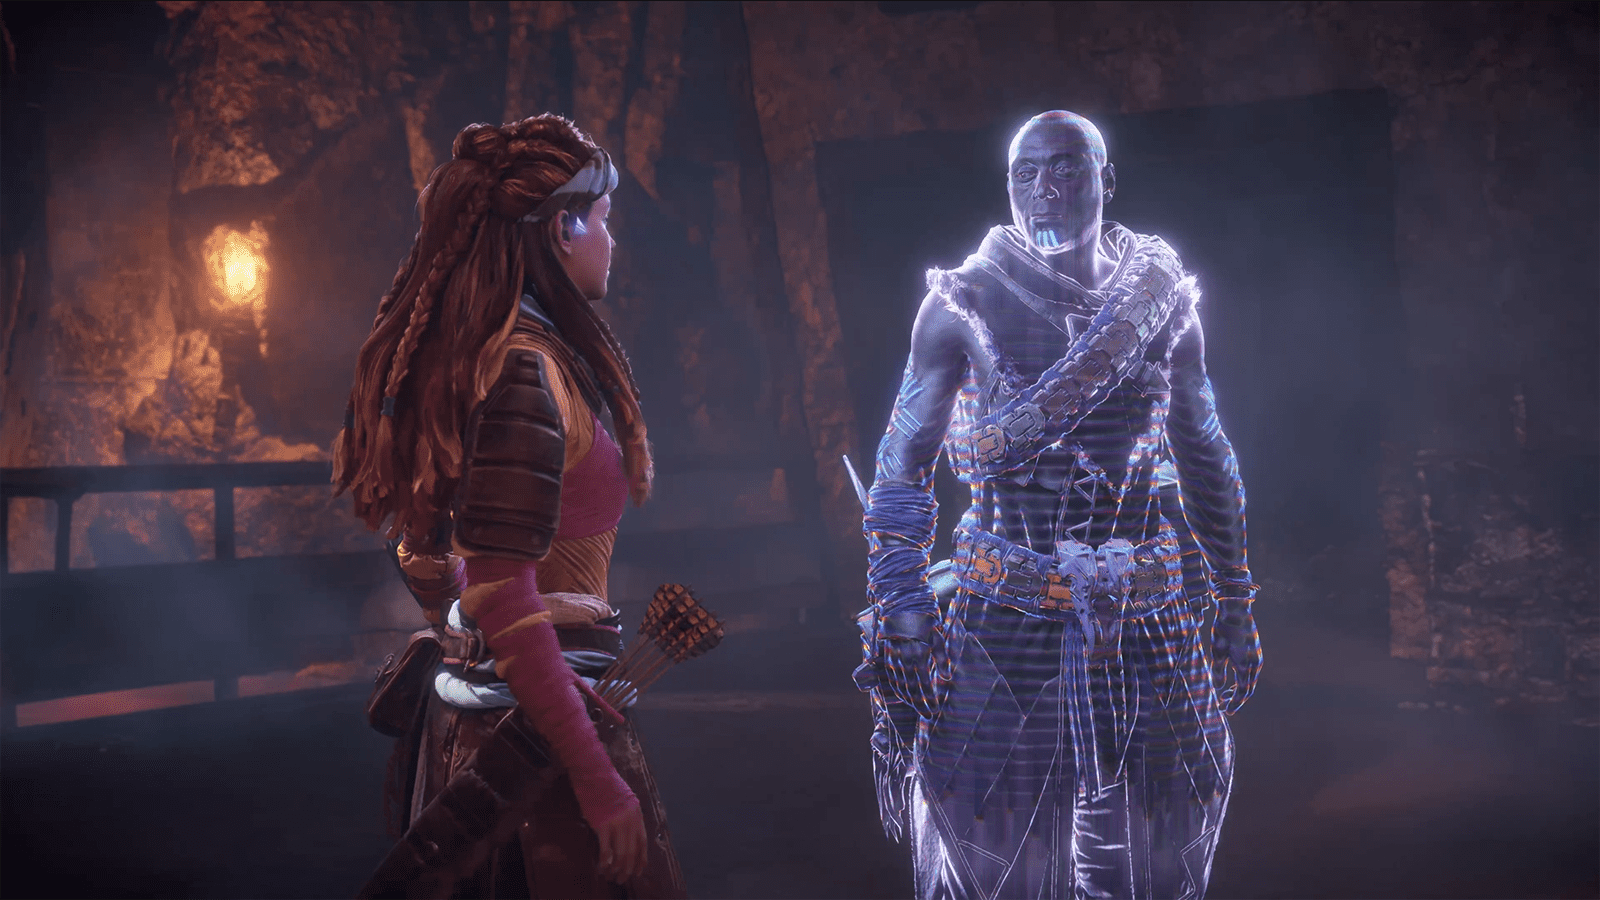
Immediately after the cutscene ends, you’ll have one objective; defeat the mysterious attacker. Unfortunately, you can’t physically harm him due to his shield. Instead, you’ll need to bait the stranger – Erik if you manage to scan him with your Focus – towards the far side of the room, and then rush to activate the console and lower the RECLUSE SPIDER. Once you’ve done that, you’ll need to shoot the RECLUSE SPIDER Arm suspension braces to drop it.
When you’re doing this, make sure you continue running around the arena to avoid Erik’s attacks. He’ll perform various leap attacks as well as a slam attack that will trigger trails of ice. He also has a blaster gun that can fire several projectiles, rather than dodging them as we did, it’s better to break into a sprint to avoid them.
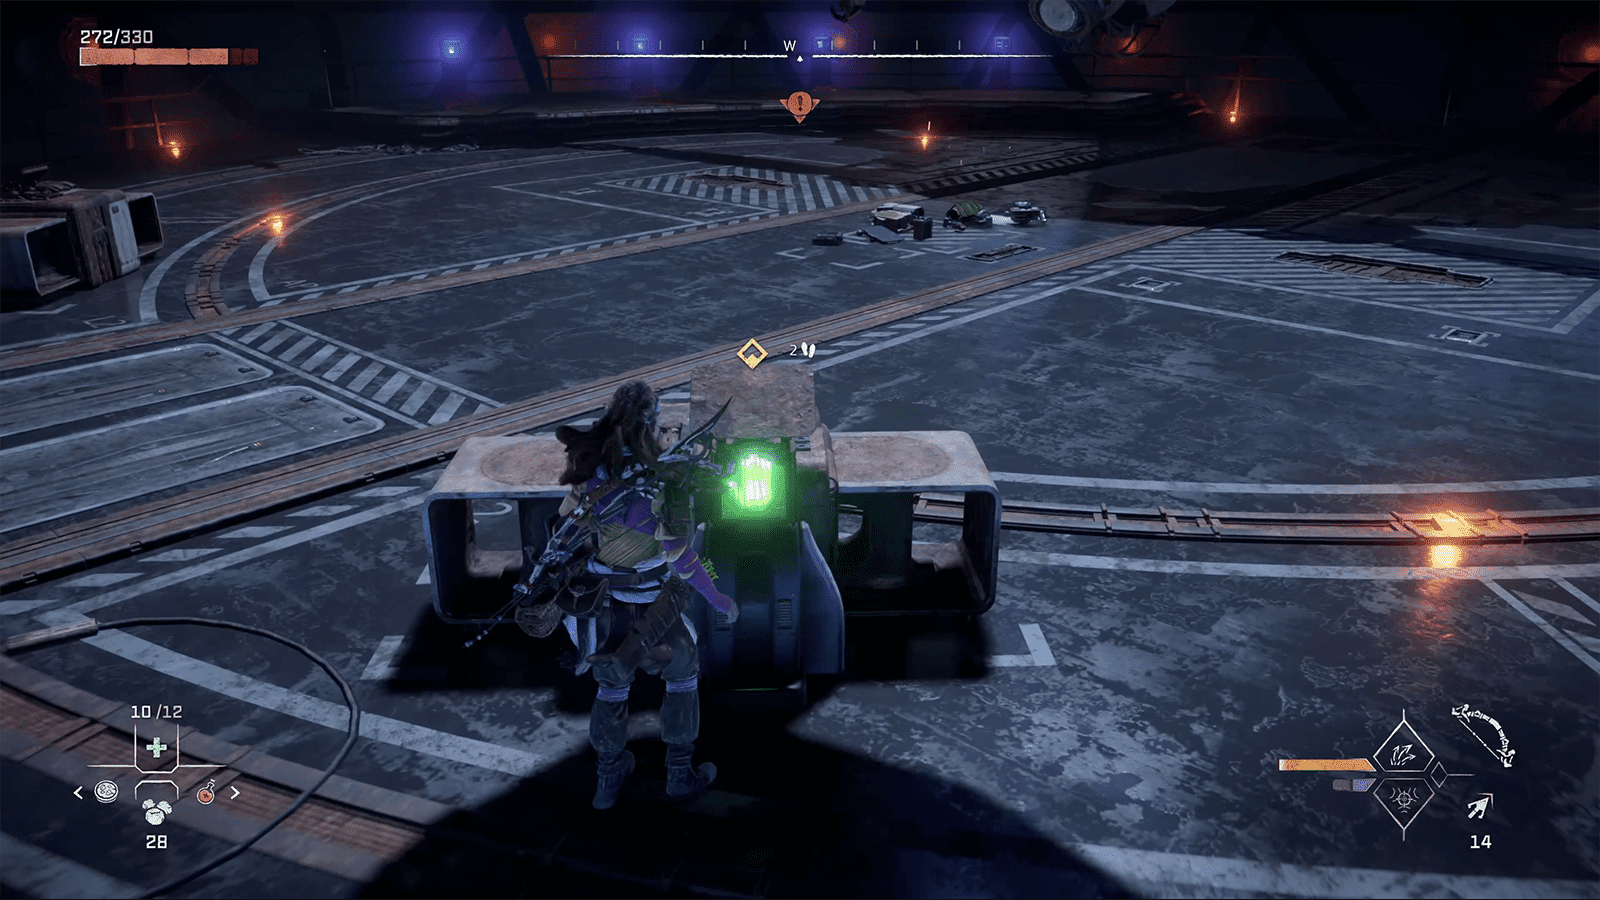
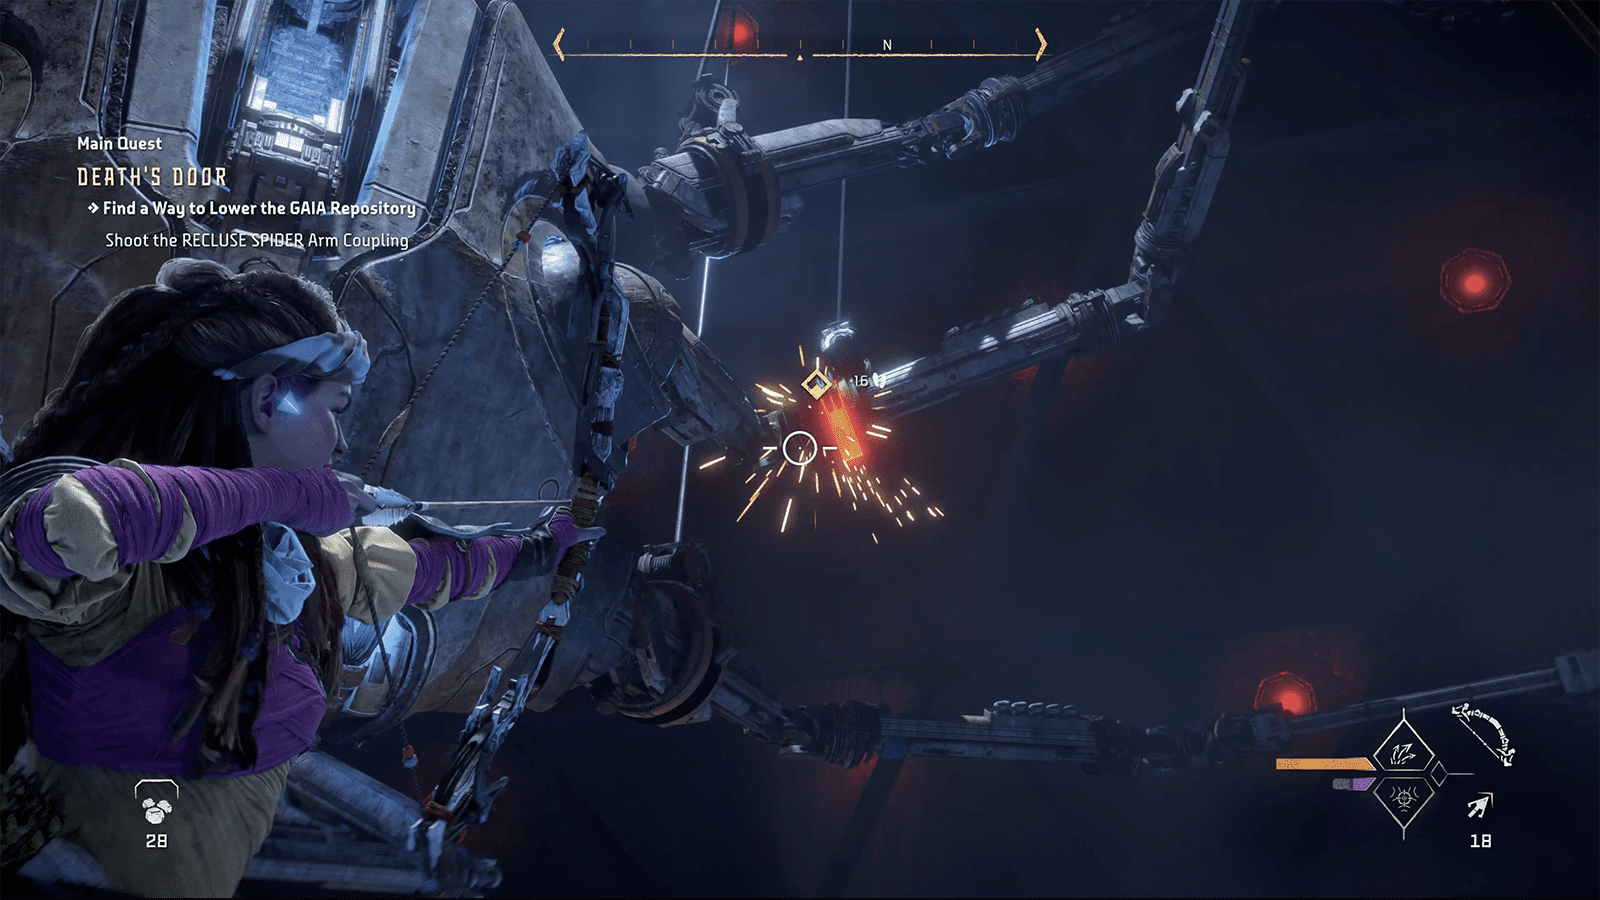
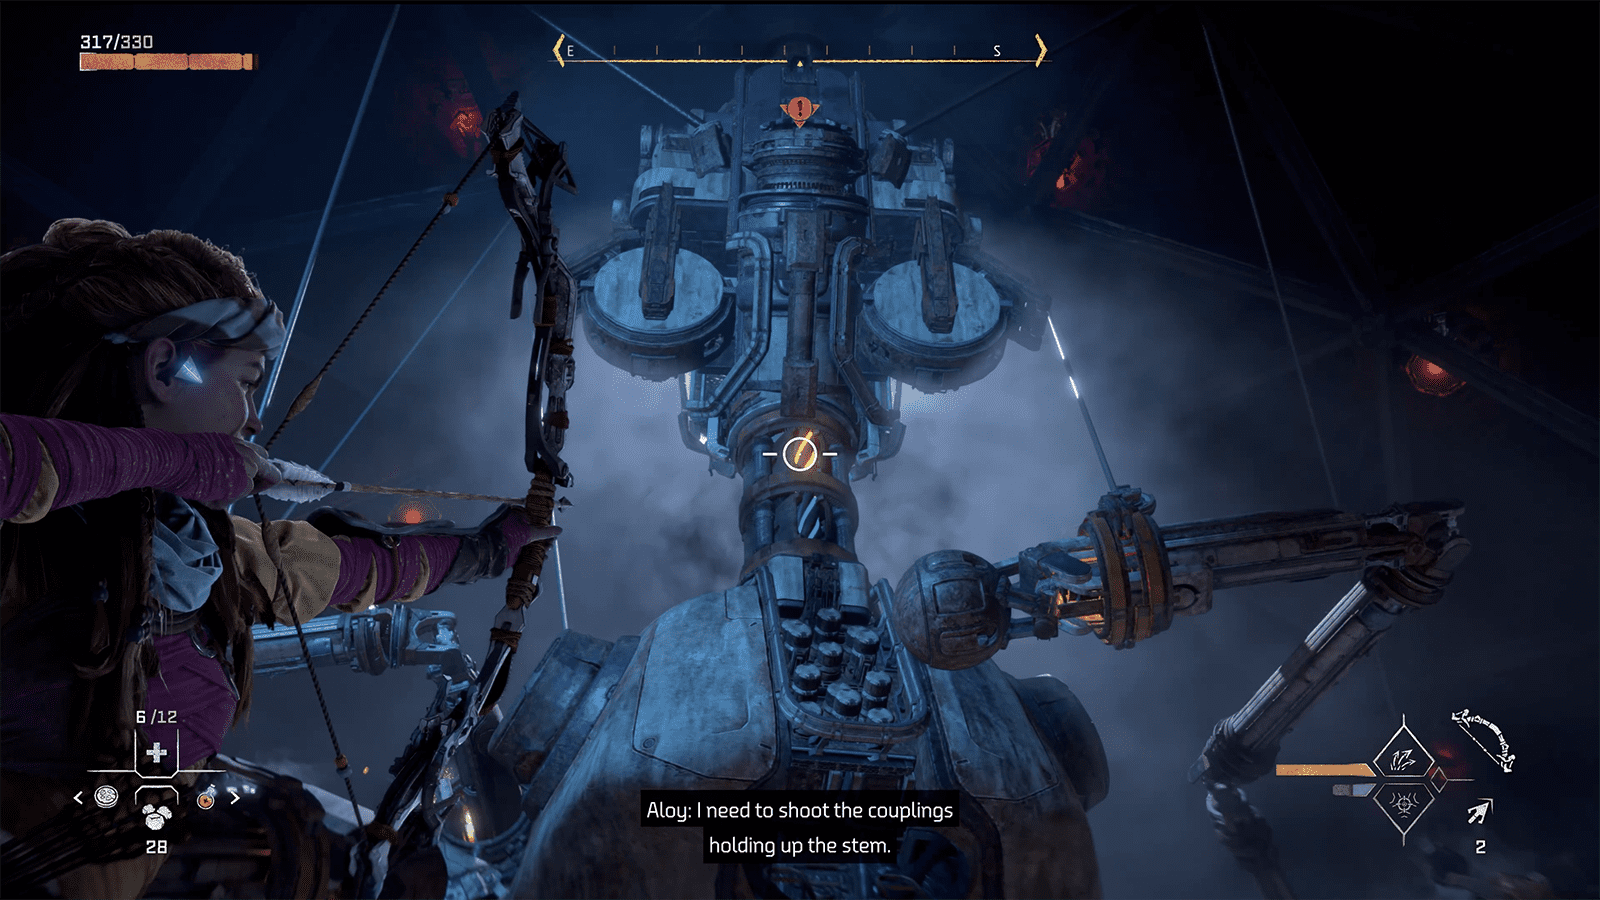
Each suspension brace will take two shots to take them down. Once you’ve destroyed all suspension braces, a cutscene will play, and you’ll enter the second phase of the fight. During this phase, Erik will have new attacks, including a new shock attack in which he floats in the air and releases a pulse of electricity.
Your objective now will be to shoot down the four RECLUSE SPIDER couplings holding the machine up. Do so while avoiding Erik’s attacks. When you’ve finally shot down all couplings, a cutscene will play and you’ll be thrown deeper into Latopolis, and you’ll need to escape.
Escape Latopolis
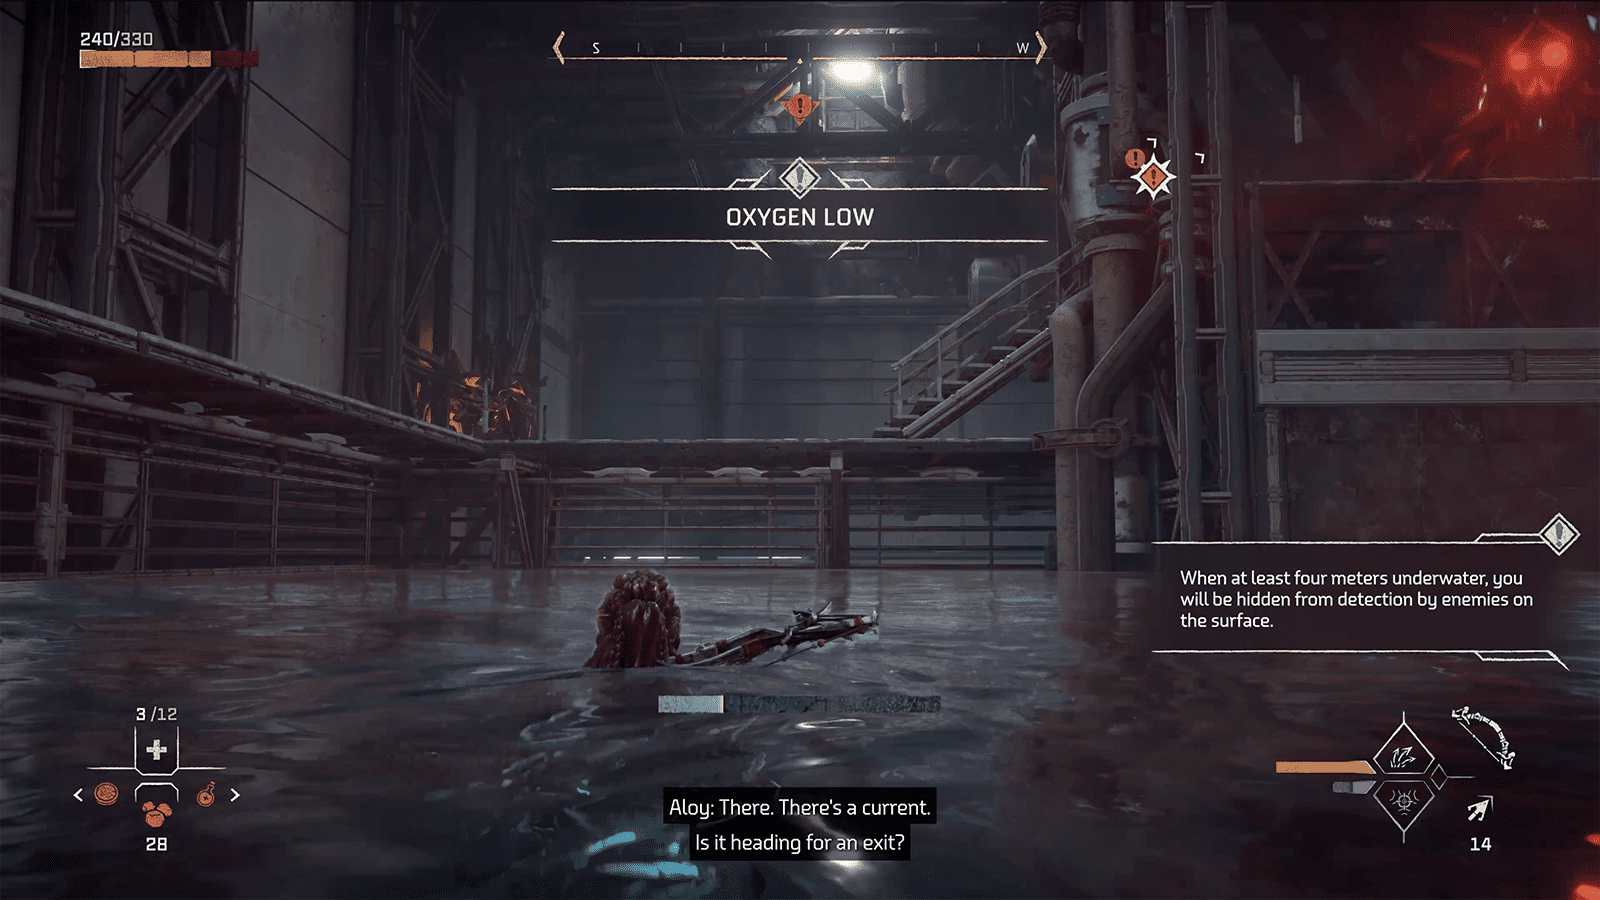
Immediately after the cutscene, you’ll find yourself in water. Dive into it and swim through the open passage ahead of you. Quickly follow the passage and immediately emerge for oxygen when you can. Unfortunately, this alerts the mysterious new machines – Spectres – so dive back into the water and swim through an open door to the right of the room. Emerge for water under the walkway so as to avoid alerting the Spectres, and then dive back into the water and open the closed door.
Swim through the passage and use boosters when possible. Once you’ve passed the hallway, emerge and climb onto the nearby platform. Ahead of you will be a grate you can pull open with your Pullcaster. Proceed into the vent and follow it around. You’ll need to push open another grate and immediately dive into the water as Spectres are in the same room and will shoot on sight.
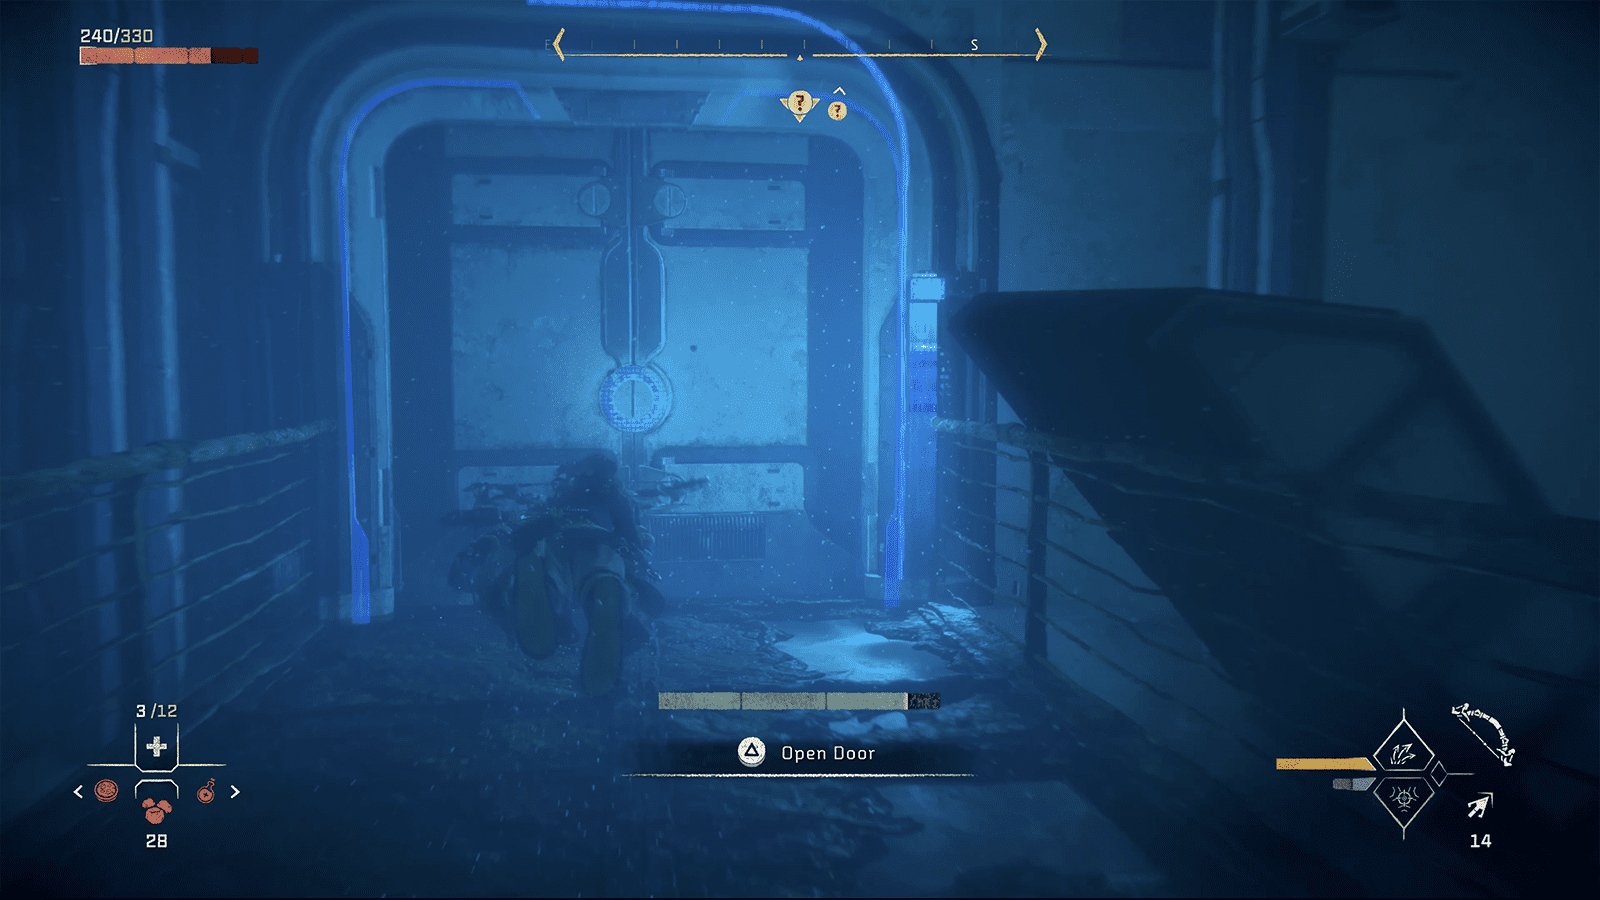
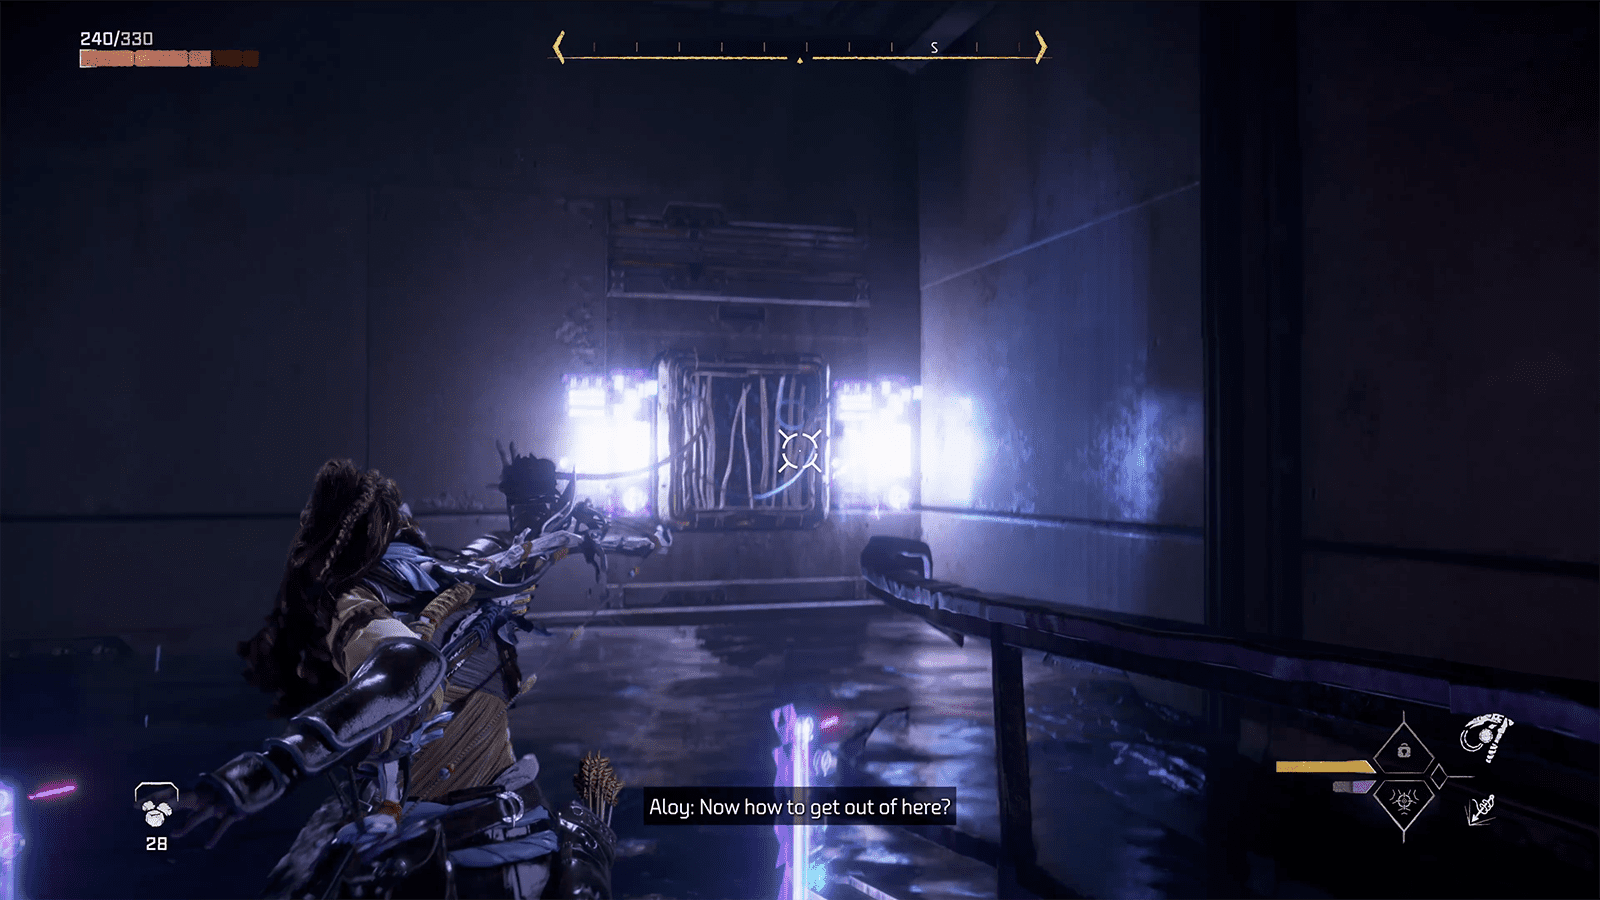
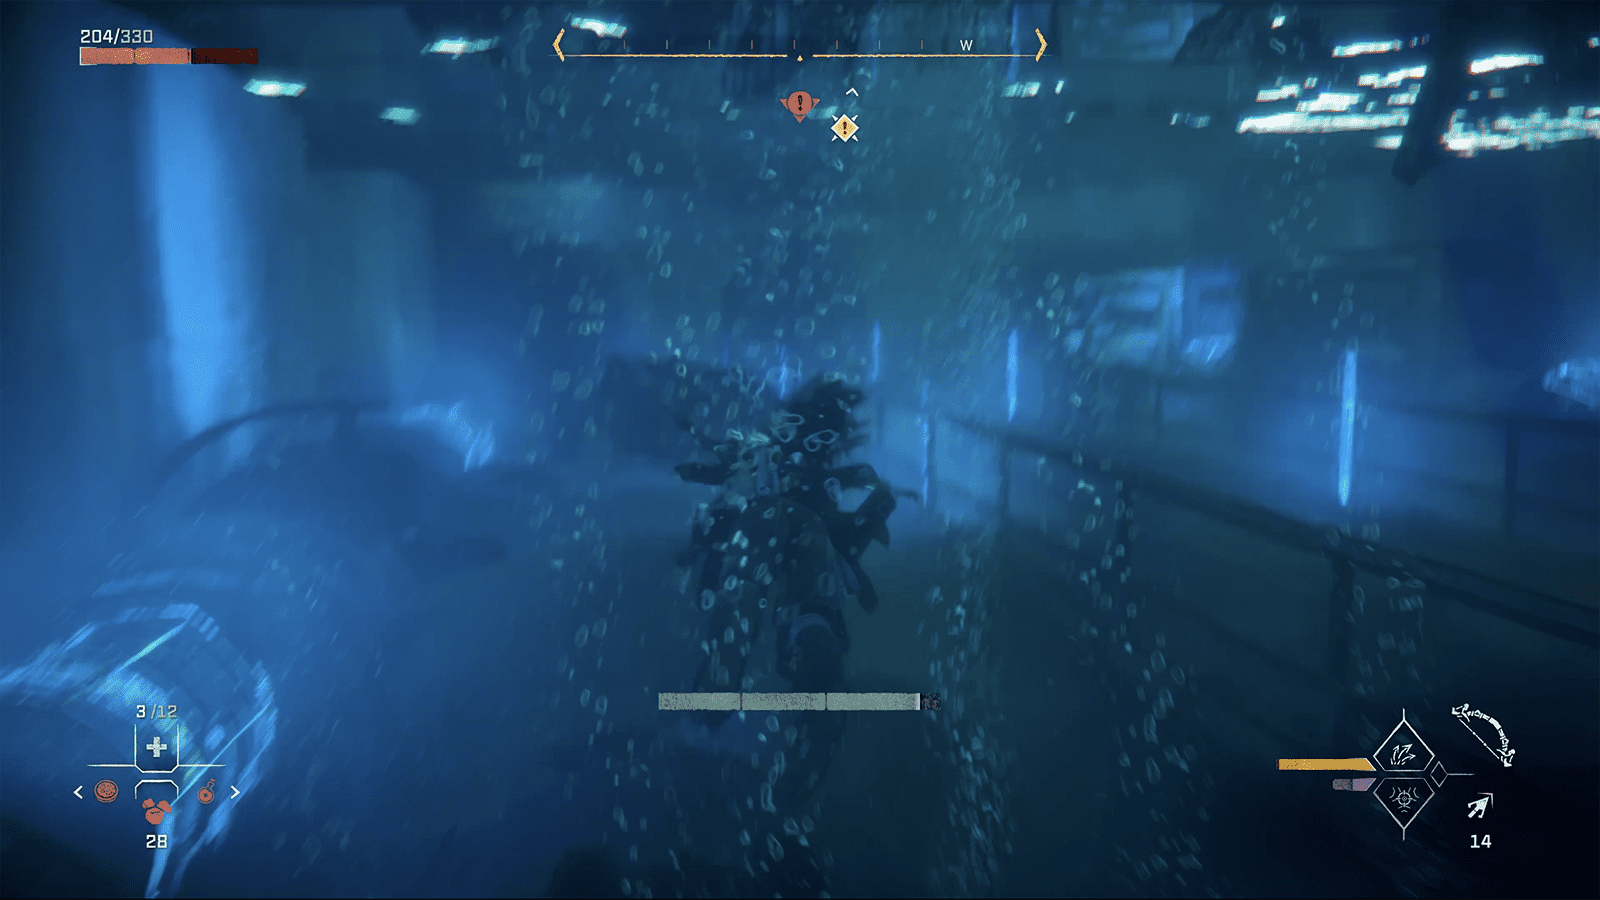
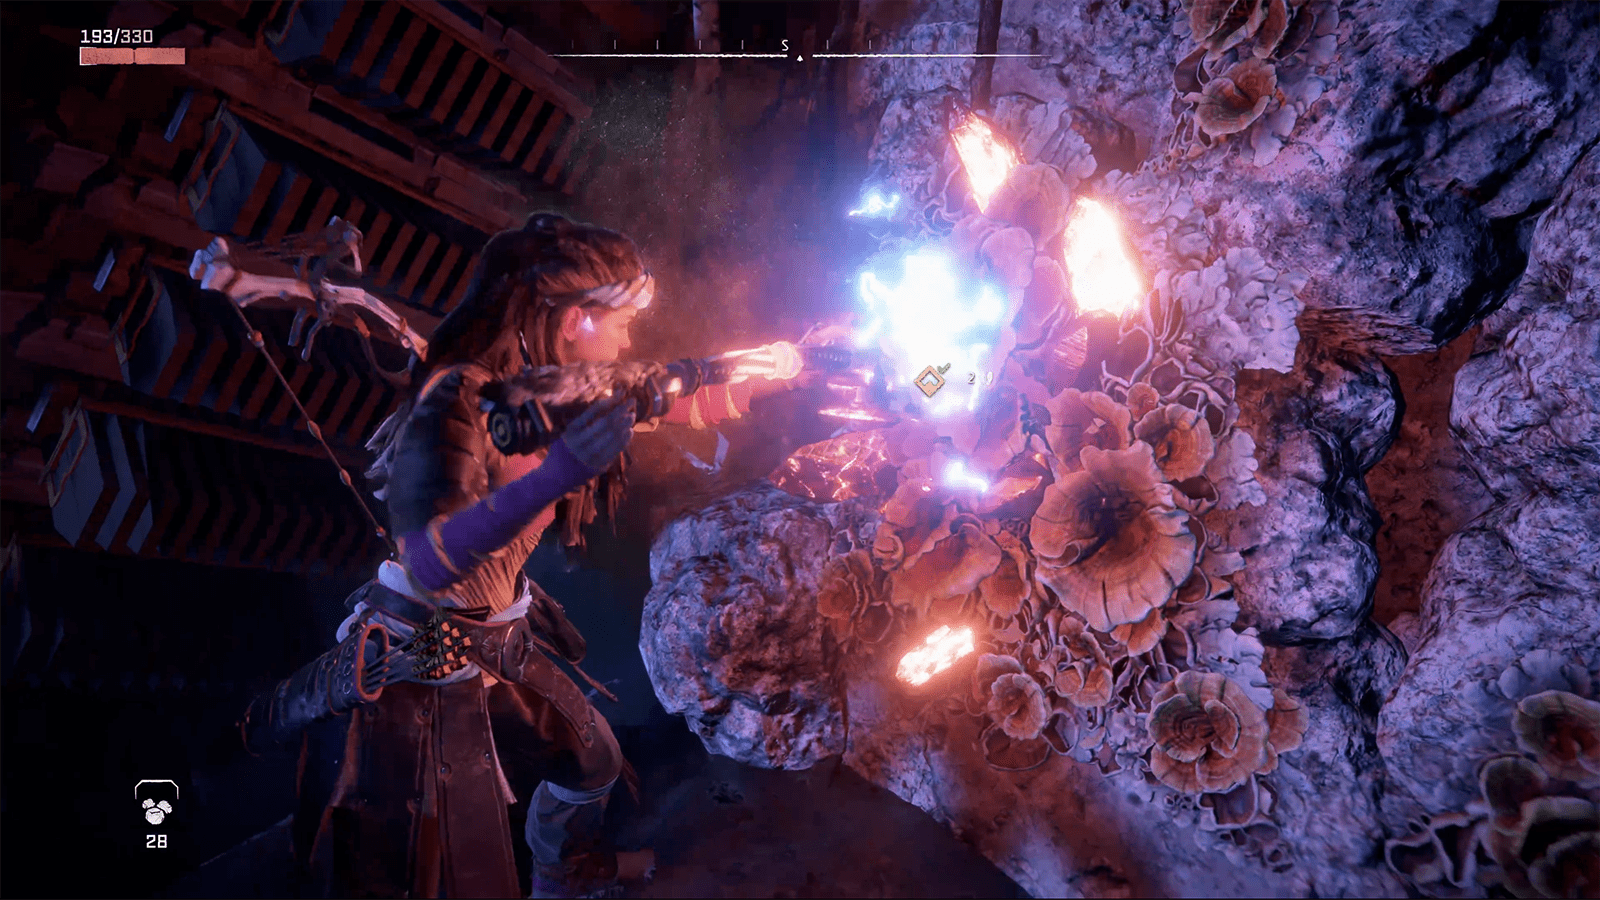
Follow the walkway ahead and then towards a door you can open. Proceed past it and emerge in an elevator shaft that you can climb. You’ll eventually enter another vent that will drop you into an adjacent room with a door you can open. Follow the hallway around and out onto the walkways, where you can ignite some Firegleam and end the mission by watching a cutscene.
Previous mission: ‘The Embassy’
Back To: Horizon Forbidden West Mission List
Next mission: ‘The Dying Lands’

