Dark Souls 3 boss order checklist
Dark Souls 3 comes with some of the best and most challenging bosses from the trilogy. Despite the game’s linear nature, Dark Souls 3 comes with branching paths that lead to mandatory and optional bosses, so where does a new player go and which boss do they do next? From the terrifying heights of Archdragon Peak to the deep dungeons of Irithyll, I’ve compiled a boss order list for Dark Souls 3 that includes the game’s two DLCs, all based on my multiple playthroughs.
Dark Souls 3 Boss Order Checklist
Base Game Bosses
Ashes of Ariandel DLC
The Ringed City DLC
Archdragon Peak (Secret Area)
1. ludex Gundyr
Rewards:
• 3,000 Souls
• Coiled Sword
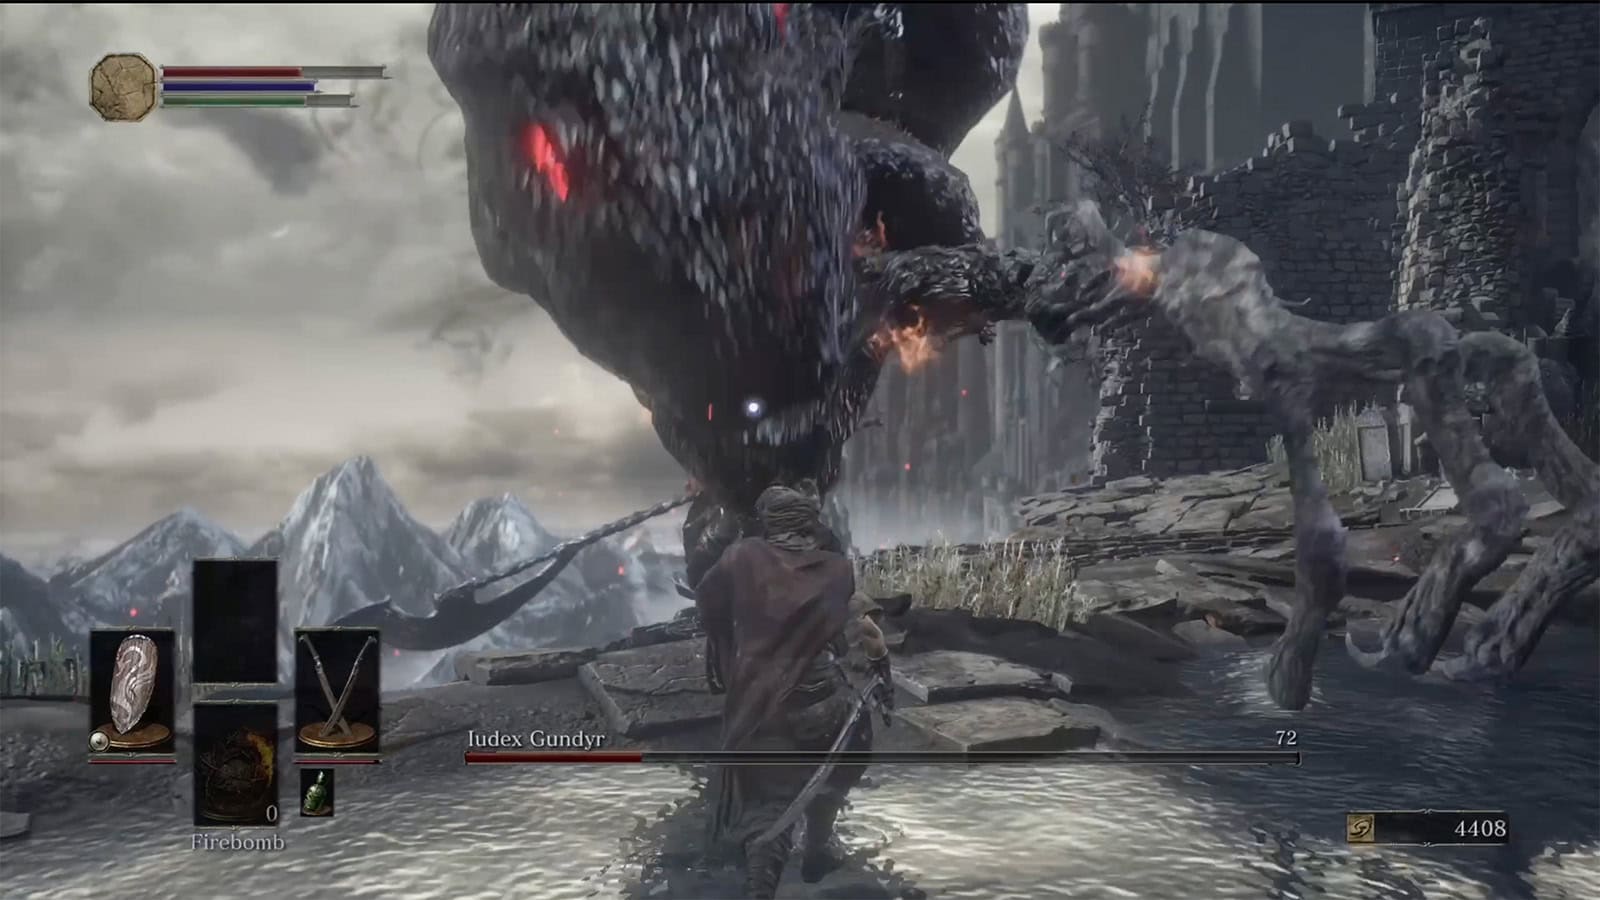
As the tutorial boss, ludex Gundyr isn’t challenging. Found at the end of the Cemetery of Ash, you have to approach ludex and pull the Coiled Sword out of his body to trigger the fight. The battle consists of two phases; the first against ludex and the second against a larger, mutated version.
ludex Gundyr generally attacks with his halberd, which has extensive reach and can hit hard, particularly with low health. But you can avoid most of the attacks by dodging into ludex and strafing to your right (He wields the halberd in his right hand). Just be wary of his grab attack, and try to stay to his left side. ludex Gundyr becomes extremely weak to fire damage once he transforms into his second phase, and using the Fire Bombs acquired from the Cemetery Of Ash can make quick work of him. Through his arena is Dark Souls 3’s hub; Firelink Shrine, where you can level up and spend your hard-earned Souls.
2. Vordt of the Boreal Valley
Rewards:
• 3,000 Souls
• Soul of Boreal Valley Vordt
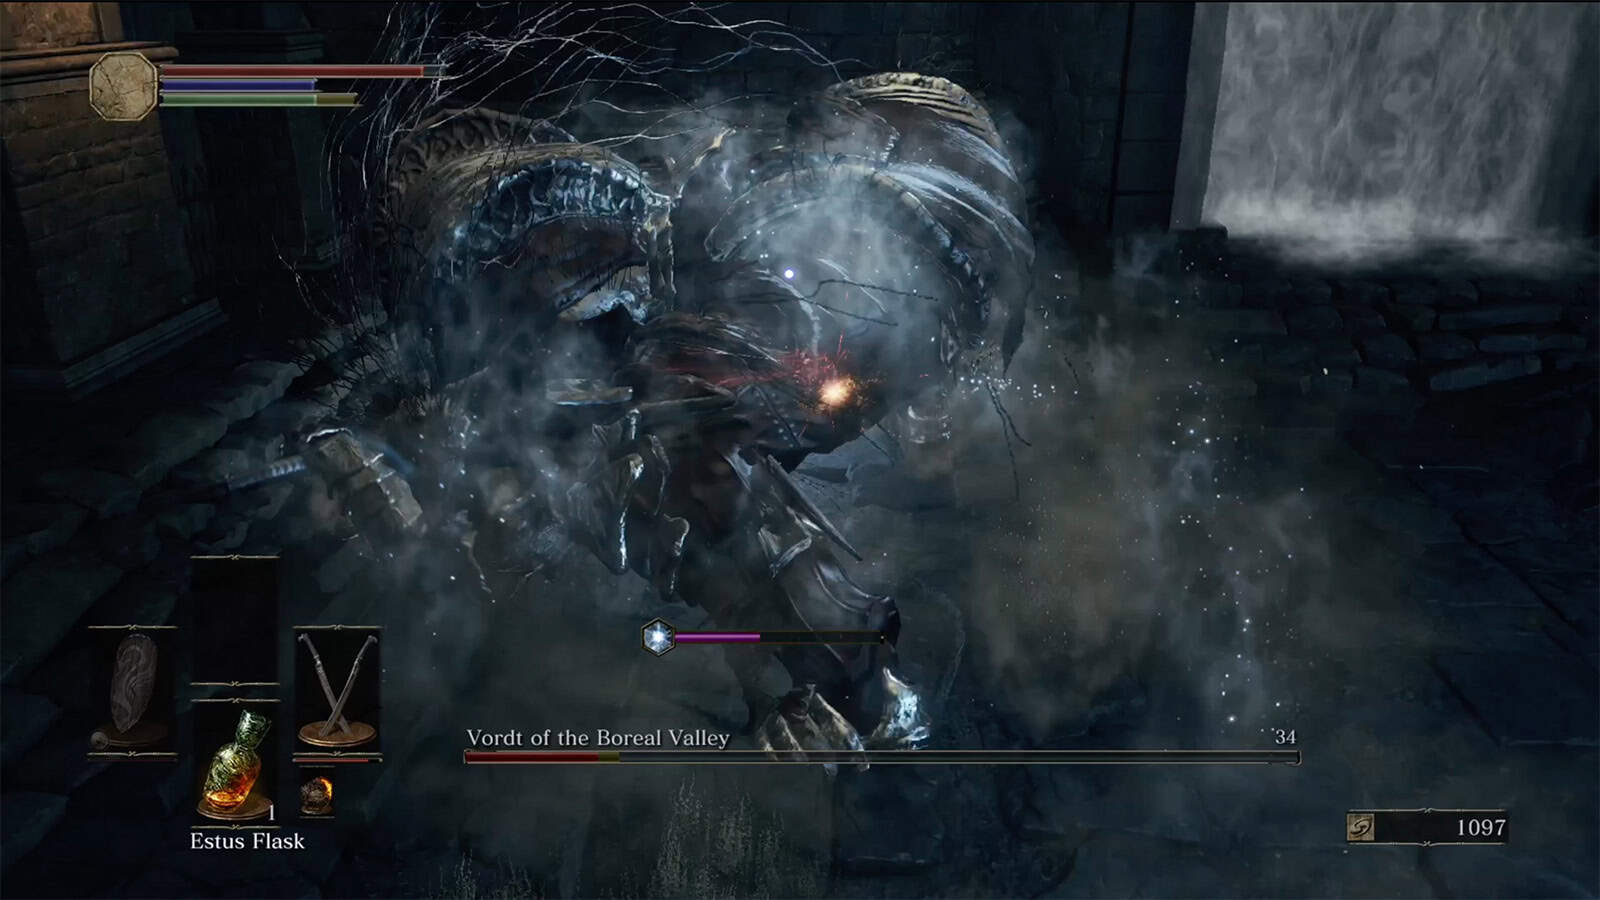
Vordt of the Boreal Valley is found at High Wall of Lothric. Although his attacks are easy to avoid, Vordt can still prove to be a challenge due to his ability to inflict Frostbite, which deals around 11% of your max HP damage plus more.
One of the best ways to avoid taking damage is by staying under Vordt or behind him. Continue striking him while in position, but keep an eye on your Frostbite buildup as it can quickly kill you if your health isn’t topped up. Also keep an eye out for his charge attacks; bait him into a wall, and then attack. Once defeated, you can open the large doors at the foot of the arena, approach the cliff, and hold up the banner to be taken to the Undead Settlement.
3. Curse-Rotted Greatwood (Optional)
Rewards:
• 7,000 Souls
• Transposing Kiln
• Soul of the Rotted Greatwood
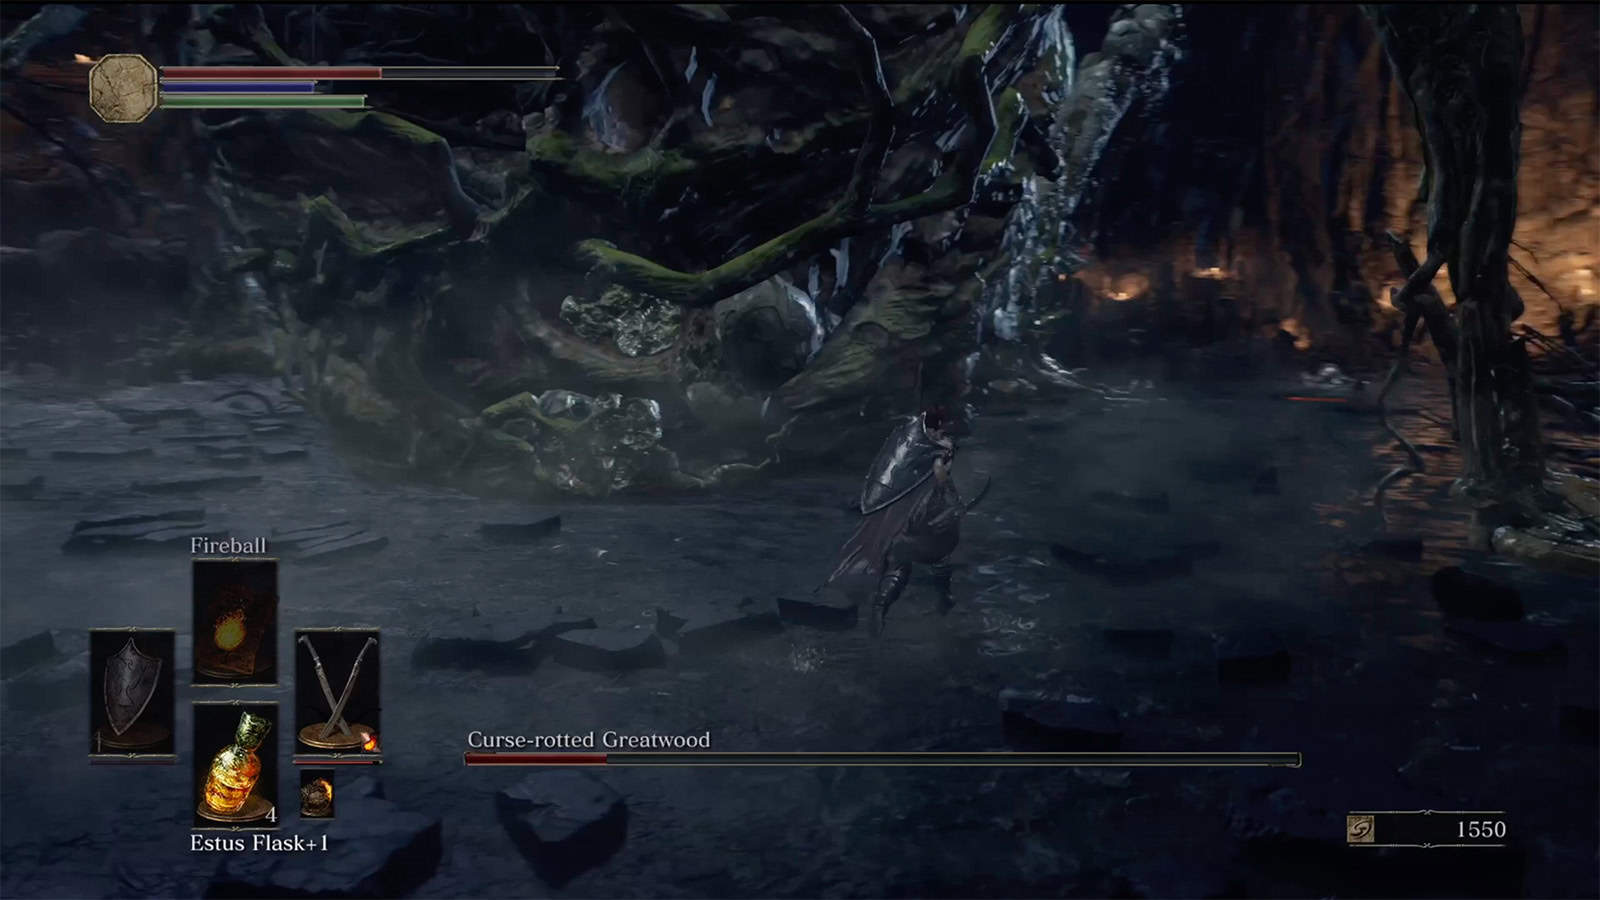
The Curse-Rotted Greatwood is an optional boss, but a mandatory one for anyone who wants to purchase and use boss weapons. Found deep in the Undead Settlement, the Curse-Rotted Greatwood is a tree-like boss located in a large courtyard alongside several Undead that you should kill before starting the fight. To trigger the boss battle, simply walk towards the boss, and it should turn to face you, starting the fight.
When fighting the Curse-Rotted Greatwood, you’ll need to direct your attacks to its sacs as hitting the tree itself deals no damage. The Greatwood is weak to slash, thrust, and fire damage, and we suggest you stick with fire to make quick work of the boss. Once you’ve dealt enough damage, the floor to the boss arena will break and you will fall through to a crater. The Curse-Rotted Greatwood’s attacks remain the same throughout the fight; slams, spins, rolls, grab, and acid spewing. It’s not too hard, but it can be frustrating looking out for the tree’s sacs while avoiding attacks. Just be patient. Once you’ve acquired the Transposing Kiln, you can speak with X at Firelink Shrine to acquire boss weapons with boss Souls.
4. Crystal Sage
Rewards:
• 8,000 Souls
• Soul of a Crystal Sage
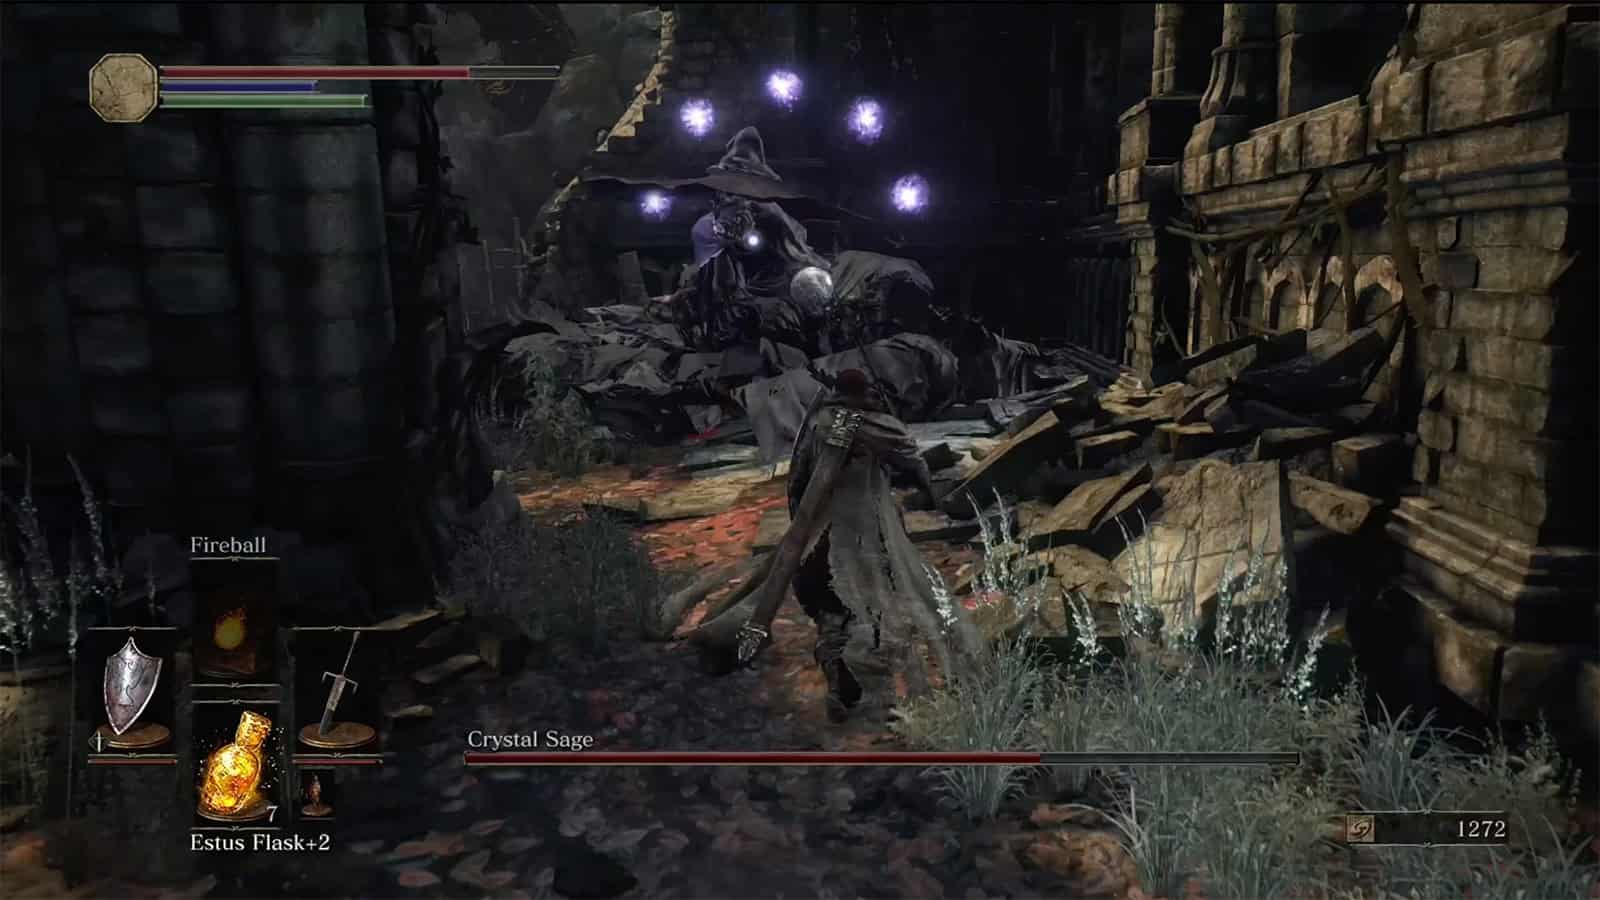
Found at the Road of Sacrifices after Crucifixion Woods, the Crystal Sage is a magic-based boss that attacks with sorcery and, when up-close, their rapier. More of a puzzle than a solid boss encounter, the Crystal Sage will teleport to different spots within its arena while you attack it. You’ll need to avoid its Soul Spears and other magic, rush to the boss, and attack it until it teleports. Repeat this until you trigger the second phase, where the Crystal Sage summons clones that perform sorceries but take no damage.
When the Sage summons clones, you’ll need to avoid all of their magical attacks and figure out which Sage is the real one, easily identified by the colours of their spells; the Sage’s spells will be blue while its replicas are purple. While I generally avoid fighting the clones and focus on fighting the true Sage, their combined magic can easily become overwhelming and kill you quickly, so keep an eye out or use high magic resistant gear. Defeating the Sage allows you to access the optional Cathedral Of The Deep, where you can trigger the game’s DLCs and obtain some great gear.
5. Deacons of the Deep
Rewards:
• 13,000 Souls
• Small Doll
• Soul of the Deacons of the Deep
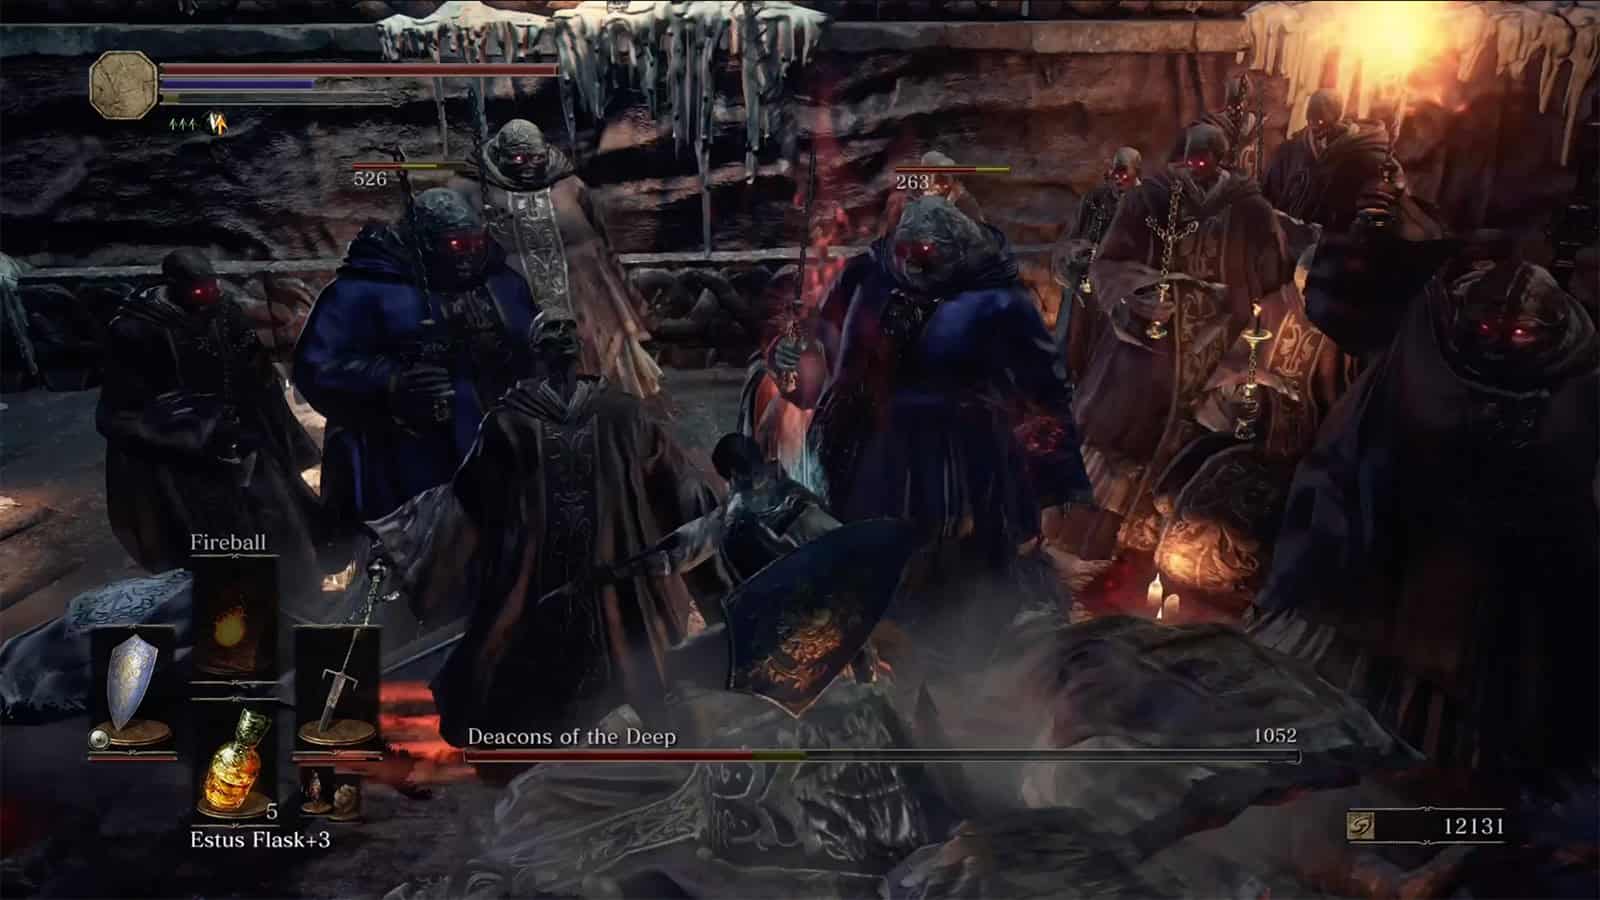
The Deacons of the Deep are generally thought to be one of the most boring bosses in Dark Souls 3. It consists of a group of clerics that defend the wandering soul of the Archdeacon. To defeat them, you need to locate and defeat the cleric that is possessed by the Archdeacon’s soul – look for the cleric that has a red shimmering effect over it. Whenever you defeat a cleric, the Archdeacon soul will swap to another cleric again and again until the group has been defeated.
Due to the sheer number of clerics, you can easily get overwhelmed as they unleash fireballs or attack you with candlesticks. Once you’ve dealt enough damage, four blue-robed clerics will appear that can heal the Archdeacon and cast a lengthy spell that covers the arena in fog that inflicts curse, killing you quickly. The boss encounter isn’t difficult, and can be made easier by using a weapon with a large swing radius or using the Vow of Silence weapon, which prevents spell casting. Once you’ve defeated the Deacons, you’ll obtain the Small Doll item, which is required to enter Irithyll of the Boreal Valley – an important location later in the game.
6. Abyss Watchers
Rewards:
• 13,500 Souls
• Cinders of a Lord
• Soul of the Blood of the Wolf
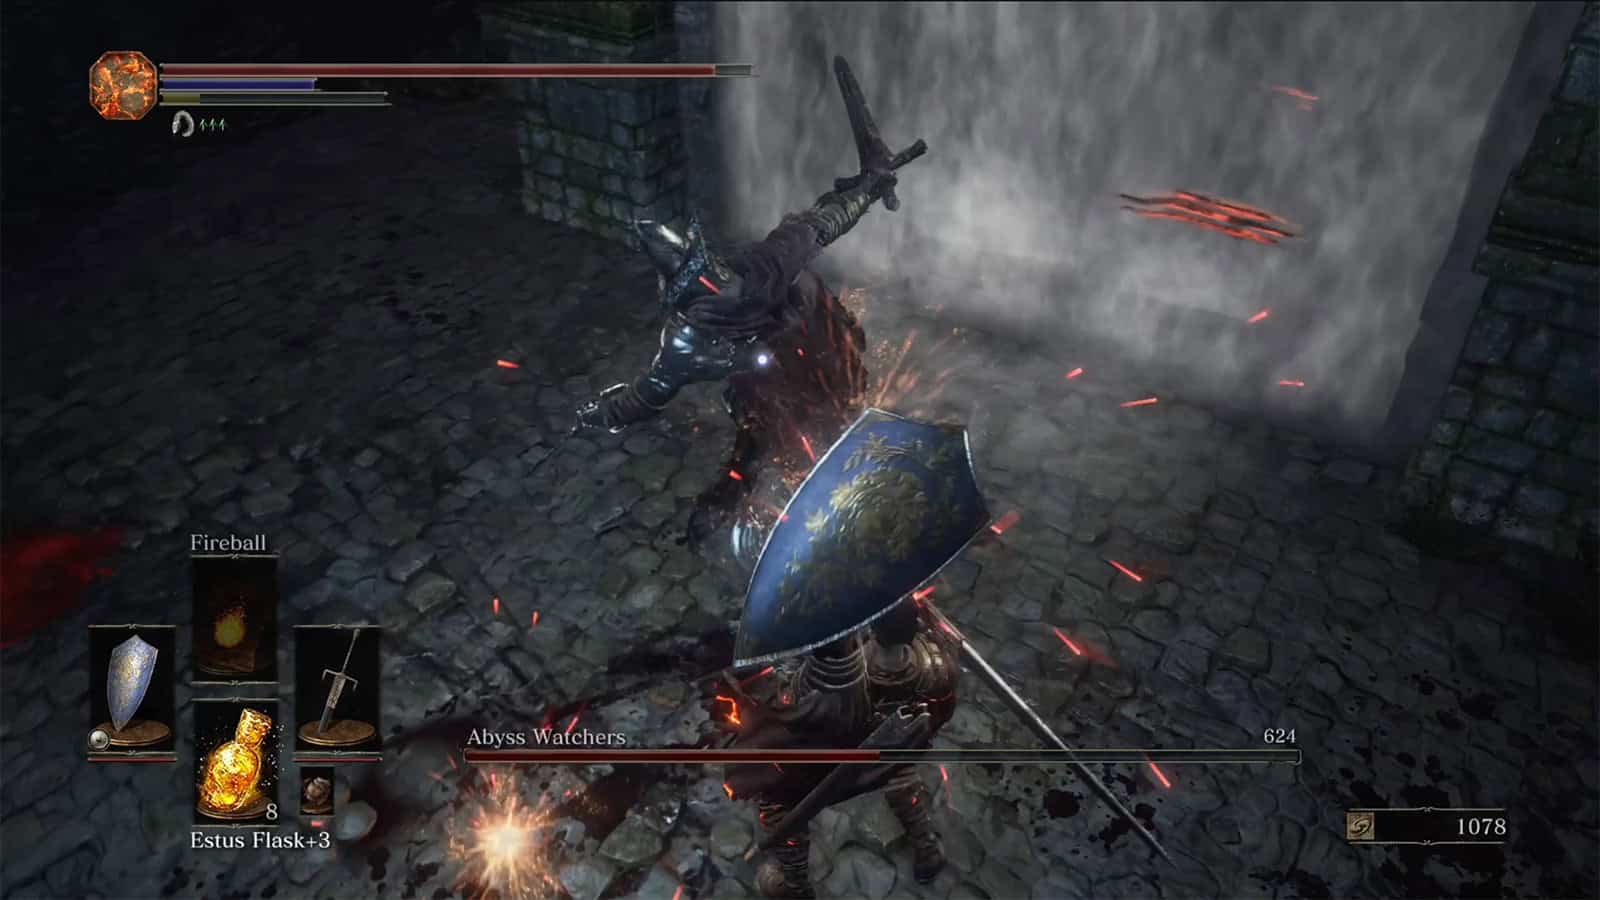
One of the most iconic boss encounters in the Souls trilogy. The Abyss Watchers are found deep in the poisonous Farron Keep, accessible only once you’ve extinguished the three fires. A legion of troops wearing leather armour, the Abyss Watchers are a Lord of Cinder and when first wandering into their boss arena, you’ll find them fighting amongst themselves before they turn their attention to you.
Your target will be a single Abyss Watcher that will primarily attack you alongside a companion that spawns occasionally and a third that attacks the first two. Whenever a Watcher is killed, a new Watcher is spawned every 20 seconds. During the first phase of the fight, the Abyss Watchers use their greatsword and dagger to perform various swipes, slams, slashes, and stabs.
By depleting the health bar, you’ll trigger the second phase of the boss encounter; a one-on-one fight with the original Watch, who infuses their greatsword with fire. No other Watchers spawn, but the boss now performs all of their attacks with fire damage alongside a flaming dash that leaves a trail of fire.
You’ll need to be quick at dodging when fighting the Abyss Watchers during both phases, particularly during the second half of the fight when you’ll need to avoid the attacks and fire trails. Remain vigilant to stop yourself from being outnumbered, and only attack when there is an opening – a good one is baiting their slam and dash attacks and retaliating as they recover. By defeating the Abyss Watchers, you’ll earn your first Cinder of a Lord, and can progress to the dark Catacombs Of Carthus.
7. High Lord Wolnir
Rewards:
• 22,000 Souls
• Soul of High Lord Wolnir
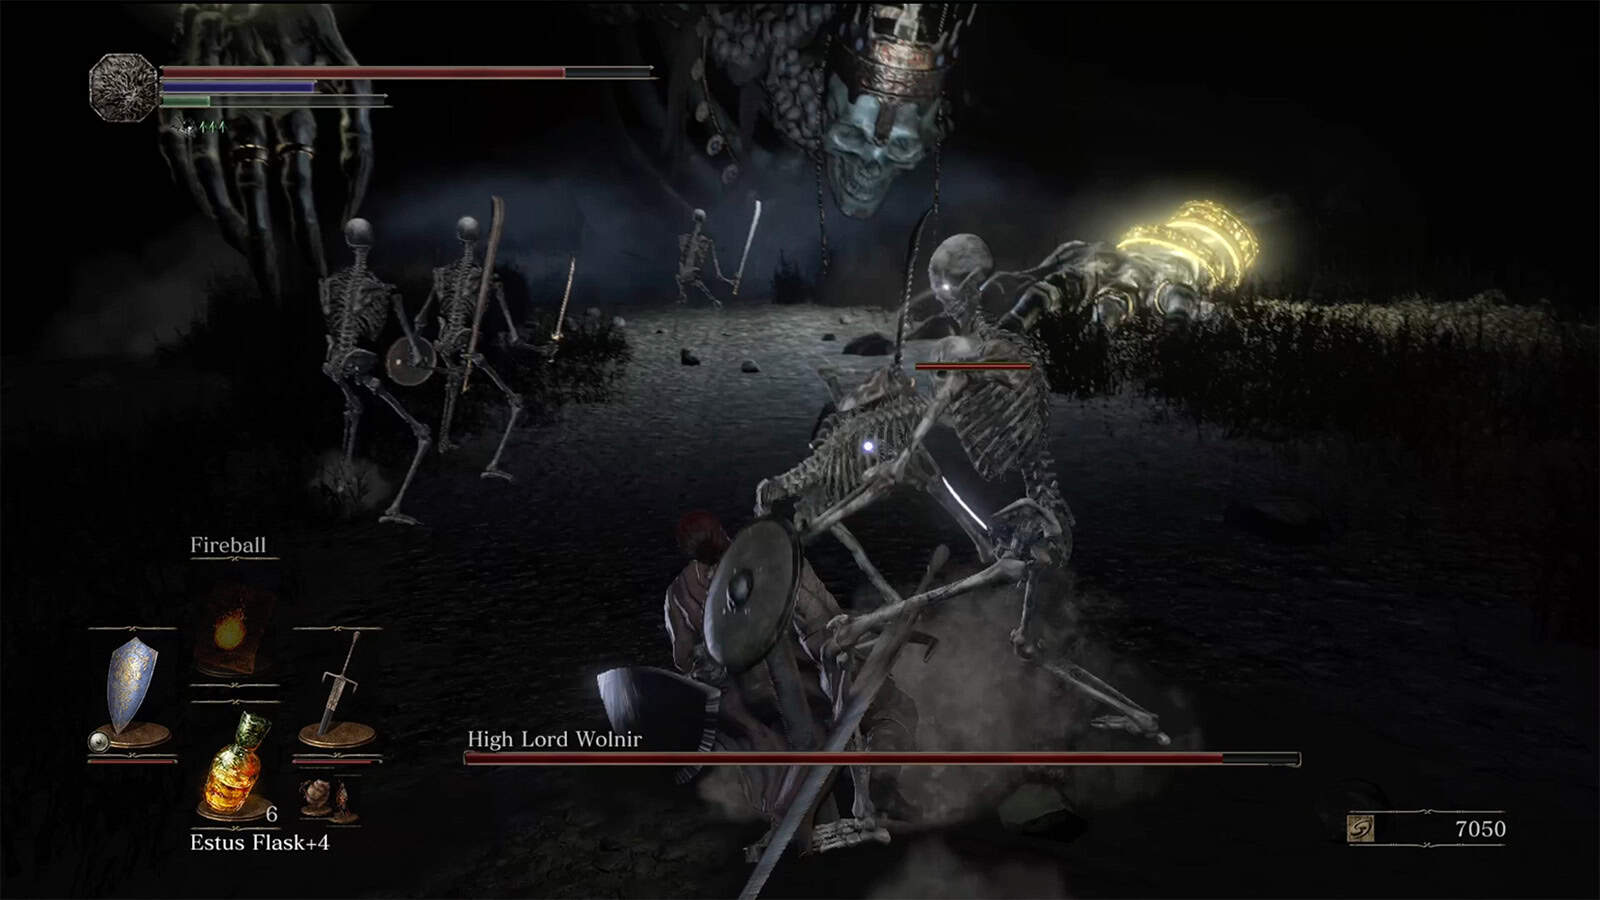
High Lord Wolnir is a frustrating boss, and one that usually takes me a few tries due to its reliance on luck. Accessed by touching a goblet on an altar in the Catacombs of Carthus, a cutscene is triggered where you’re transported into a dark room. Lord Wolnir is the gigantic skeleton at the end of the arena, wearing enchanted bracelets. To defeat him, you need to smash his bracelets. Sounds easy, right? Unfortunately, venturing too far into the darkness around Wolnir can kill you, and Wolnir can move up the arena, reducing your space and blocking you against walls.
High Lord Wolnir’s attacks are slow and generally consist of him slamming or swiping his hands. However, he can randomly summon a giant sword and a group of skeletons. You’ll need to be quick, attacking Wolnir’s bracelets only. If you smash the bracelets quickly enough, Lord Wolnir, who is weak to Faith weapons, should not summon his sword or other skeletons. A cutscene will trigger once you’ve defeated Wolnir, taking you back to the altar, where you can climb a staircase and witness one of the most gorgeous views in all of gaming.
8. Pontiff Sulyvahn
Rewards:
• 28,000 Souls
• Soul of Pontiff Sulyvahn
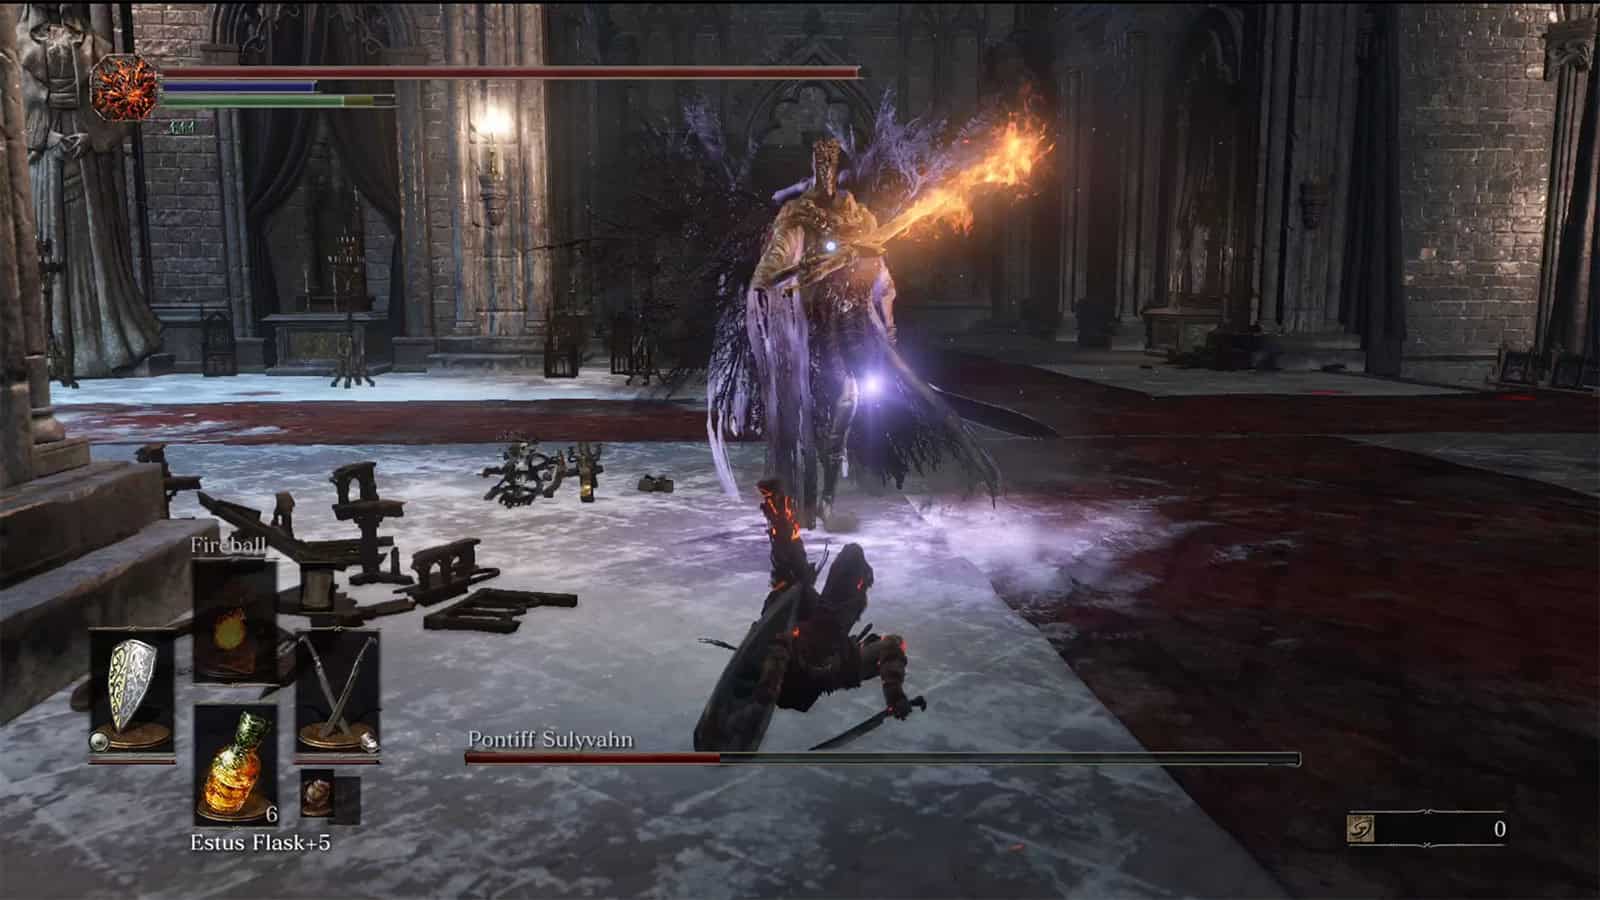
Pontiff Sulyvahn is arguably one of the most difficult bosses in the game. A sorcerer found in Irithyll of the Boreal Valley, Pontiff Sulyvahn possesses two greatswords, one imbued with fire and the other with magic. He’s incredibly aggressive and the fight consists of two phases, one in which you’ll fight Pontiff Sulyvahn alone and another in which you’ll fight him with a clone. During the second phase, Sulyvahn’s clone will perform an attack and Sulyvahn will repeat it immediately after, but both deal damage to you.
This fight is incredibly challenging due to Pontiff Sulyvahn’s aggression, hard-hitting attacks, and the clone in the second phase. We suggest you try to stick to the stairs in the boss arena or the upper section of the area which has more room for dodging and parrying attacks. Do not panic dodge, take your time when dodging or blocking and only attack when you can – avoid getting greedy. Once defeated, you’ll be able to access the remainder of Irithyll of the Boreal Valley and the terrifying Irithyll Dungeon.
9. Yhorm the Giant
Rewards:
• 36,000 Souls
• Cinders of a Lord
• Soul of Yhorm the Giant
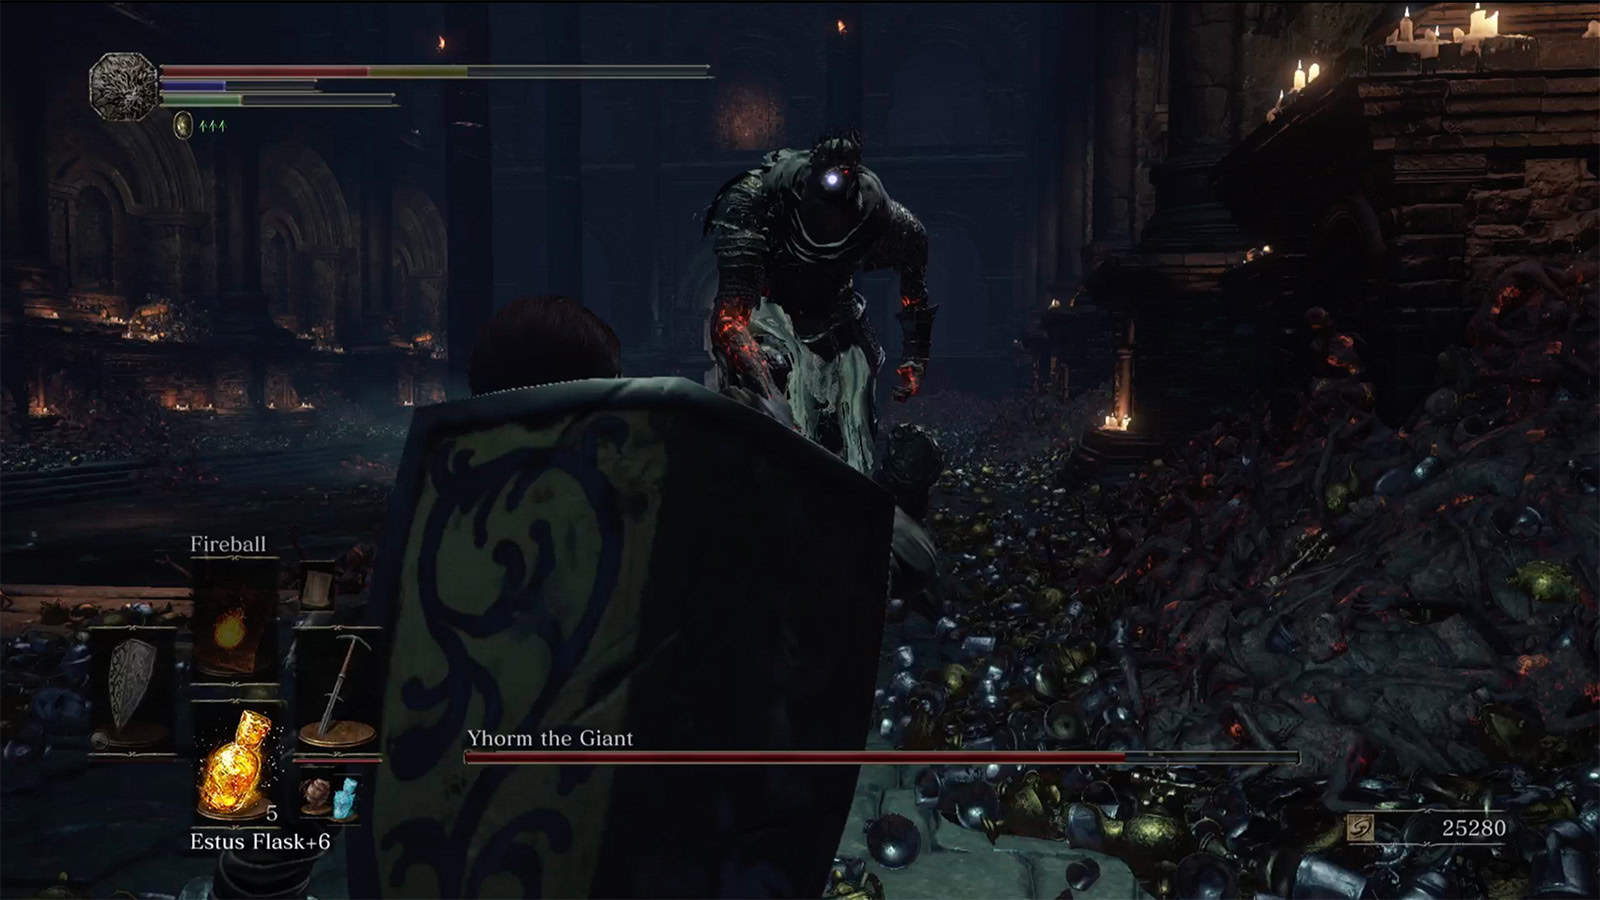
Yhorm the Giant is a Lord of Cinder. Found in the Profaned Capital, beyond Irithyl, Yhorm was the city’s leader and can be found in a large chamber deep within the Capital. He attacks with a gigantic machete, which is infused with fire in the second phase. A gimmick boss, Yhorm the Giant can be defeated using an ordinary weapon, but it’ll take a very, very long time. Instead, the game pushes you to use the Storm Ruler, a weapon from previous Souls games that can be found beside his throne in the boss arena.
You’ll need to grab and equip it, charge the weapon until it glows bright, and then use its weapon art to damage Yhorm. Performing a few strikes with the Storm Ruler will quickly dispatch Yhorm, and if you’ve followed Siegward of Catalina’s questline, he’ll join you in the fight while wielding a second Storm Ruler given to him by Yhorm himself. It’s a good idea to have some extra Ashen Estus Flask charges to perform more weapon art attacks.
10. Aldrich, Devourer of Gods
Rewards:
• 50,000 Souls
• Cinders of a Lord
• Soul of Aldrich
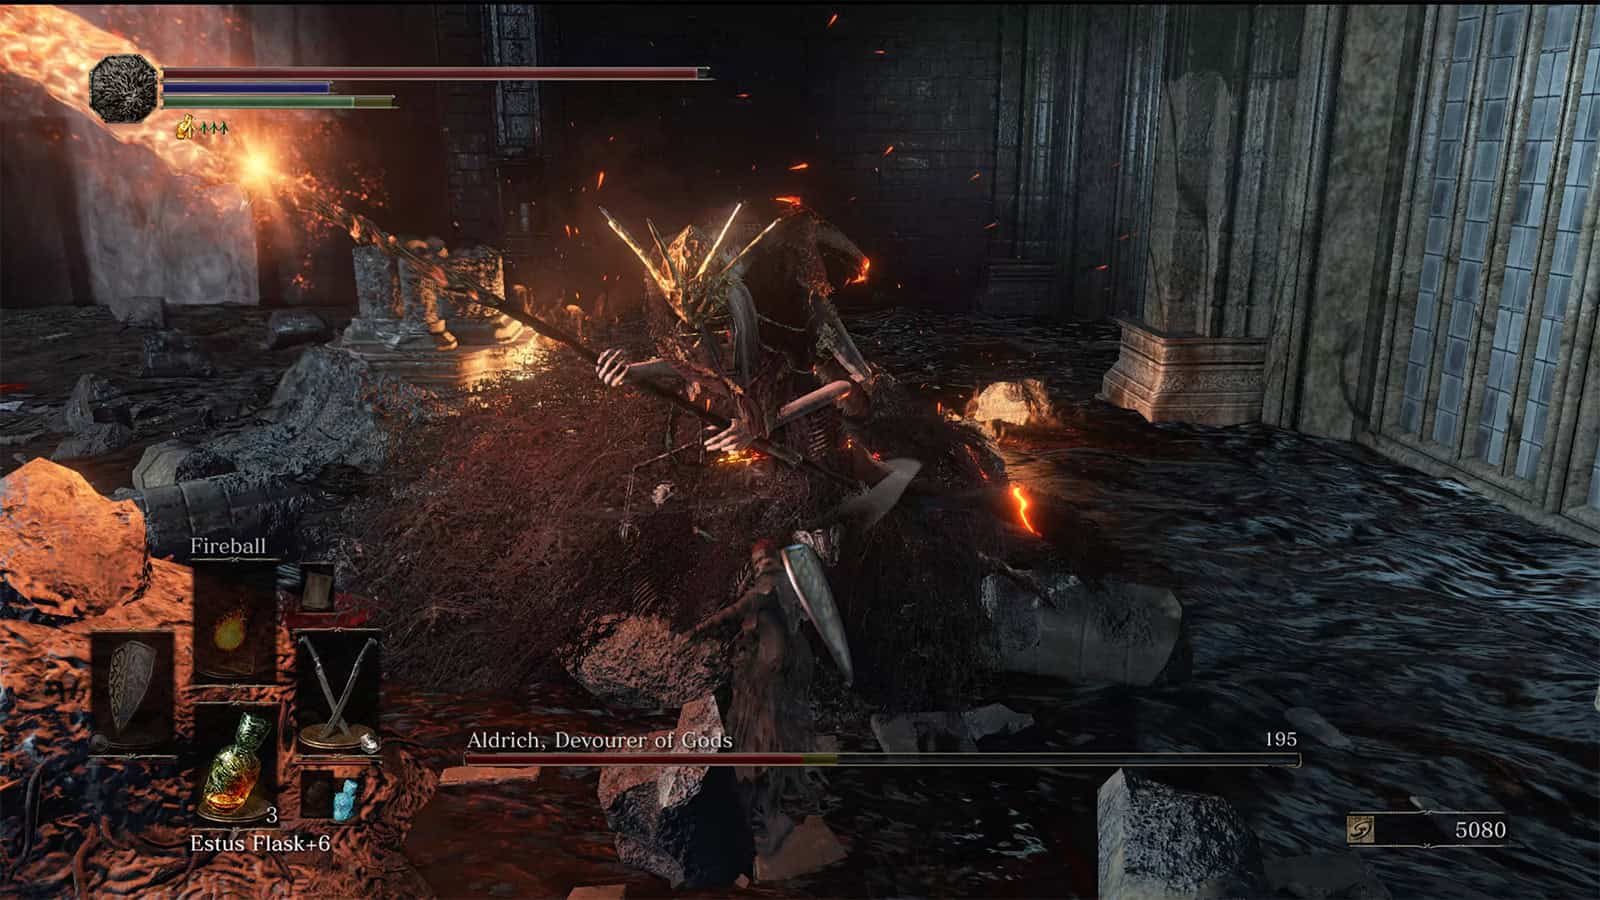
Aldrich, Devourer of Gods is your next Lord of Cinder. Located in Anor Londo (Yep, we’re back there!), the boss is an amalgamation of Gwyndolin from Dark Souls and a dark worm-like creature that is Aldrich. Aldrich attacks with Gwyndolin’s weapons, which includes a bow and a catalyst with which he casts spells. The fight against Aldrich consists of two phases, the second of which Aldrich imbues his weapons with fire. Throughout the fight, Aldrich will teleport away from you and appear at the opposite side of the arena furthest away from you.
The majority of his orb spells can be avoided by rolling or guiding them into pillars, but his Rain of Arrows attack, where he unleashes a rain of arrows that tail you, can only be avoided by running around the arena. Also note that when Aldrich teleports, you do get damaged by the black myst surrounding him. If you can perform Miracles, the Vow of Silence will prevent Aldrich from performing many of his magic attacks, making the fight much easier. I recommend equipping a Homeward Bone before the fight because, once you’ve defeated Aldrich and assuming you’ve defeated the other three Lords of Cinder, you’re teleported to Emma’s room at the High Wall of Lothric, automatically triggering the next boss fight.
11. Dancer of the Boreal Valley
Rewards:
• 60,000 Souls
• Soul of the Dancer
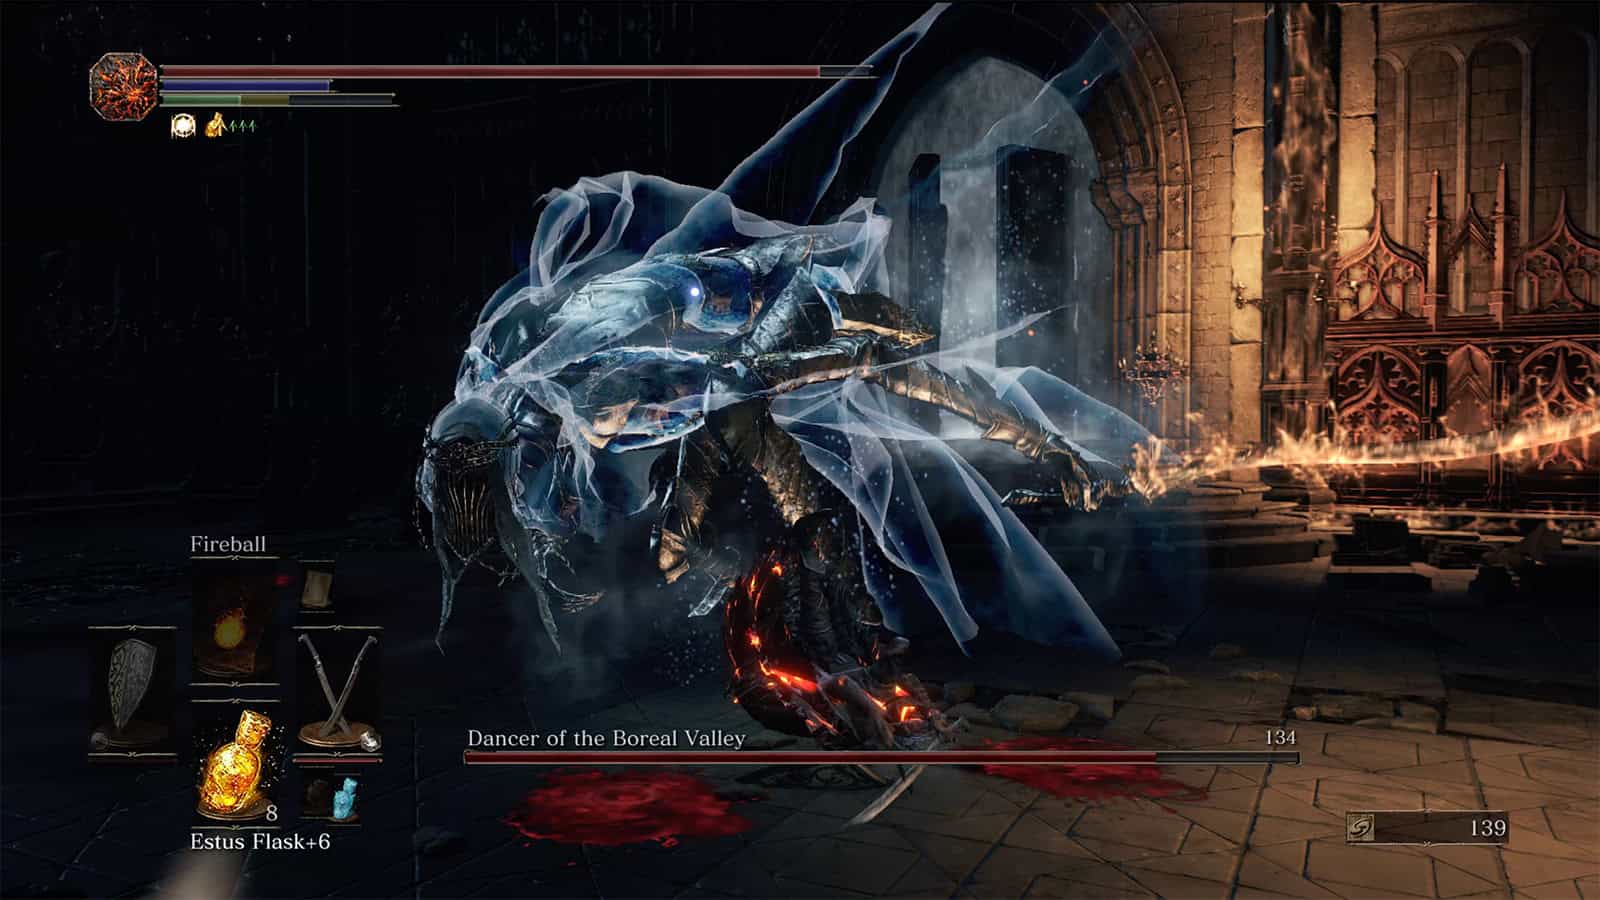
Dancer of the Boreal Valley is a gorgeous, slick boss. Defeating Dancer unlocks the final section of the game; Lothric Castle. You can access Dancer earlier by killing Emma and approaching the altar behind her, but Dancer is an incredibly tough boss so I’d advise doing so unless you’re really good. Unlike Vordt, Dancer is nimble and highly aggressive, so she can easily prove to be a challenge.
Like most other boss fights in the game, Dancer has two phases; the first of which she uses a single flame sword and the second in which she utilises a flame and ash sword. Dancer’s attacks are very erratic, and you’ll need to rely on dodging them carefully to succeed, so spend some time learning her moveset. Dancer deals a lot of damage, and it’s a good idea to stick to her backside to avoid her sword and grab attacks – just think of this boss fight as a dance; dodge as she swings and spins and attack only when she pauses. Once defeated, you’ll have access to a ladder leading to upper Lothric Castle.
12. Dragonslayer Armour
Rewards:
• 64,000 Souls
• Soul of Dragonslayer Armour
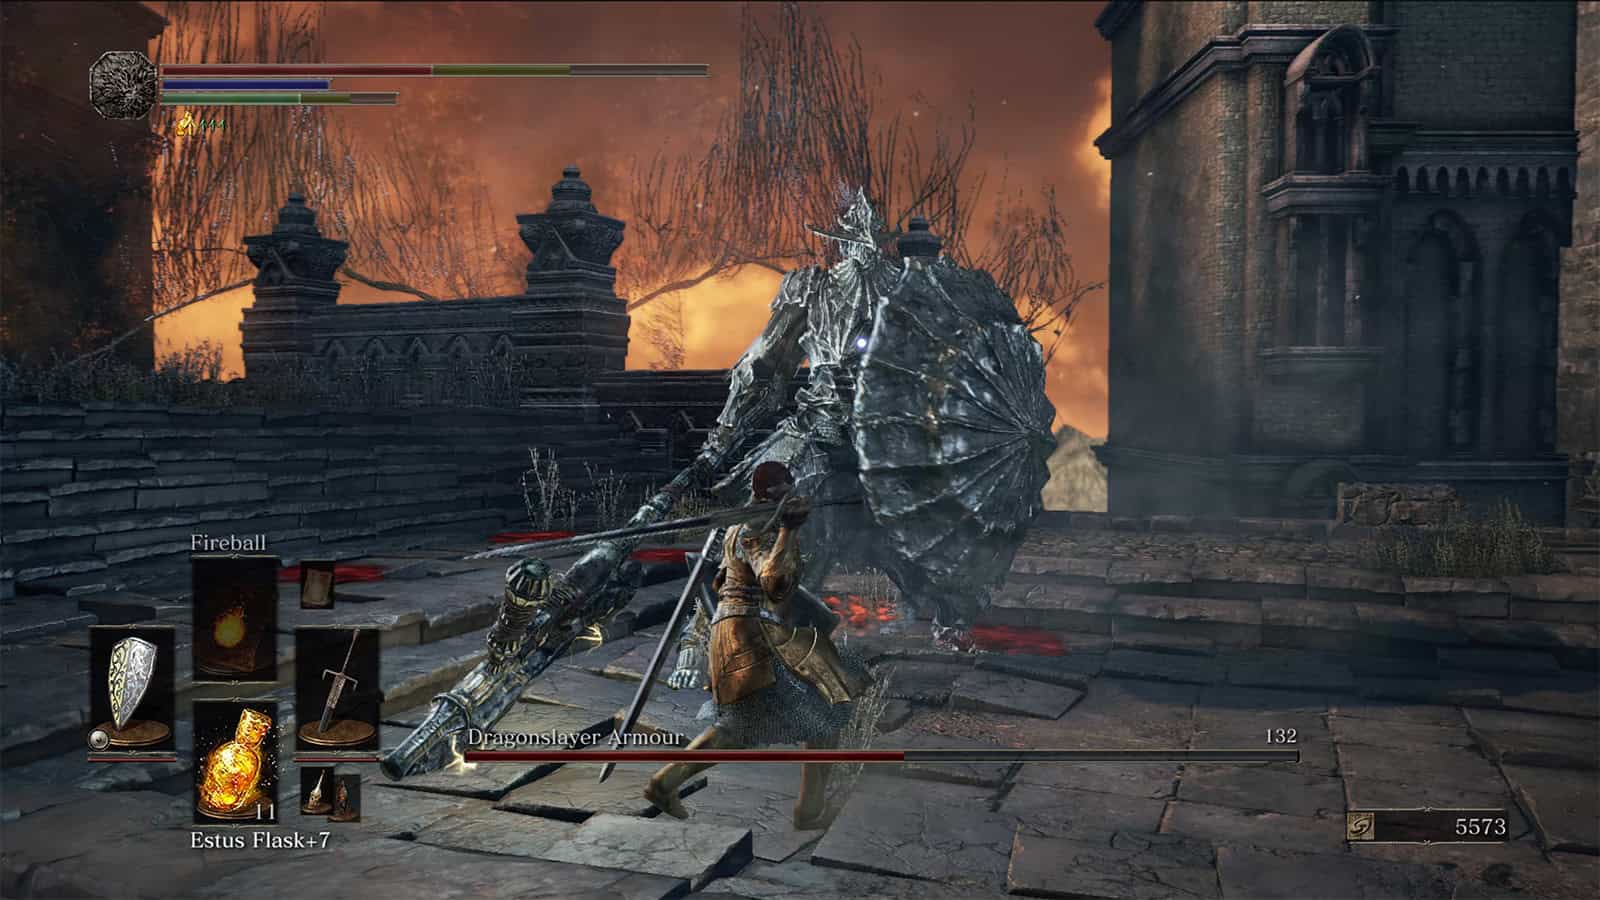
Dragonslayer Armour is a tough end-game boss that can be found at Lothric Castle, guarding the entrance of the Grand Archives. The boss is incredibly aggressive and attacks with a large axe as well as a gigantic shield that guards against most attacks. Dragonslayer Armour is assisted by Pilgrim Butterflies in the sky that can shoot projectiles onto the arena, obscuring your view and dealing damage. Dragonslayer Armour deals lightning damage but is weak to frostbite and strike damage.
In the first phase, Dragonslayer’s attacks consist of melee axe attacks and using his shield to stagger you or smash you into the ground. While fighting, Dragonslayer Armour may destroy railings, making it easy for you to fall to your death if not vigilant. I found one of the best ways to defeat Dragonslayer was by dodging into him and attacking after his jump and slam attacks, which offer a nice window as he recovers. Also use the large fountain at the centre of the arena to create distance between yourself and Dragonslayer for healing. The route to the Grand Archives unlocks after defeating Dragonslayer, allowing you to make your way to the final Lord of Cinder.
13. Old Demon King (Optional)
Rewards:
• 25,000 Souls
• Soul of the Old Demon King
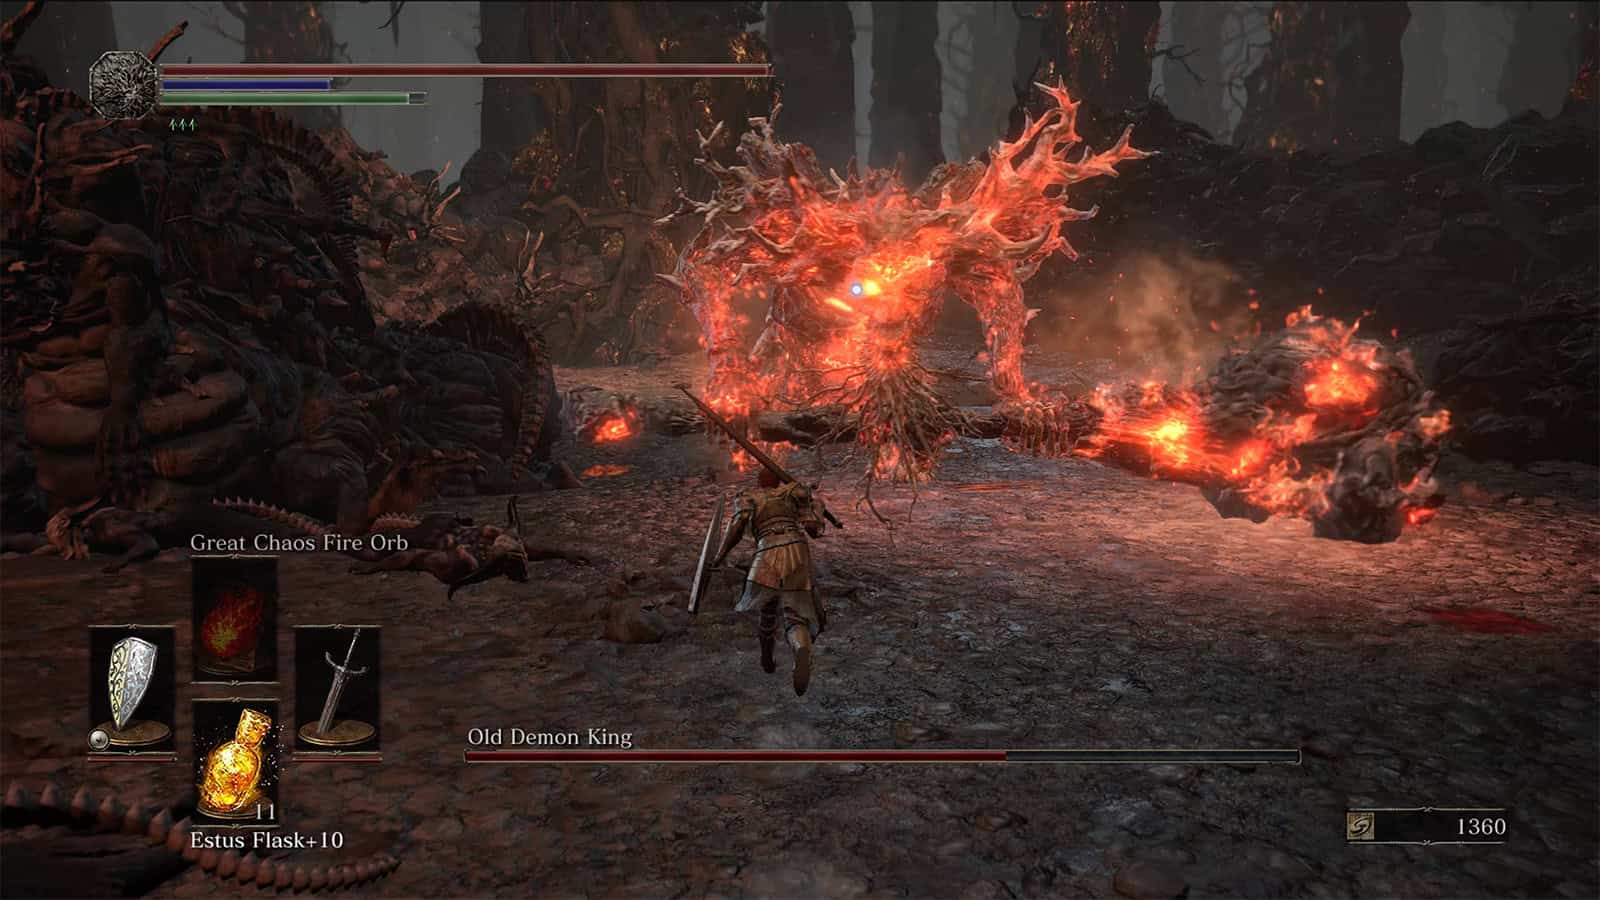
Old Demon King is a mid-game boss. Although most players usually do him around High Lord Wolnir, I like to leave him until later because the Smouldering Lake area (Accessed by destroying the wooden bridge outside Wolnir’s boss room and using the bridge as a ladder down) is a pain. The Old Demon King is a large demon that can be found across the Smouldering Lake past the large Carthus Sandworm.
The demon is found in an arena filled with the corpses of other demons and he uses a gigantic hammer. The Old Demon King is an optional fight and like most other bosses, consists of two phases; an ordinary first phase and a second in which he has a more powerful aura and performs stronger attacks. The Old Demon King is weak to dark damage and Black Knight weapons. If you’ve saved the fight until now, it should be pretty easy but if you’re struggling, try levelling up a Black Knight weapon – you should be able to get one by exploring Smouldering Lake.
14. Oceiros, the Consumed King (Optional)
Rewards:
• 58,000 Souls
• Soul of Consumed Oceiros
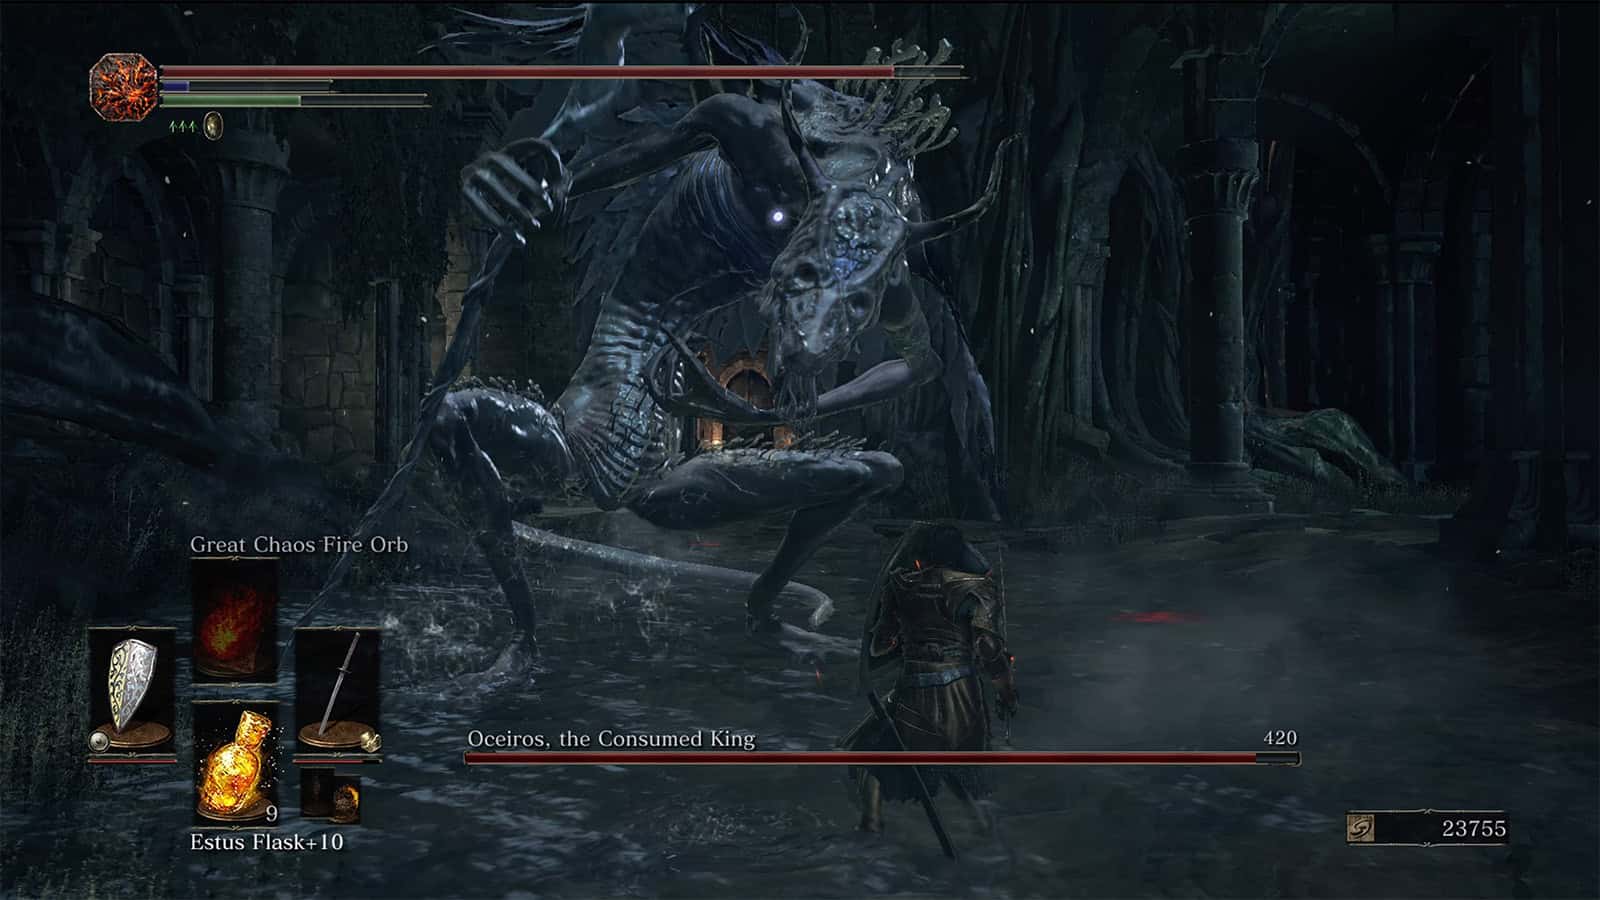
Oceiros, the Consumed King is another optional boss in Dark Souls 3. Oceiros guards the entrance to the Untended Graves, a prominent but optional area found later in the game. The encounter is split into two phases; the first in which he mainly attacks with his staff and performs freezing attacks, and the second in which he becomes more primal and attacks with his claws and tail, and performs a crystal breath attack that causes Curse buildup.
The first phase is relatively easy if you can avoid his staff attacks and the dangerous magic. Oceiros in the second phase is much more erratic, charging around the small arena and performing the Curse breath attack, which can quickly kill you if you’re not careful. Sticking behind him and chasing after Oceiros can make the fight easier, similar to Vordt. By defeating Oceiros, you can progress to the Untended Graves and grab an item to unlock Archdragon Peak.
15. Champion Gundyr (Optional)
Rewards:
• 45,000 Souls
• Soul of Champion Gundyr
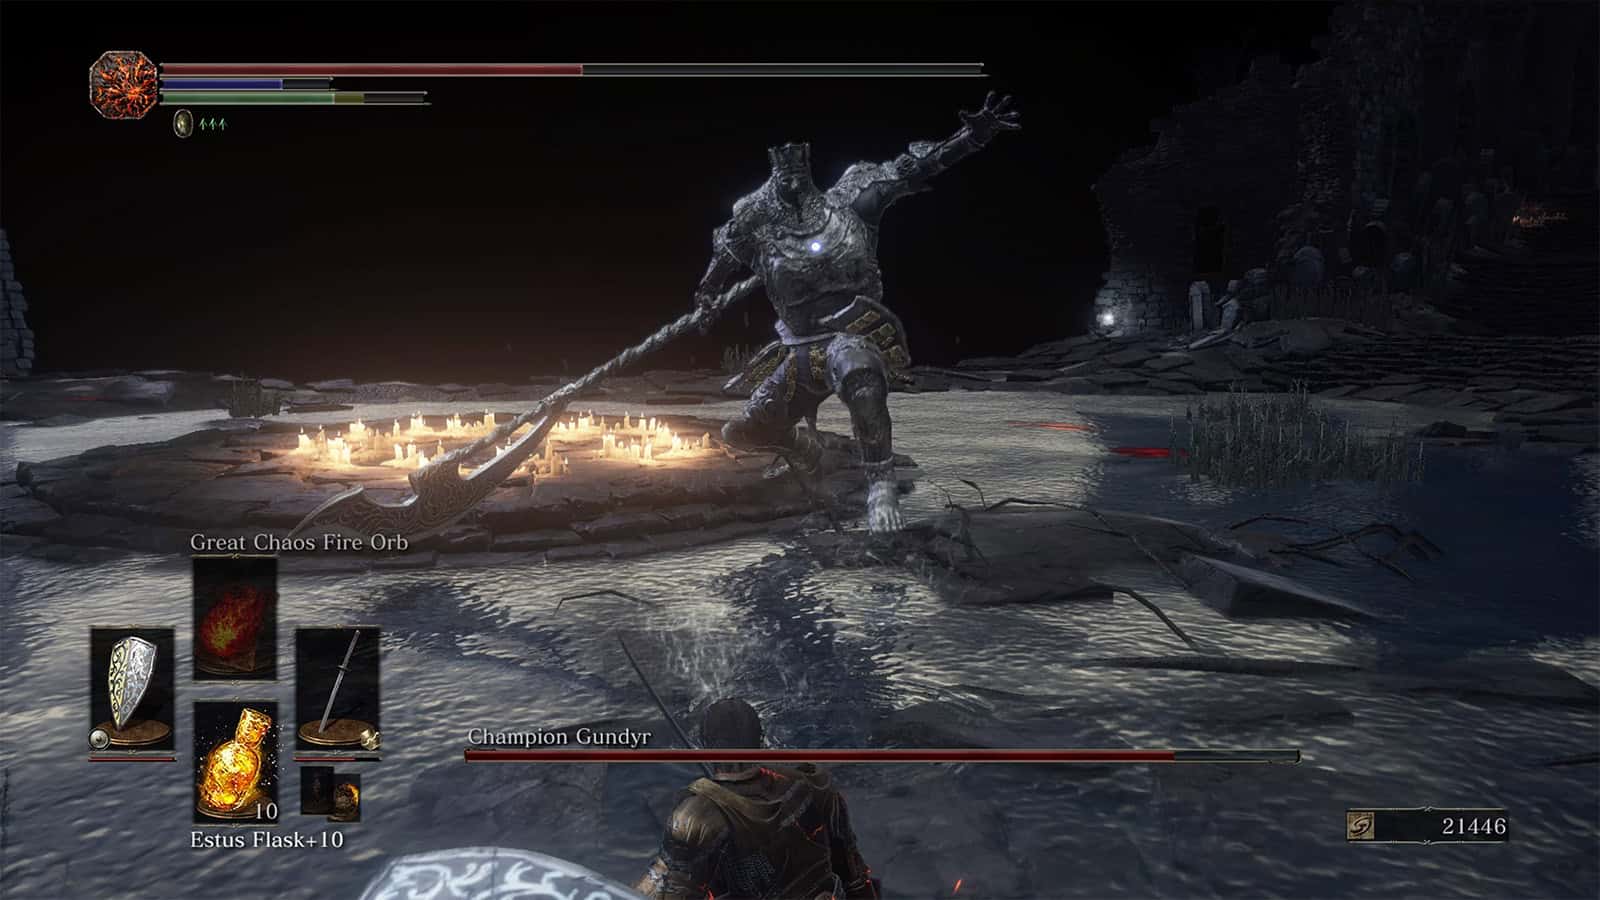
Champion Gundyr is an optional boss encounter located at the Untended Graves, a dark version of the game’s tutorial area. The boss is a past version of ludex Gundyr, utilising the same attacks alongside several new ones. Since he’s in his prime, Champion Gundyr is much more aggressive and faster than his predecessor, and like the ludex Gundyr fight, this battle consists of two phases. Rather than dealing with the black mass that erupts from ludex, Champion Gundyr will attack much more aggressively.
Champion Gundyr is weak to strike, lightning, and bleed damage, as well as frostbite. He attacks with the same halberd, which can deal considerable damage if you’re not careful, so you’ll need to be quick at dodging or parrying each attack to get a hit in. Once you have defeated him, you’ll be able to access the strange area beyond his arena.
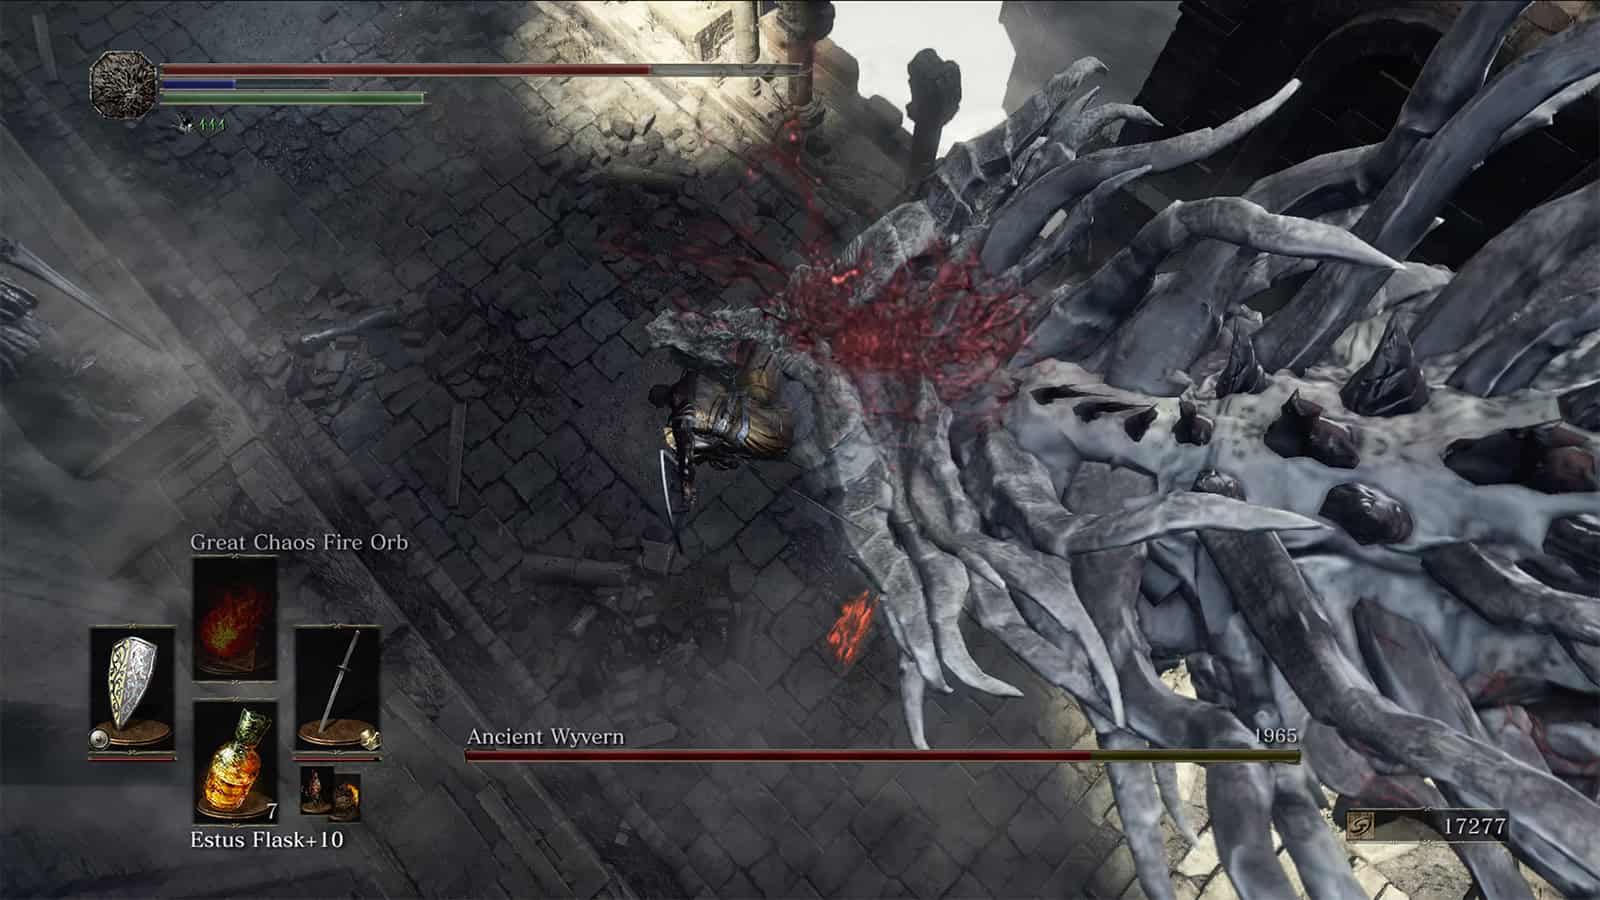
16. Ancient Wyvern (Optional)
Rewards:
• 70,000 Souls
• Dragon Head Stone
Ancient Wyvern is a wyvern that you’ll face while exploring Archdragon Peak. Rather than battling it head-on like with other bosses, this fight requires you to run past the boss and through the surrounding ruins until you reach a high enough point that allows you to perform a plunge attack on its head and kill the boss.
The challenge with this boss fight is the slew of powerful serpent enemies found throughout the ruins, many of which can quickly bombard and kill you. You’ll also need to avoid the wyvern’s attacks when the boss first appears in its arena. Optional and simple to defeat, killing the Ancient Wyvern unlocks the upper section of Archdragon Peak, which is jam-packed with more high-value items and one of the most difficult bosses in the game.
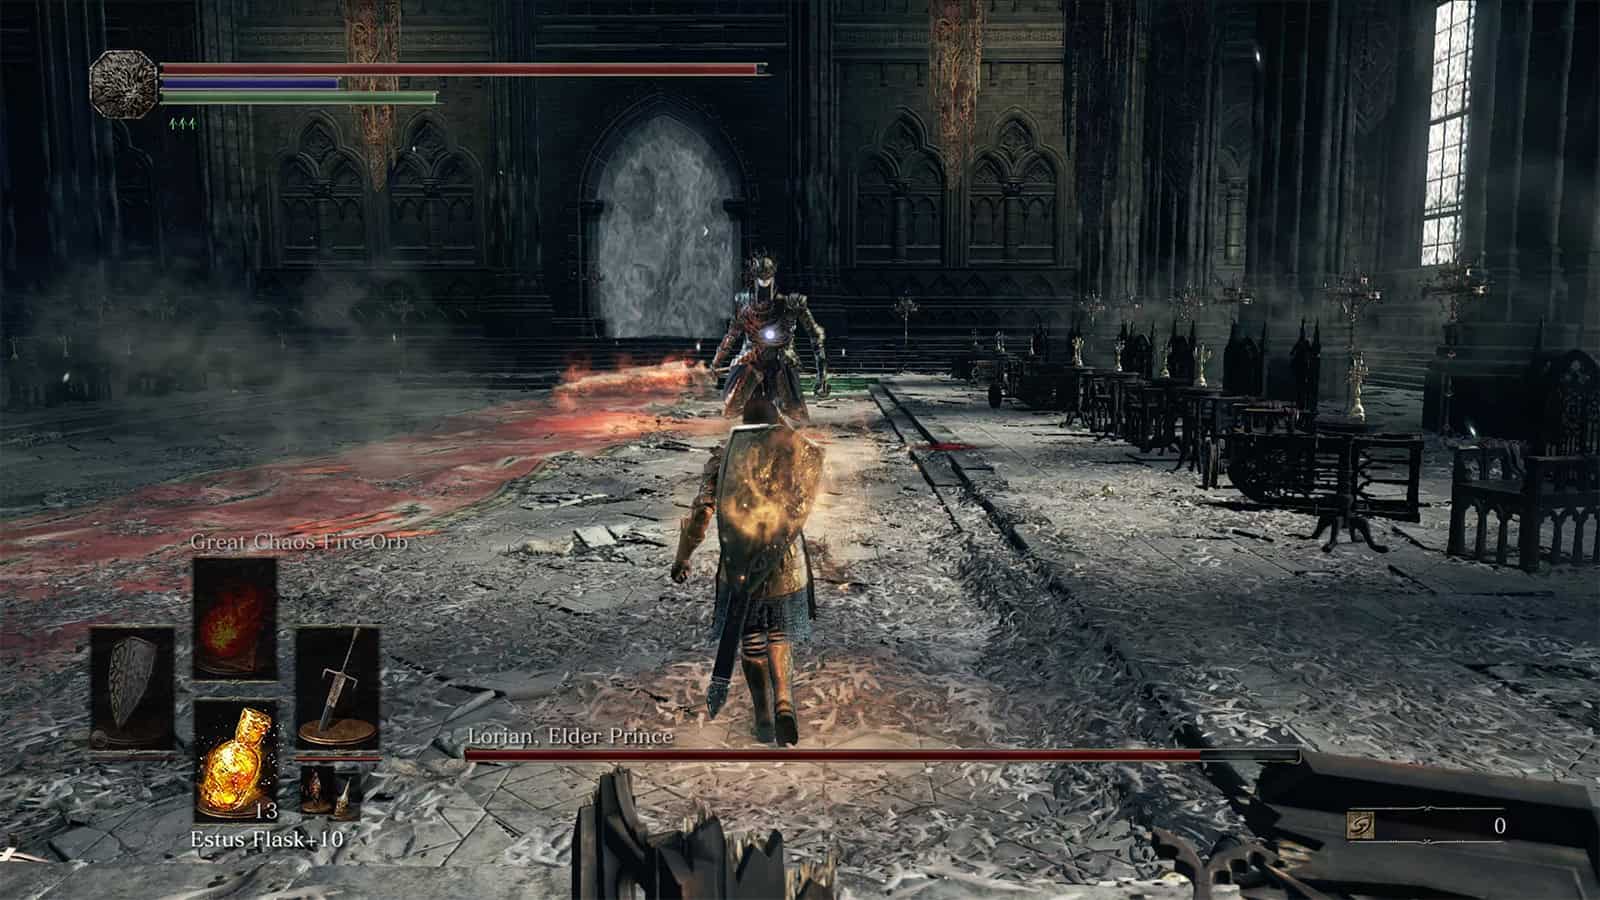
17. Lothric, Younger Prince and Lorian, Elder Prince
Rewards:
• 85,000 Souls
• Cinders of a Lord
• Soul of the Twin Princes
Lothric, Younger Prince is the final Lord of Cinder you need to defeat to unlock the game’s final boss. However, this encounter requires you to fight both Lothric and his older brother, Lorian. Consisting of two phases, this fight is a test of endurance as you fight Lorian alone in the first, and then fight the pair together in the second phase. The first phase ends when you defeat Lorian, who is promptly resurrected. In the second phase, you’ll need to whittle down both of their health bars, but whenever Lorian is defeated, he is resurrected until Lothric is killed.
Lorian performs a lot of stabs and slashes, and likes to teleport beside you to perform quick attacks – this can be frustrating is your Lock On is disabled and can leave you scrambling to locate Lorian before he attacks. In the second phase, Lorian will perform all of his attacks from the first phase but with a flaming sword. Lothric, meanwhile, performs two types of magic; multiple homing projectiles and a single homing arrow that deals more damage. As mentioned, you’ll need to attack Lothric when he’s resurrecting Lorian or manage to attack Lorian from behind to deal damage to both brothers. The fight is challenging, and you’ll need to be quick on your feet to survive. Lothric is weak to lightning and frostbite, so use that to your advantage. But once defeated, you can progress to the game’s final boss.
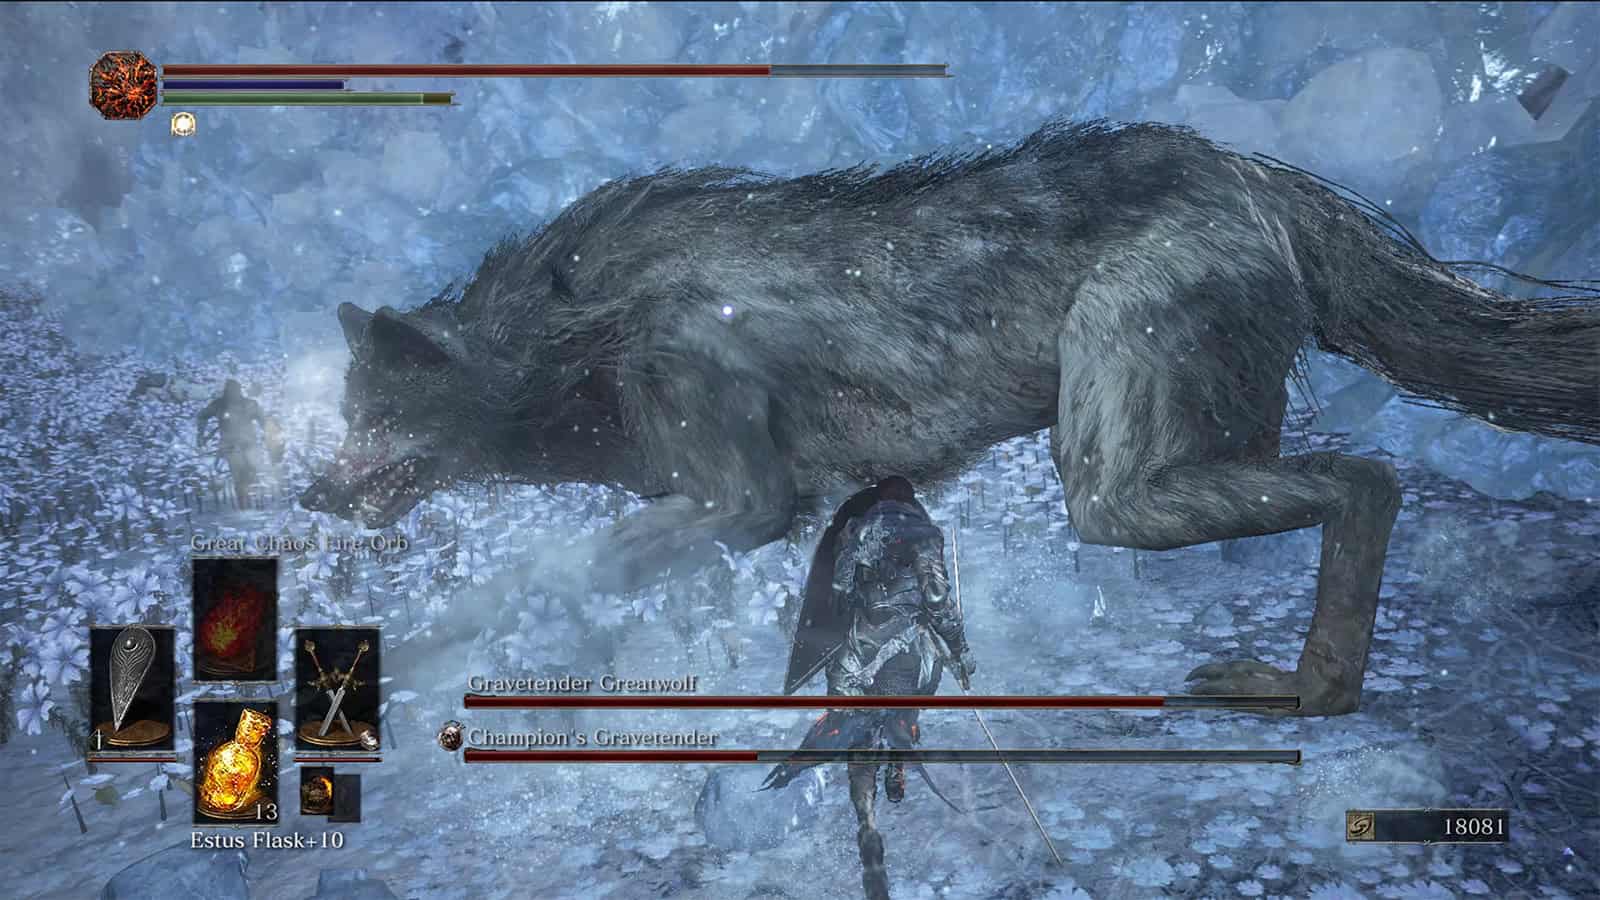
18. Champion’s Gravetender and Gravetender Greatwolf (DLC, optional)
Rewards:
• 60,000 Souls
• Valorheart
• Champion’s Bones
Champion’s Gravetender & Gravetender Greatwolf is the first boss in the Ashes of Ariandel DLC. Located in the Painted World of Ariandel, deep a Dark Souls 3 DLC boss fight. Found in the Painted World Of Ariandel, you can access the fight by cutting down the rope bridge leading to Sister Friede’s cathedral and climbing down, just as you would for the Smouldering Lake area. The fight is split into two phases. The first requires you to fight Champion’s Gravetender and three wolves, while the second sees Gravetender summon a giant Greatwolf.
Try to take out the three wolves as quickly as possible, using the arena’s environment to create space between yourself and other enemies. Once they’re defeated, focus on depleting Gravetender’s health. He’ll try to rush you and use magic, which you’ll need to either block or dodge, but a good strategy is to bait his rush attack by sprinting away enough to trigger it and then attack as he ends the animation to his attack.
When the Greatwolf is summoned, try to split the two up so you can focus on one over the other. The Greatwolf will perform lots of rushing and swipe attacks, but you’ll want to stay under him or to his side, allowing you to swipe at his legs and defeat him.
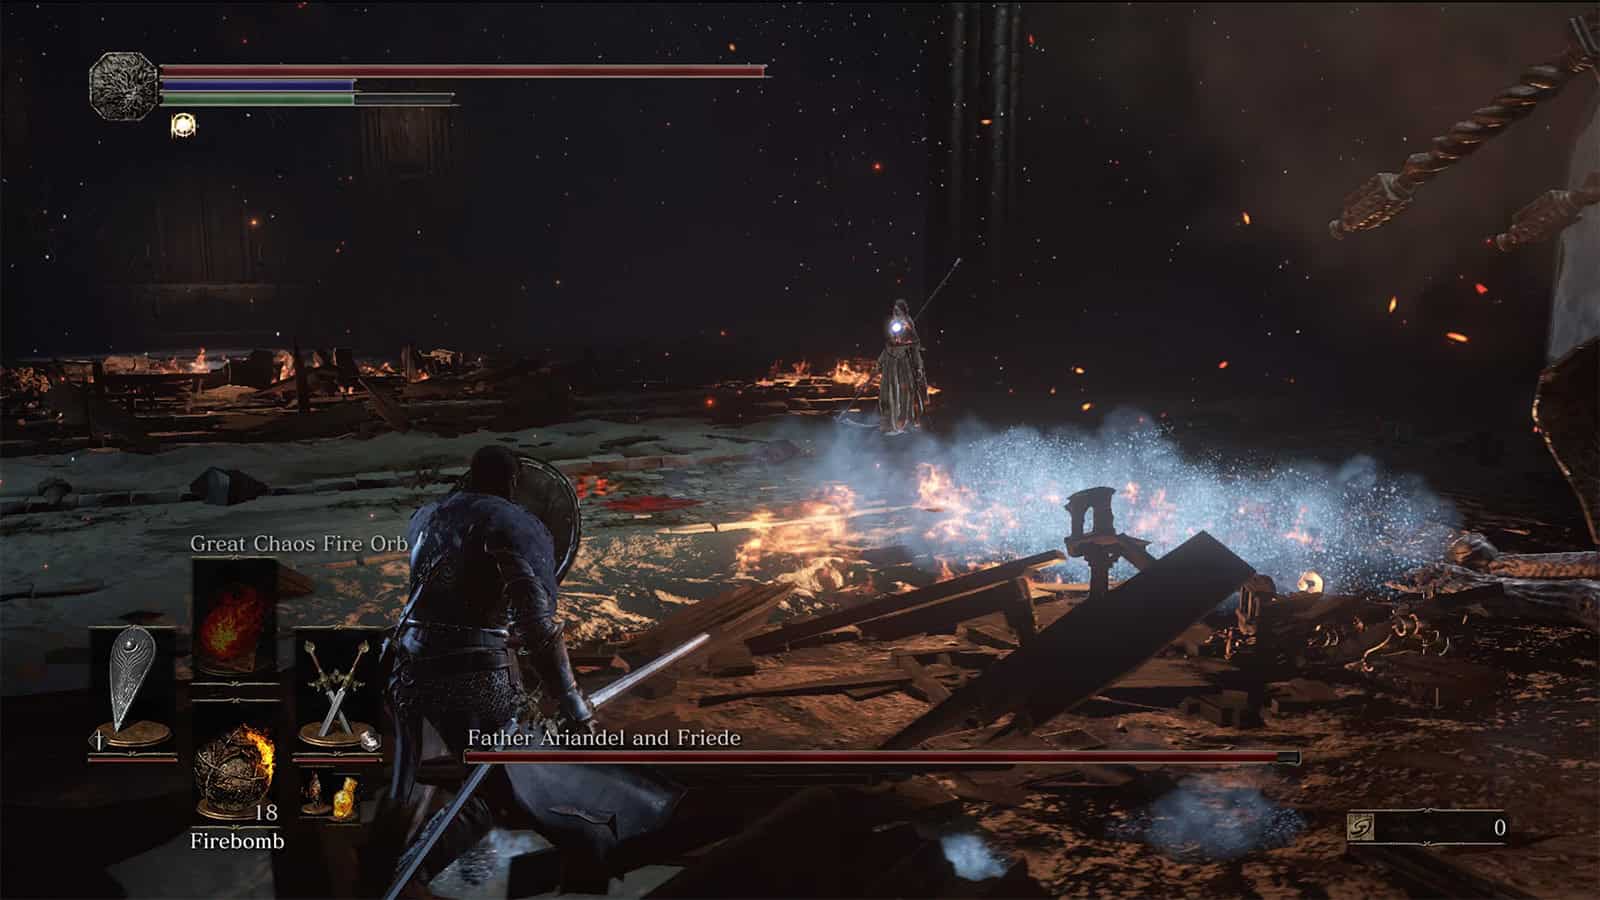
19. Sister Friede (DLC)
Rewards:
• 72,000 Souls
• Soul of Sister Friede
Sister Friede is known for being one of the most challenging Dark Souls boss fights ever, as the battle consists of three phases; the first in which you fight Sister Fired, the second in which you fight Sister Friede and Father Ariandel with a shared health pool, and third in which you fight a more aggressive Blackflame Friede. This boss fight can be incredibly challenging, and if you die at any point during the battle, you’ll need to restart from the first phase.
Most of Sister Friede and Father Ariandel’s attacks are incredibly telegraphed so you can easily dodge or block them, but staying alive throughout the entire fight and saving enough Estus for the later phases is hard. If you’re still struggling, you can summon Slave Knight Gael for some help, who can distract Friede and Father Ariandel to give you time to attack them. Killing Sister Friede before reaching the Kiln of the First Flame for the final boss will unlock a special bonfire leading you to The Ringed City DLC.
20. Demon in Pain and Demon From Below / Demon Prince (DLC)
Rewards:
• 100,000 Souls
• Soul of the Demon Prince
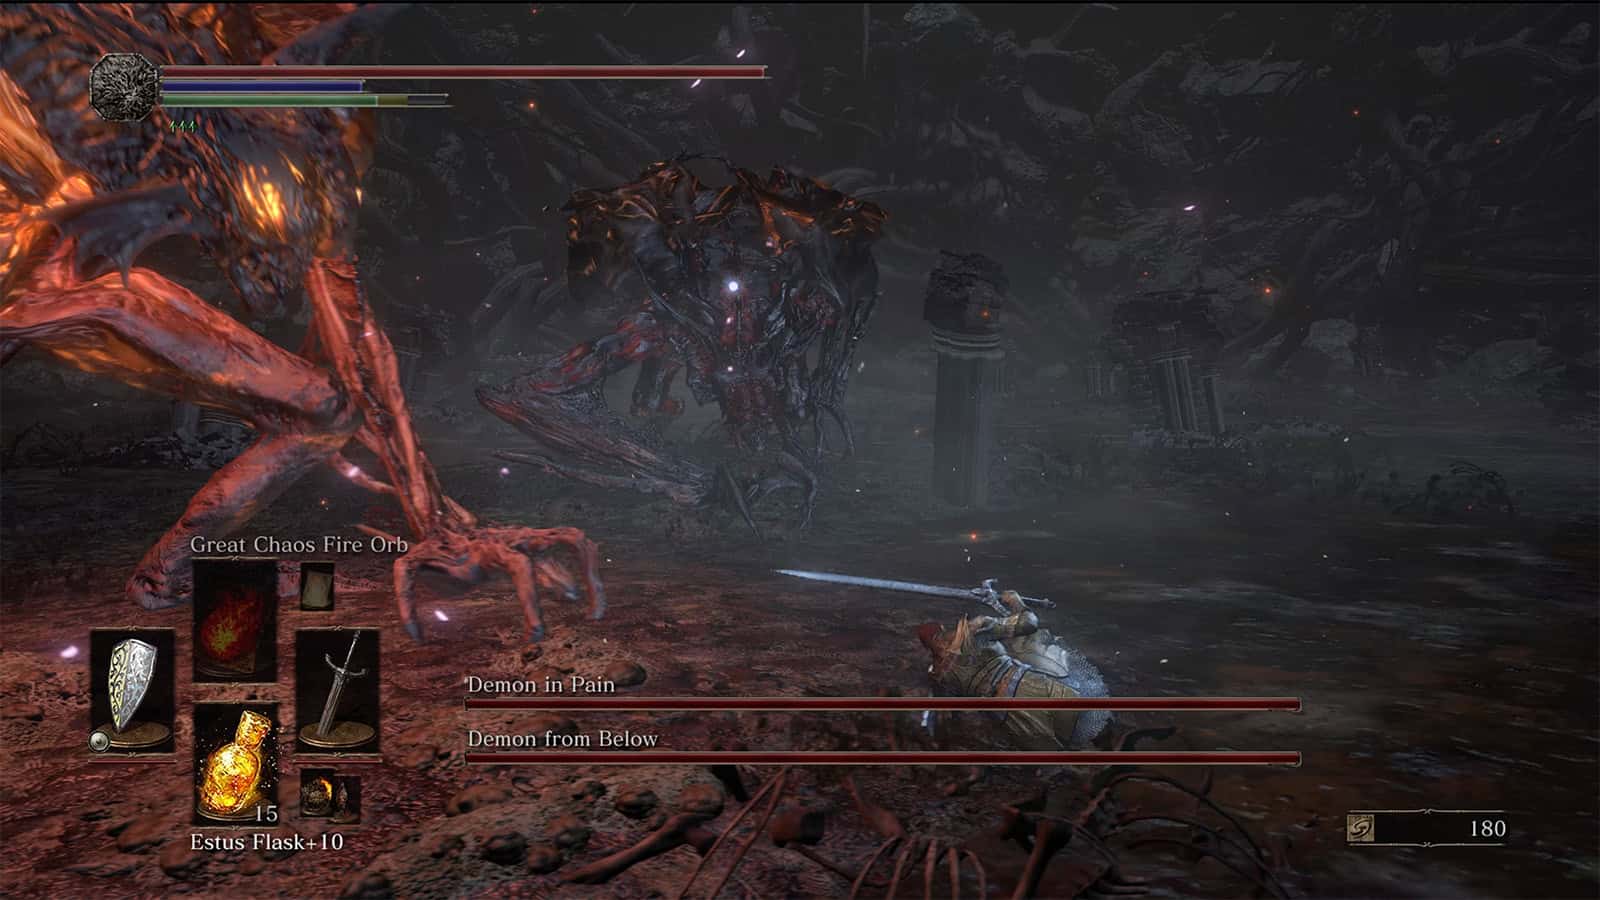
Demon In Pain, Demon From Below, and Demon Prince are all part of a Dark Souls 3 DLC boss fight from The Ringed City expansion. Located at the bottom of the Dreg Heap, the fight consists of two phases; the first in which you battle against the Demon In Pain and the Demon From Below at the same time with separate health pools, and the second in which you fight the Demon Prince alone. This fight can be incredibly challenging as you’re required to handle two demons at the same time before moving on to the much more aggressive Demon Prince.
Throughout the first phase, the two Demon’s will swap between two modes; flaming and burnt. When flaming, the Demon’s will deal fire damage and are much more aggressive, getting close to attack you. When burnt, the Demons deal toxic damage and will focus on performing ranged attacks. Once you’ve dispatched the two Demons, they’ll explode to reveal the Demon Prince, starting the boss fight’s second phase. The Demon Prince primarily deals fire damage and performs a range of attacks, including fireballs. The Demon Prince is weak to bleed damage and Black Knight weapons, and you can summon Slave Knight Gael and Lapp to help you. By killing them, you can explore The Ringed City.
21. Halflight, Spear of the Church (DLC)
Rewards:
• 80,000 Souls
• Filianore’s Spear Ornament
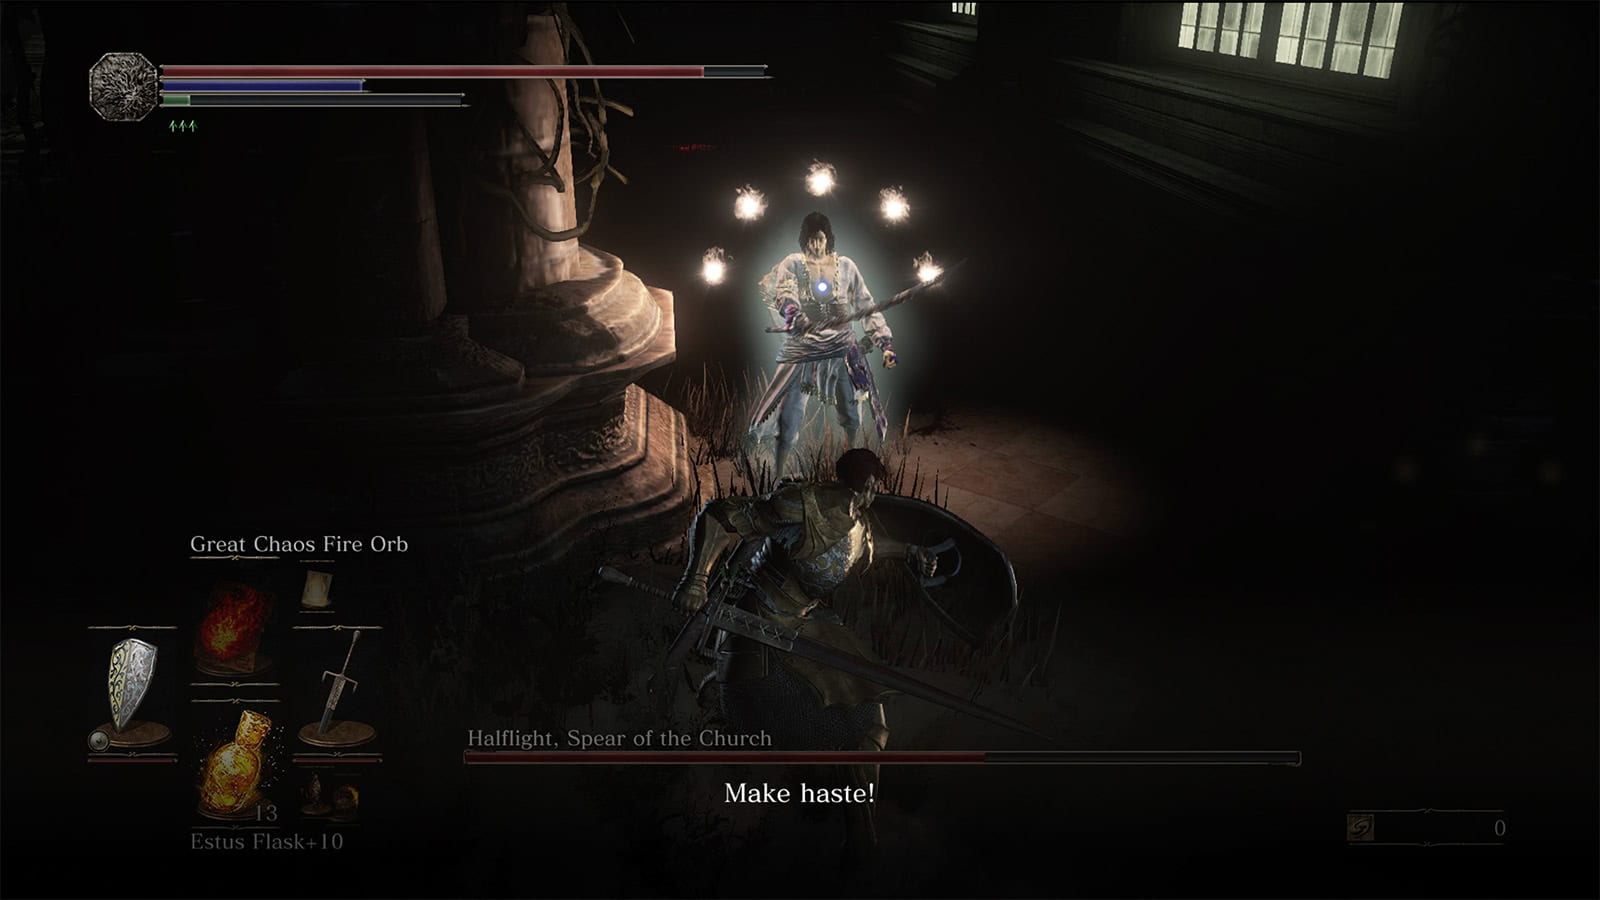
Halflight, Spear of the Church is a boss encounter from The Ringed City DLC. Unlike most other boss fights, Halflight is unique as what you fight will be dependent on whether you’re playing online or offline. If online, you’ll be required to fight another player of the Spear of the Church Covenant, but if you’re playing offline, you’ll be required to fight a human NPC wielding a sword and shield.
Halflight’s attacks will vary and can include a mixture of magic, melee attacks, and ranged combat too. The attacks of another player will vary, and you may find that this fight is easier if you play offline and face the NPC rather than another player. By depleting enough health, a second Guardian can appear but is killed by defeating the first guardian. Unbreakable Patches can be summoned for the fight and can provide a distraction against the NPCs or other players. Once defeated, you’re free to explore the rest of The Ringed City.
22. Nameless King (Optional)
Rewards:
• 80,000 Souls
• Soul of the Nameless King
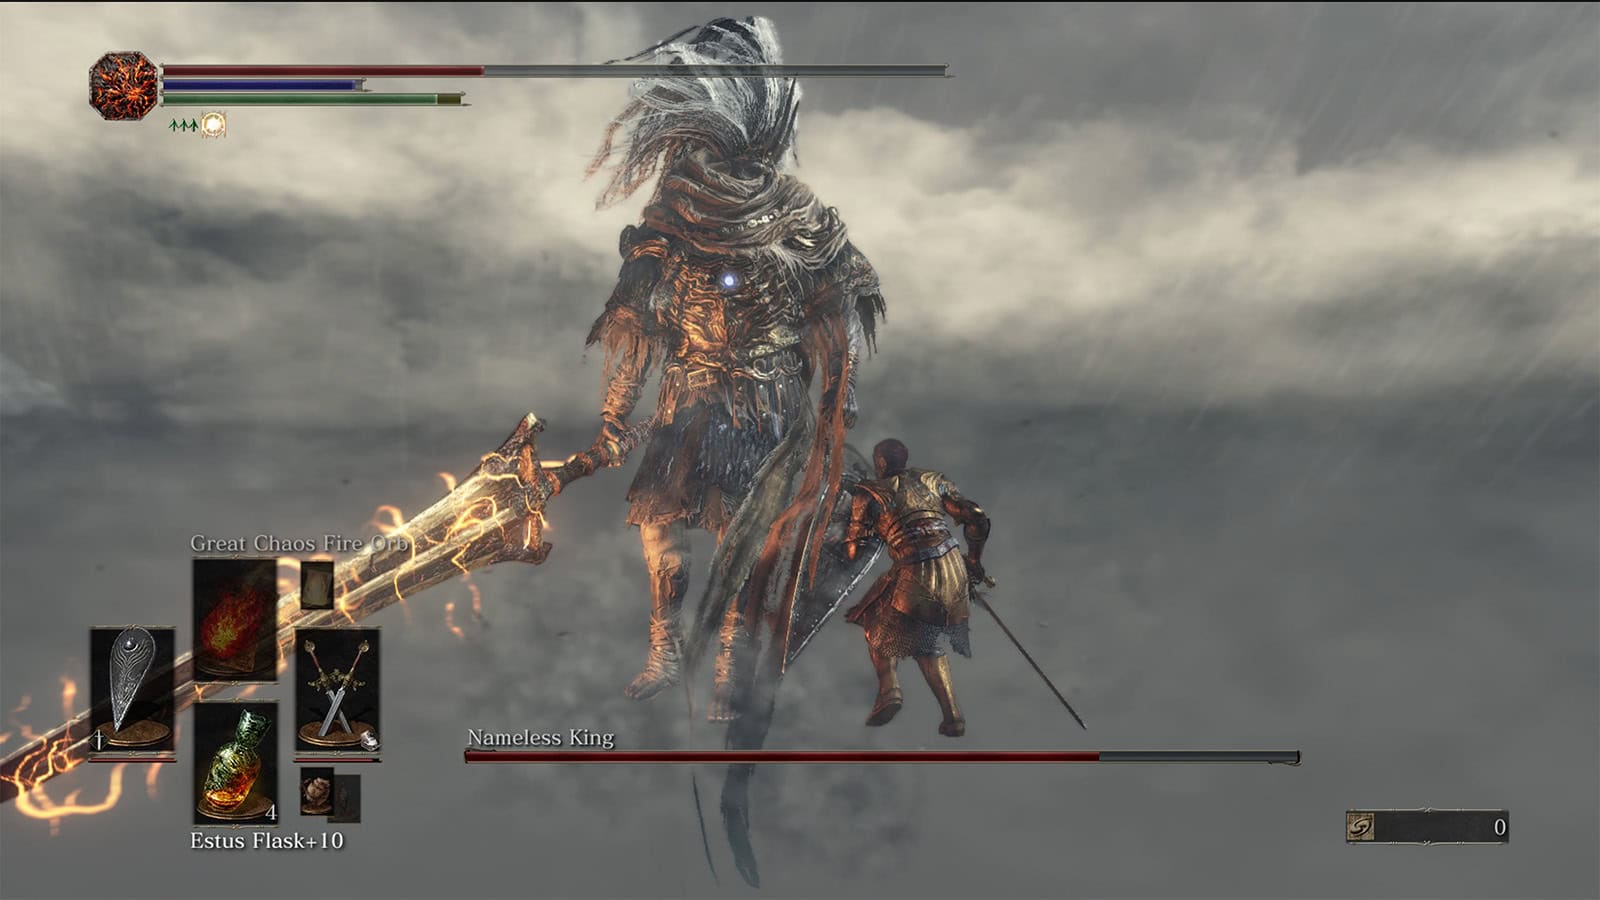
Nameless King is one of Dark Souls’ most famous bosses. Found in the upper section of Archdragon Peak after ringing the Great Belfry, the encounter consisting of two phases: a fight against the King of the Storm in which the Nameless King rides a wyvern, and the second as Nameless King alone. The first phase requires you to deplete Nameless’ and his wyvern’s health bar by attacking the wyvern and avoiding its fire attacks and Nameless’ electrical attacks. The wyvern’s weakest point is its head, but that can be difficult to reach, so I suggest you stay around its neck, which takes adequate damage. You can attack its leg, but it’s not usually worth it. Every now and then the wyvern will fly away, so keep chasing it and keep an eye on Nameless to avoid his attacks.
The second phase is a one-versus-one battle against Nameless. He’s incredibly aggressive and hits hard, but there are several small windows for you to attack. Circle Nameless, and roll into his side to avoid taking damage, then attack while he recovers from his animations. It’ll be a long boss fight, but it’s a great one.
23. Slave Knight Gael (DLC)
Rewards:
• 120,000 Souls
• Blood of the Dark Soul
• Soul of Slave Knight Gael
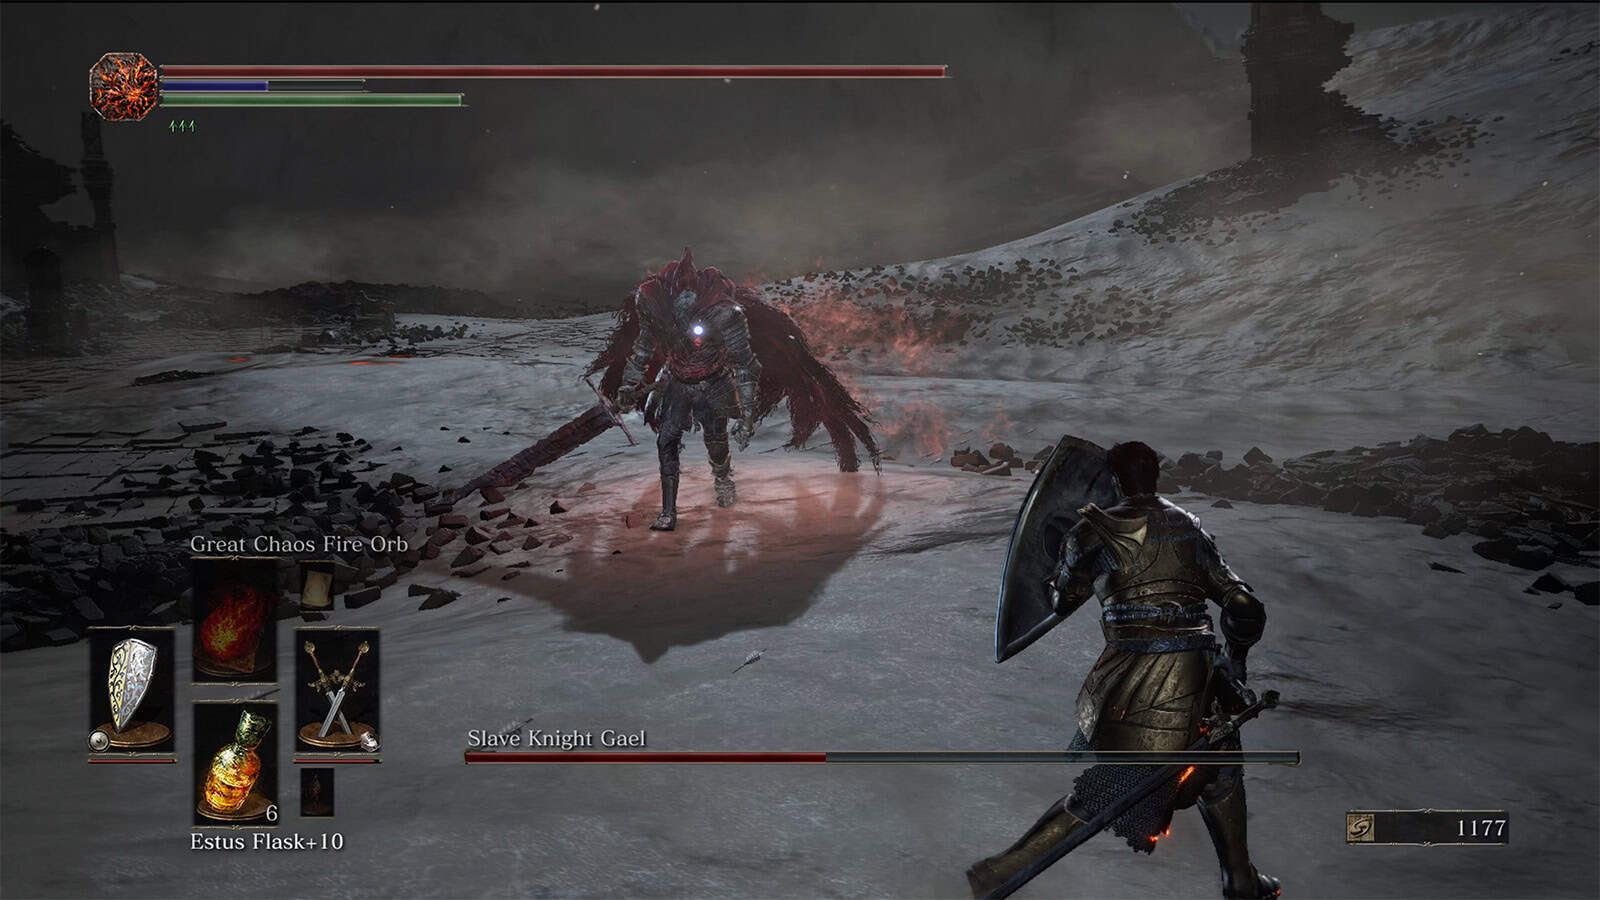
Slave Knight Gael is a the final boss of Dark Souls 3’s The Ringed City DLC. Found at Filianore’s Rest, you face Slave Knight Gael after he consumed the Dark Soul at the end of the world, and the fight is widely regarded as one of the best in the Souls series. Slave Knight Gael is highly aggressive and fast, charging at players on all fours like an animal throughout most of the fight before standing upright for the second half of the battle.
As he takes more damage, the fight will change; Slave Knight Gael will become more aggressive and perform additional moves. There are three phases to this fight. Lightning will strike the boss arena in the latter two phases, making it much harder for you to fight. Slave Knight Gael is weak to strike damage, poison, toxic, and frostbite. There are no NPC summons available, but if you’re playing online you can usually find other players ready to help you.
24. Darkeater Midir (DLC, optional)
Rewards:
• 150,000 Souls
• Spears of the Church Covenant Badge
• Soul of Darkeater Midir
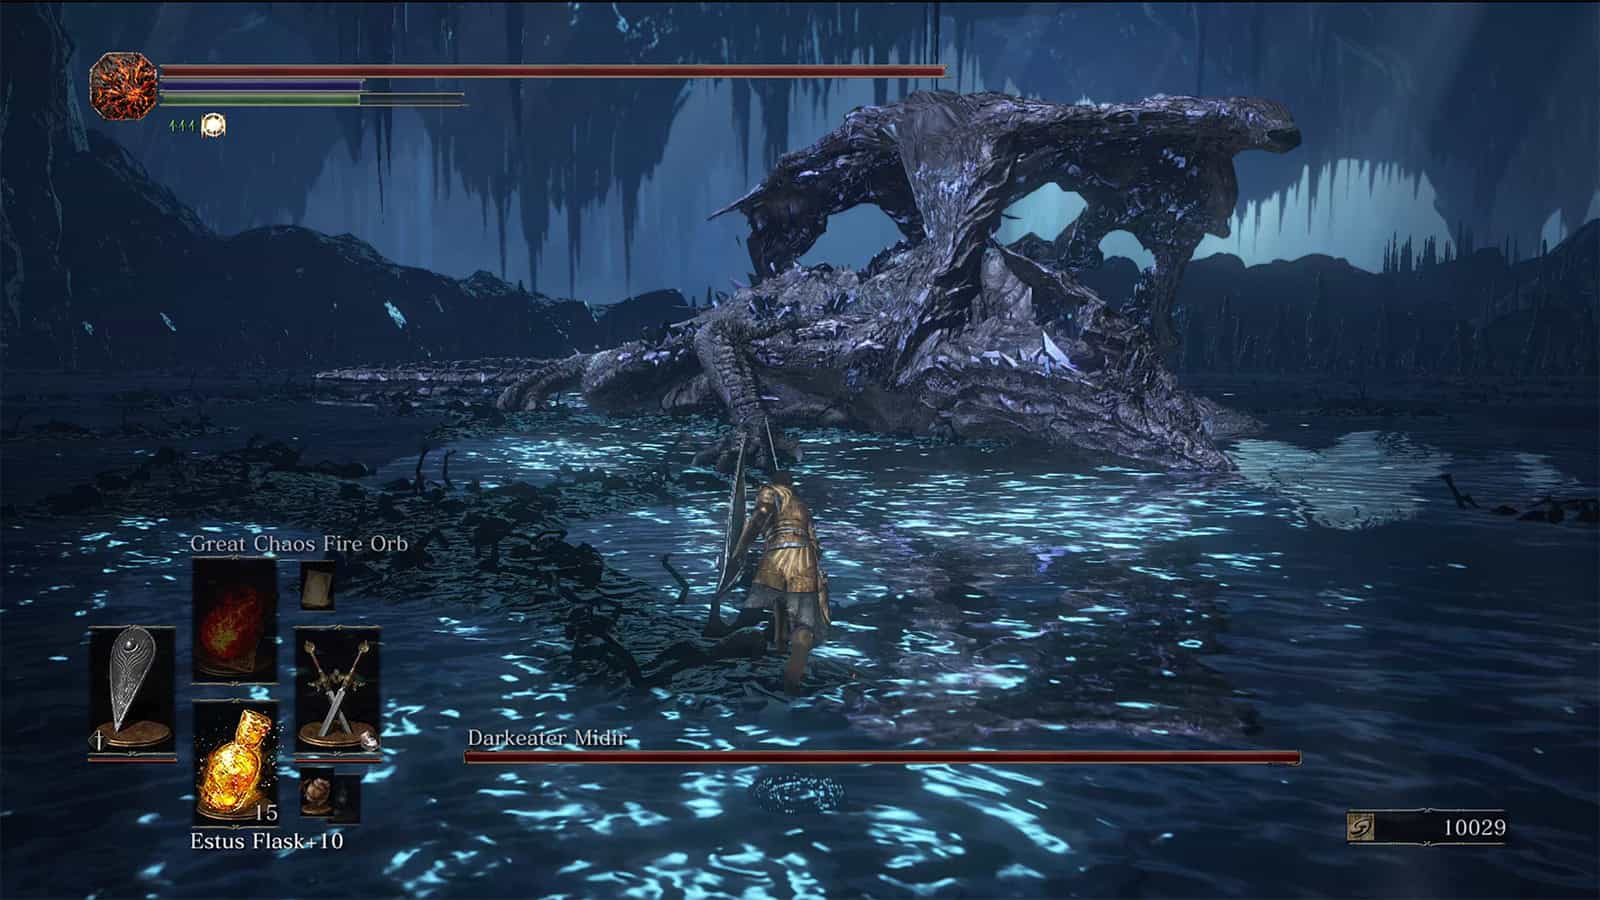
Darkeater Midir is a mighty dragon found in The Ringed City DLC. You’ll come across Midir while exploring, and you’ll need to damage him enough during one of these encounters before he becomes available as a boss. Found in a cave deep below the Ringed City, Darkeater Midir is an incredibly challenging fight. He deals strike, fire, and dark damage but is weak to lightning and thrust damage, Pestilent Mist, and the Wolf Knight’s and Farron Greatsword weapons.
There are two phases of this boss fight, and the battle against Darkeater Midir will be challenging. It’s going to be important to try and learn his attacks as soon as you can to help you throughout the battle. When fighting, try to aim for his head as that will deal the most damage, and feel free to summon Shira for help. Defeating Darkeater Midir is not required to complete the DLC but it will allow you to join the Spear of the Church Covenant.
25. Soul of Cinder
Rewards:
• 100,000 Souls
• Soul of the Lords
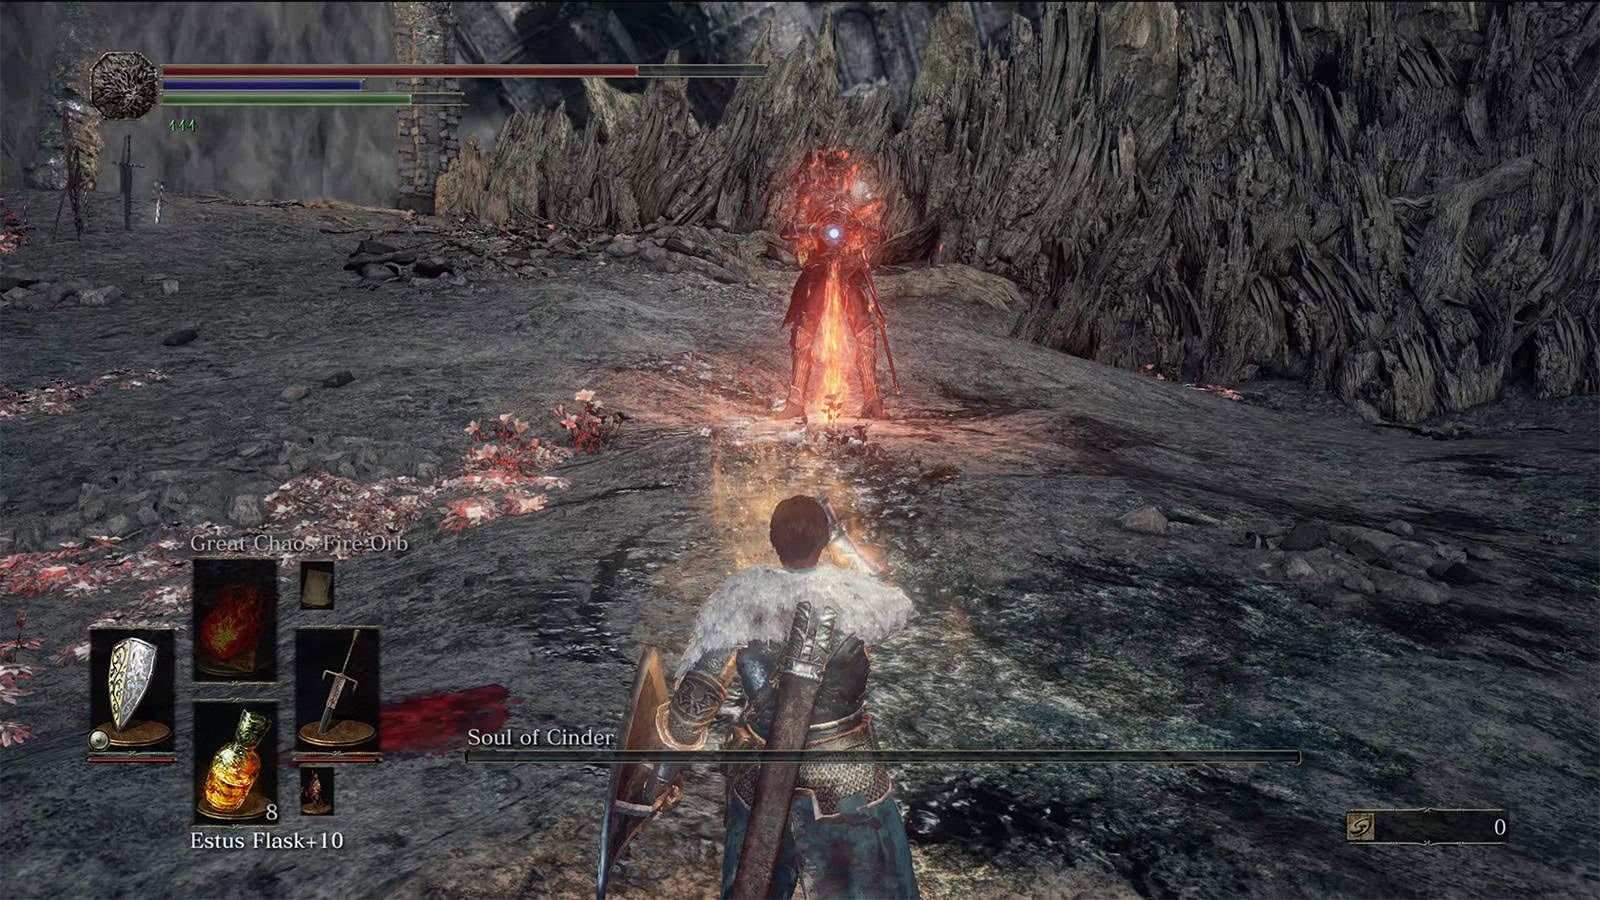
The Soul of Cinder is the final boss in Dark Souls 3. Found at the Kiln of the First Flame, the Soul of Cinder is a combination of all previous Lords of Cinder, using their weapons, sorceries, and attacks in combination with his own. The fight consists of two phases; the first in which the Soul of Cinder performs a range of unpredictable attacks taken from all previous Lords Of Cinder, and the second in which the boss regains all health but performs much more predictable movesets.
You’ll need to get good at dodging and predicting his attacks to succeed, and since he’s weak to lightning and dark damage, it may be a good idea to grab a weapon with those infusions. Finally, casting the Vow of Silence Miracle can prevent him from using magic, which is handy. Once defeated, you simply need to approach the final Bonfire to trigger the ending you want.
That’s our guide! We hope it’ll help you make your way through one of FromSoftware’s most popular Souls-like titles.

